7 Tips For taking great travel photos with your smartphone camera

Traveling is all about experiencing new cultures, trying new things, and creating lasting memories. And what better way to capture those memories than through beautiful travel photos? With the right techniques and a bit of practice, it's easy to take great travel photos with a smartphone camera. Here are a few tips to help you get started:
Find the right light
Good lighting is essential for any photograph, and this is especially true when it comes to travel photography. Look for soft, natural light, and try to avoid taking photos in direct sunlight, as this can create harsh shadows and blow out your images.
My preference goes for sunsets also known as “Golden hour” in the photography jargon. Every photo at that time of the day look great with a soft glow. You also get “blue hour” which is the time when the sun is below the horizon. Some people enjoy shooting at sunrise, but I am not an early bird, hence the reason I rarely take photos at sunrise! You can also try your hand at night photography which is a great way to get out of your comfort zone and experiment new techniques and skills.
2. Get the right angle
Experiment with different angles and perspectives to add interest to your photos. Try shooting from above, below, or at eye level, and don't be afraid to get close to your subject.
My preference goes to shoot with a wide angle and looking for symmetry. This always gives a very visually appealing photo.
You can also play with your tele-photo lens and shoot a subject or landmark. What I love with this method is the compression of the background it brings on your image. This is something only doable with a tele-photo lens that your naked eye cannot see.
3. Use the rule of thirds
The rule of thirds is a basic principle of photography that involves dividing your frame into nine equal parts and placing your subject along the lines or at the intersections of those lines. This can help create a balanced and visually appealing photo.
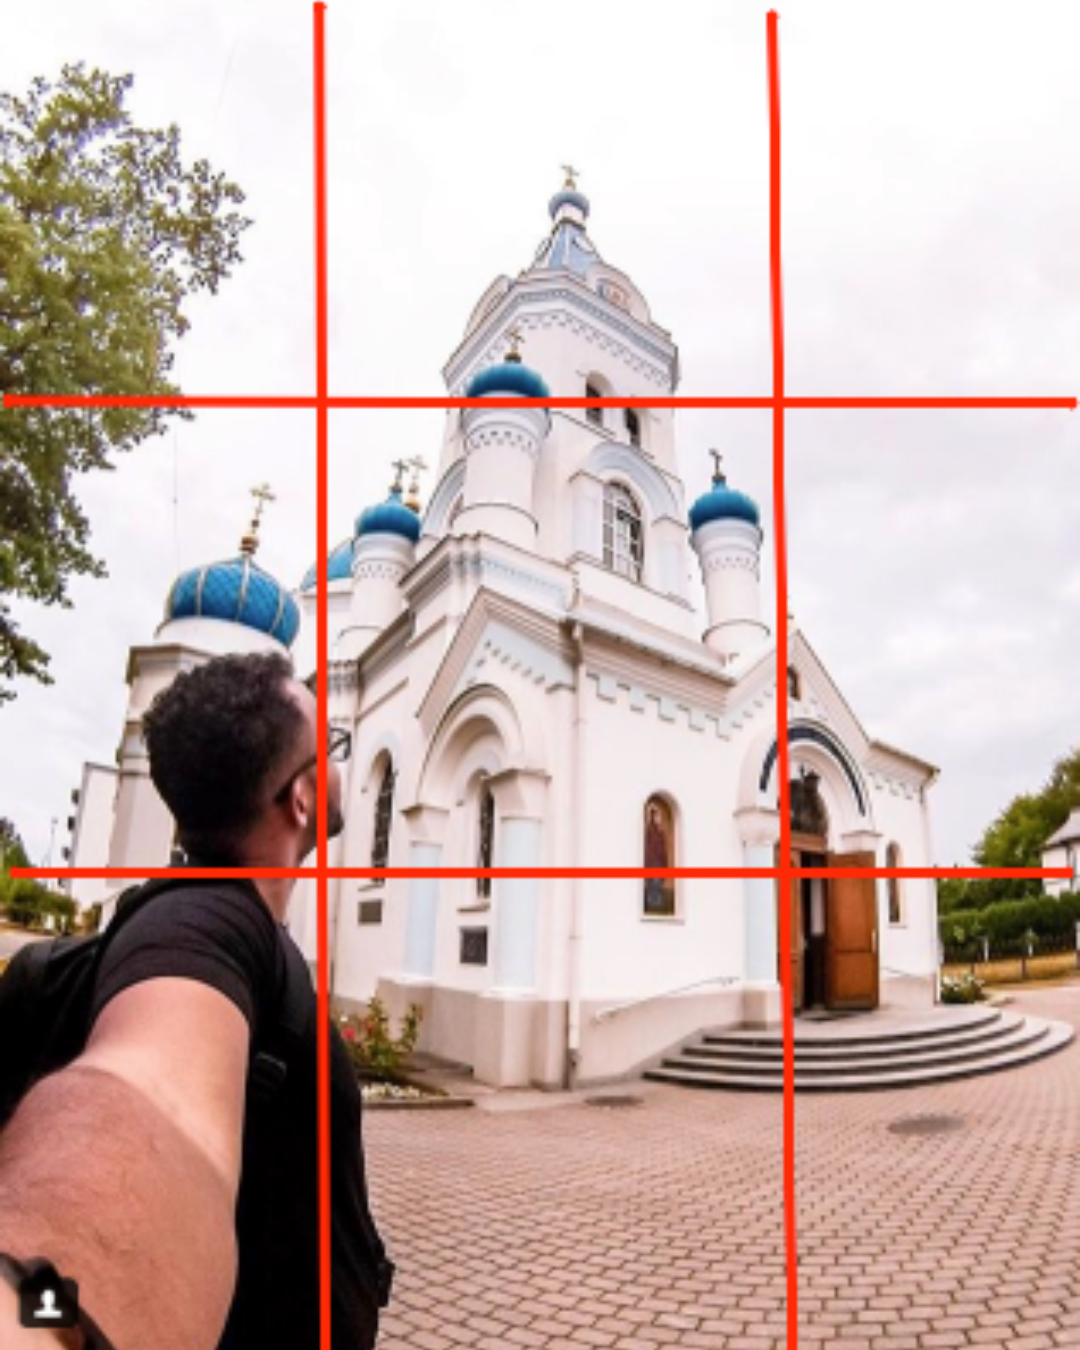
This is the most known photography technique but yet not so many beginner photographers use it. I use it up until today. Whether it is on my camera or on my phone camera, my grid is always activated to help me with my composition.
4. Edit your photos
Most smartphone cameras come with built-in editing tools, so don't be afraid to play around with the settings to enhance your photos. Adjust the brightness, contrast, and saturation to make your photos pop, and use filters to give them a unique look.
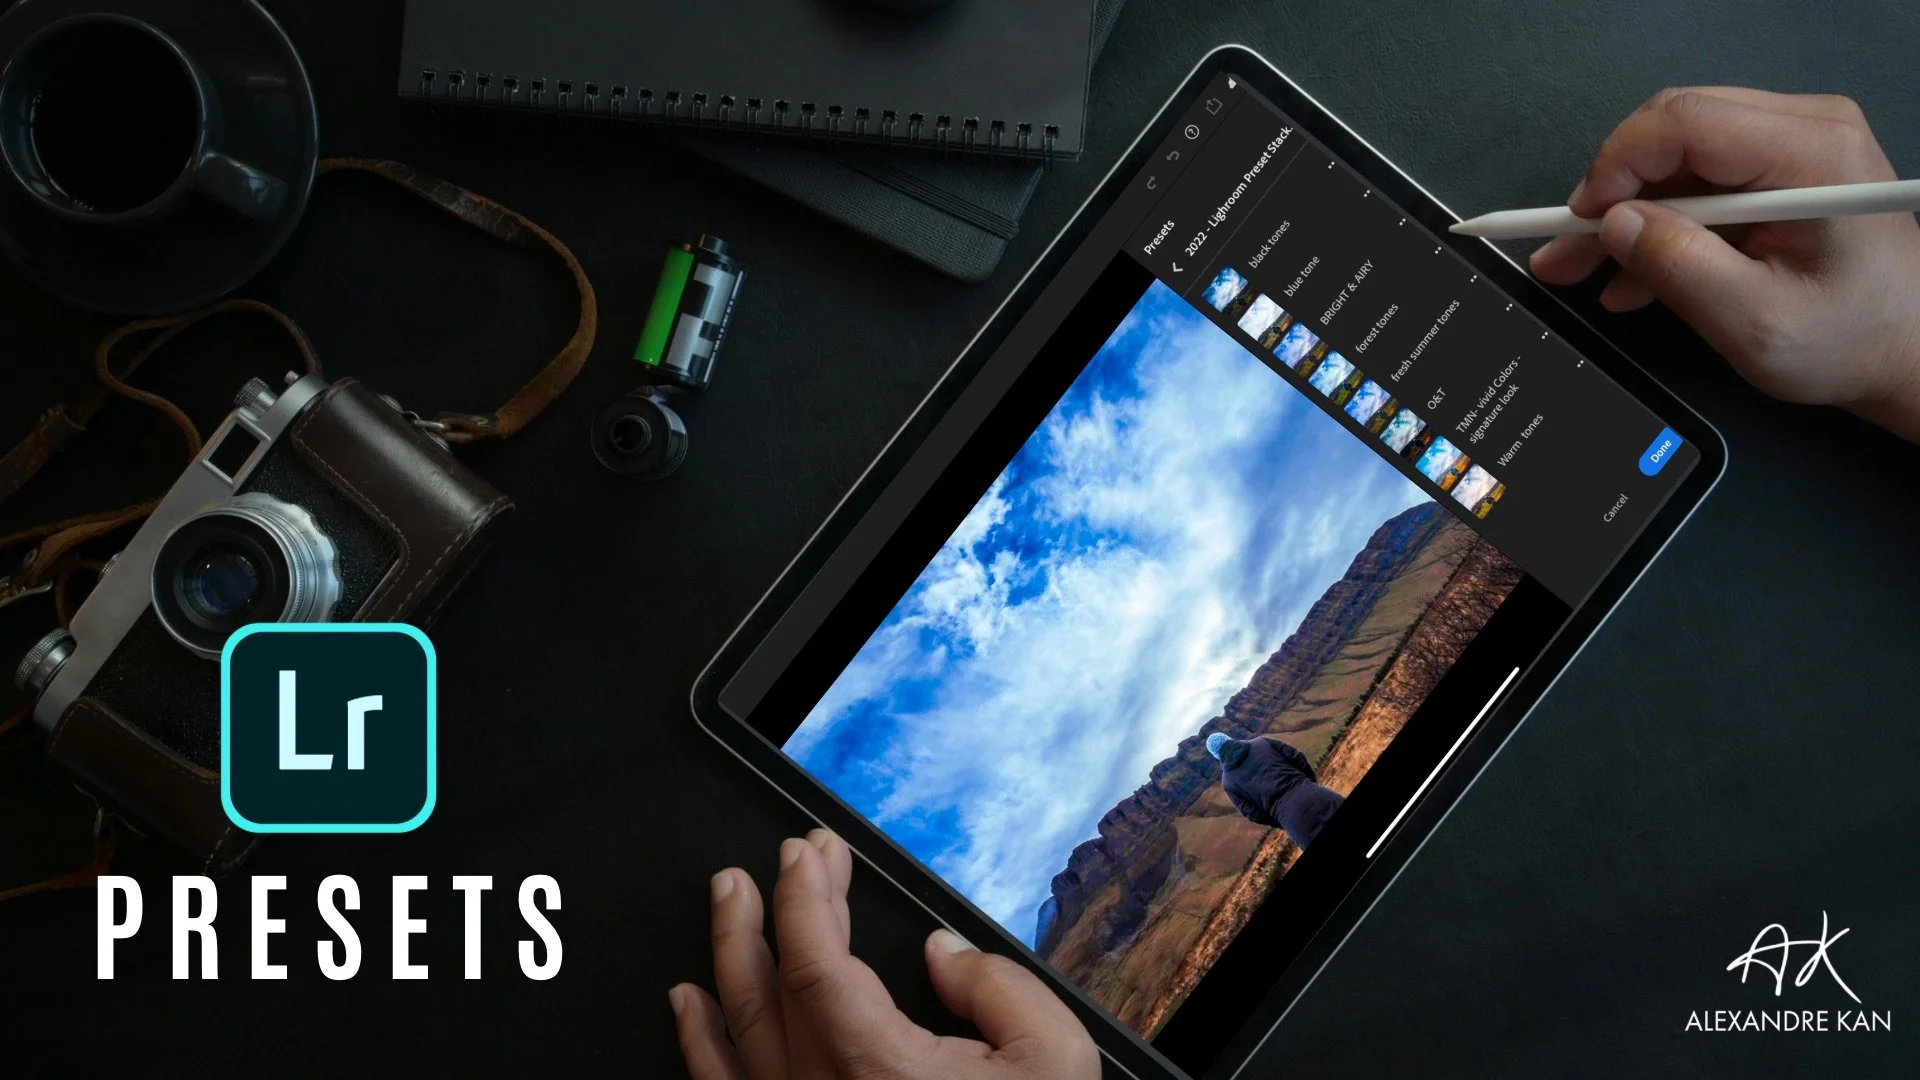
I personally use Adobe Lightroom CC mobile. I wrote many articles about it, so I won’t bore you in this article with it. Click on one of the articles I wrote below to learn more about it and its benefits.
How To Install Lightroom Mobile Presets On Your Desktop And Your Phone
How To Use Lightroom Mobile Presets To Edit Your Photos In One Click With Your Phone
Lightroom Mobile: My Travel Photography Workflow To Edit My Photos On The Go
Why Downloading Presets For Lightroom Mobile Often Fail - And How To Fix It
I am currently creating my new online course on how to edit your photos on the go using Adobe Lightroom CC mobile. If you’d like to be one of the first to be notified once it goes live and enjoy an early bird discount, click here.
5. Experiment with different camera modes
Most smartphone cameras have different camera modes, such as portrait, panorama, and night mode.
Experiment with these different modes to see how they affect your photos and find the one that works best for the scene you're trying to capture.
Pro tip: Use the panorama mode if what you are trying to capture does not fit in the frame. It is a way to fake having a wide-angle lens. But make sure to take your panorama from top to bottom when shooting a landscape shot with a sky. This will allow you to keep the details of the sky instead of the highlights being blown out if you’d have started from the bottom to the top.
6. Use a tripod
A tripod can help you take steady, blur-free photos, especially in low light conditions. If you don't have a tripod, try using a stable surface, such as a wall or table, to rest your phone on while taking the photo.
I use my tripod to take advanced travel selfie or long exposure shots specifically at night.
I personally use the Manfrotto mini tripod with a phone holder that rotates 360 degrees. The setup is compact and fits in my jacket pocket or my sling bag.
7. Keep an eye on your background
A cluttered or distracting background can ruin an otherwise great photo. Pay attention to what's in the background of your shot and try to frame your subject in a way that minimizes distractions.
If you happen to have a distracting background and would like to remove some elements, my go-to mobile application is touch-retouch.
If you edit on a desktop, I recommend using Skylum Luminar. I wrote a complete review of it.
You can eliminate undesirable elements in your photos with just one tap.
You can see on this photo if you swipe right how I managed to remove a few distracting elements from this photo.
With these tips in mind, you'll be well on your way to taking great travel photos with your smartphone camera. Don't be afraid to experiment and have fun – that's what travel photography is all about!
It also takes time and practice to get the results you want. It personally took me years to be where I am at today.
If you’d like a shortcut, I invite you to download my free ebook “3 Steps Approach To Mobile Photography” below.
If you enjoyed reading this article, make sure to like it, it actually makes a difference. And if you’d like to receive more photography updates, you can subscribe to my email list above and join thousands of photography enthusiasts like you.


PIN ME