How To Use Lightroom Mobile Presets to edit your photos in one click on your smartphone
/Lightroom mobile presets, for those of you who are not familiar with them, are like Instagram filters for advanced and professional photographers.
They help to create a new look for a photo in just one tap or click. Learning how to use them have saved me a LOT of time editing photos.
When you have up to 50 photos to edit I do not mind doing it individually, but when you have hundreds or thousands of photos to edit from an assignment, that is another story. Hence, the reason to apply a same filter or preset to your photos if you are thinking of editing your photos the same way.
In this article I will share with you how you can use Lightroom mobile presets to edit your photos faster on your phone and desktop.
Get Lightroom CC on desktop
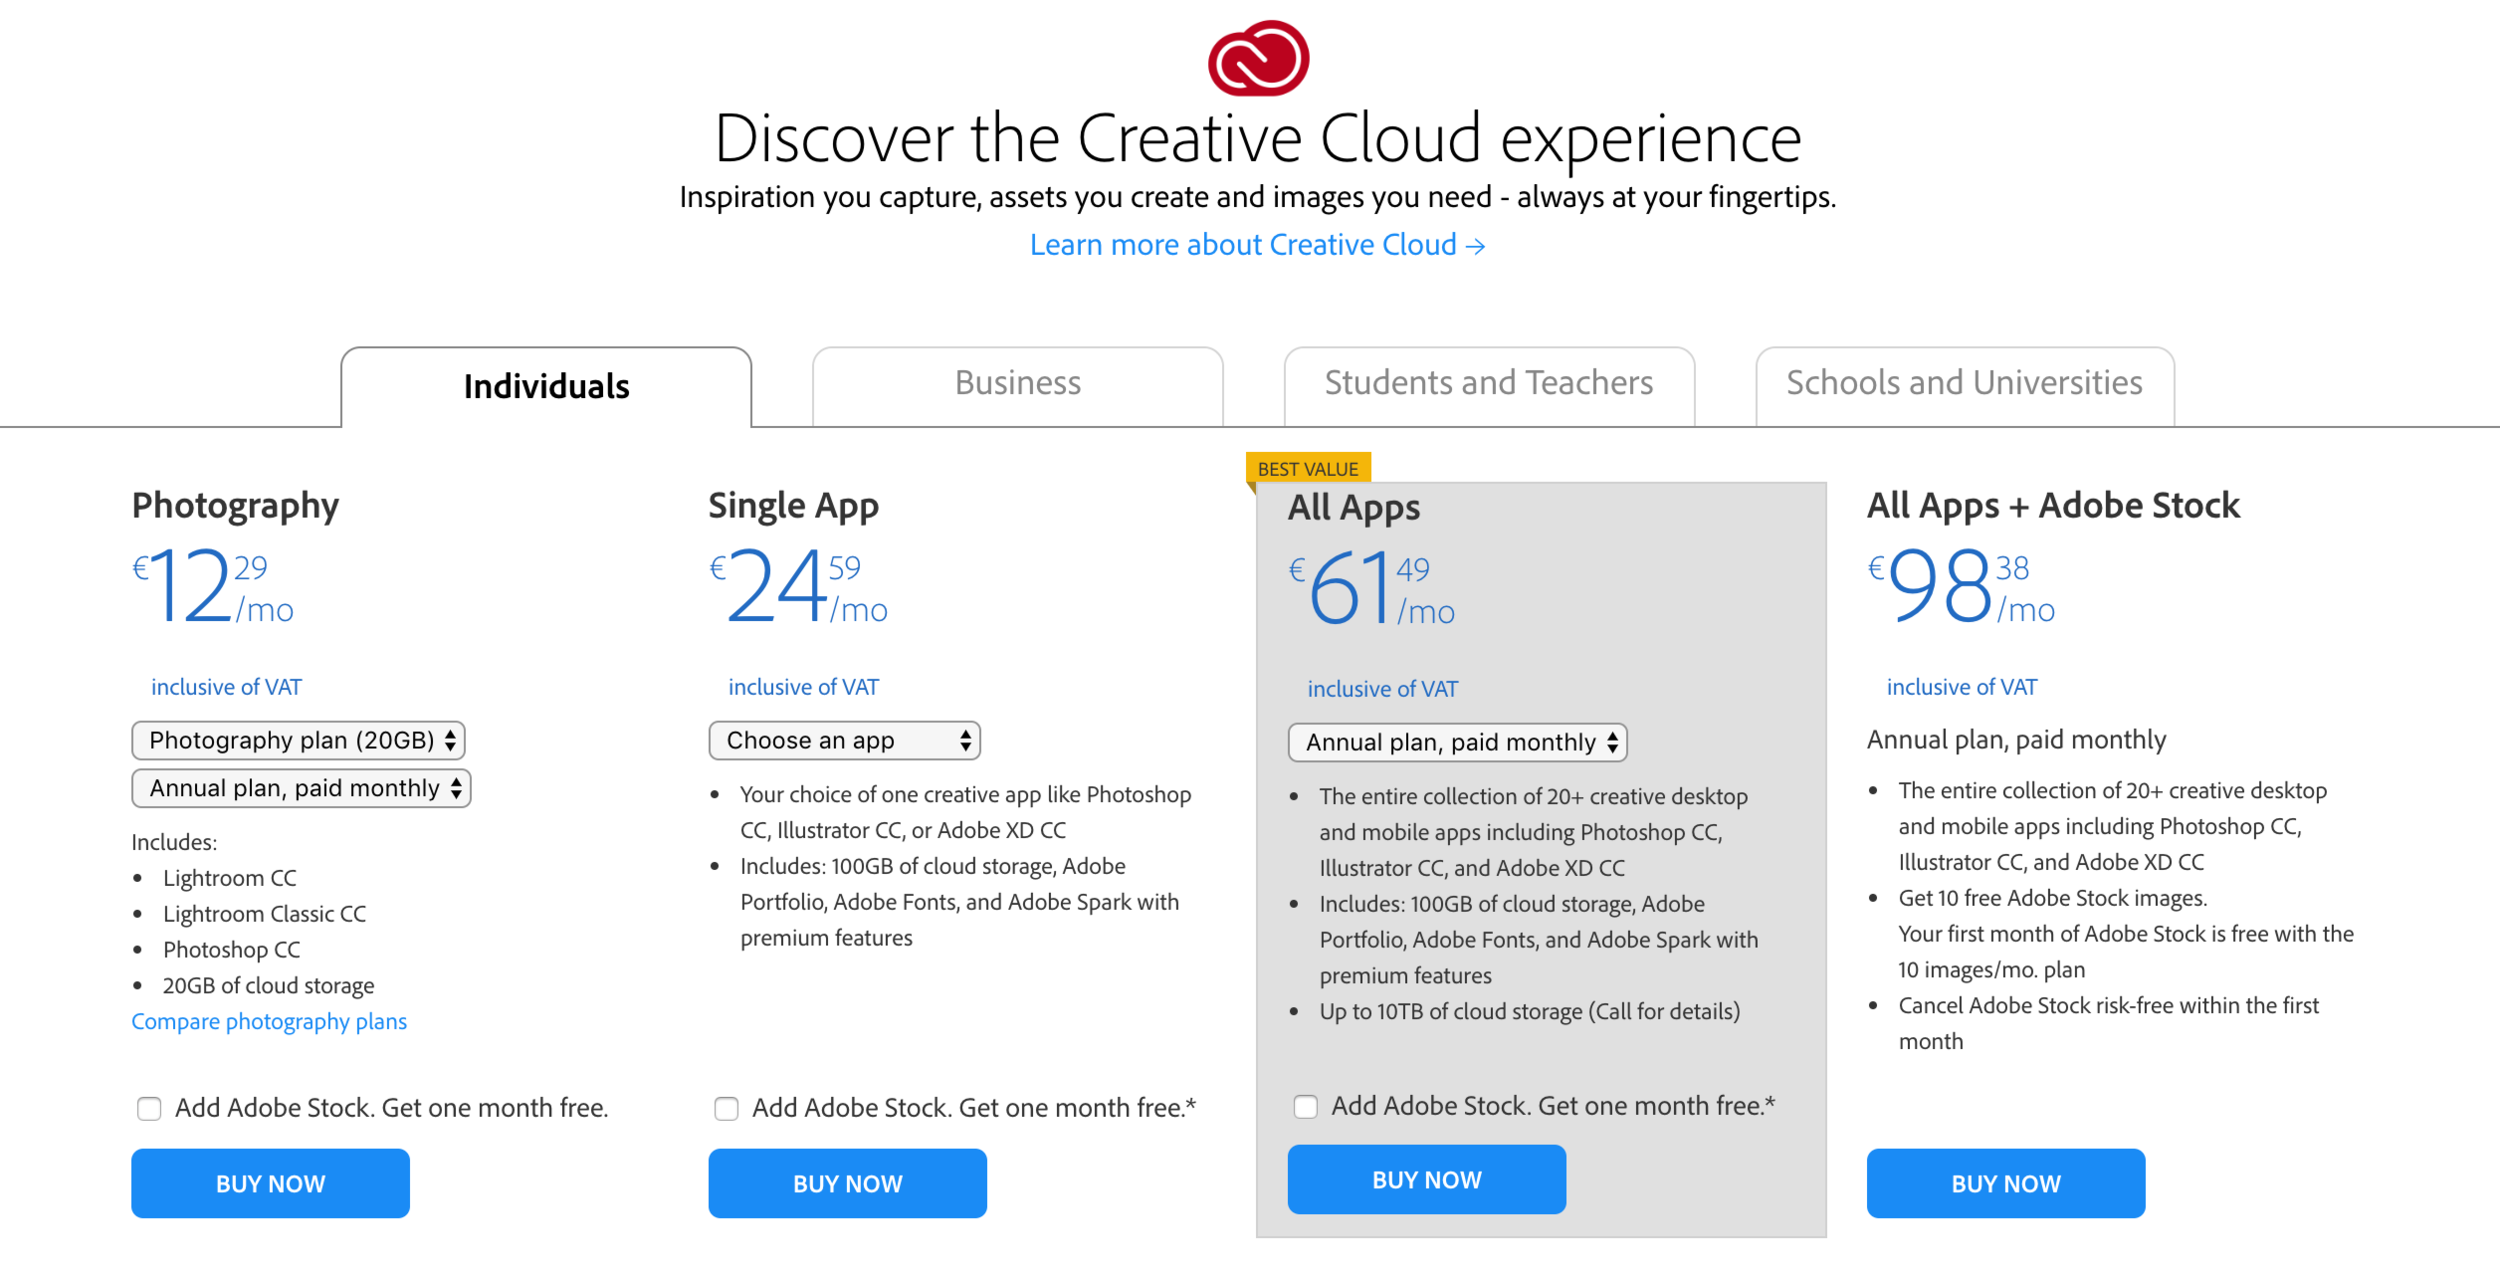
In order to be able to edit your photos with Lightroom on Desktop and Mobile you will need to be subscribed to Adobe Creative Cloud.
You can click here to have an idea of the pricing plans they offer or read this article Why You Should Use Adobe Lightroom To Edit Your Photos I wrote to help you make the decision.
Once you are subscribed, you will have to create your Adobe Creative Cloud account, install Lightroom CC on desktop and then install the application on your phone.
If you are using an iPhone, click here to download the app.
If you are using an Android phone, click here to download the app.
Once installed, you will need to make sure that the synchronisation is activated so that the photos you take or that are stored on your phone get automatically uploaded in the Adobe Creative Cloud.
Create Or Buy Lightroom Mobile Presets
The next step is to either create your own preset if you are comfortable doing it. This could be the topic of another post if you like, just let me know in the comments.
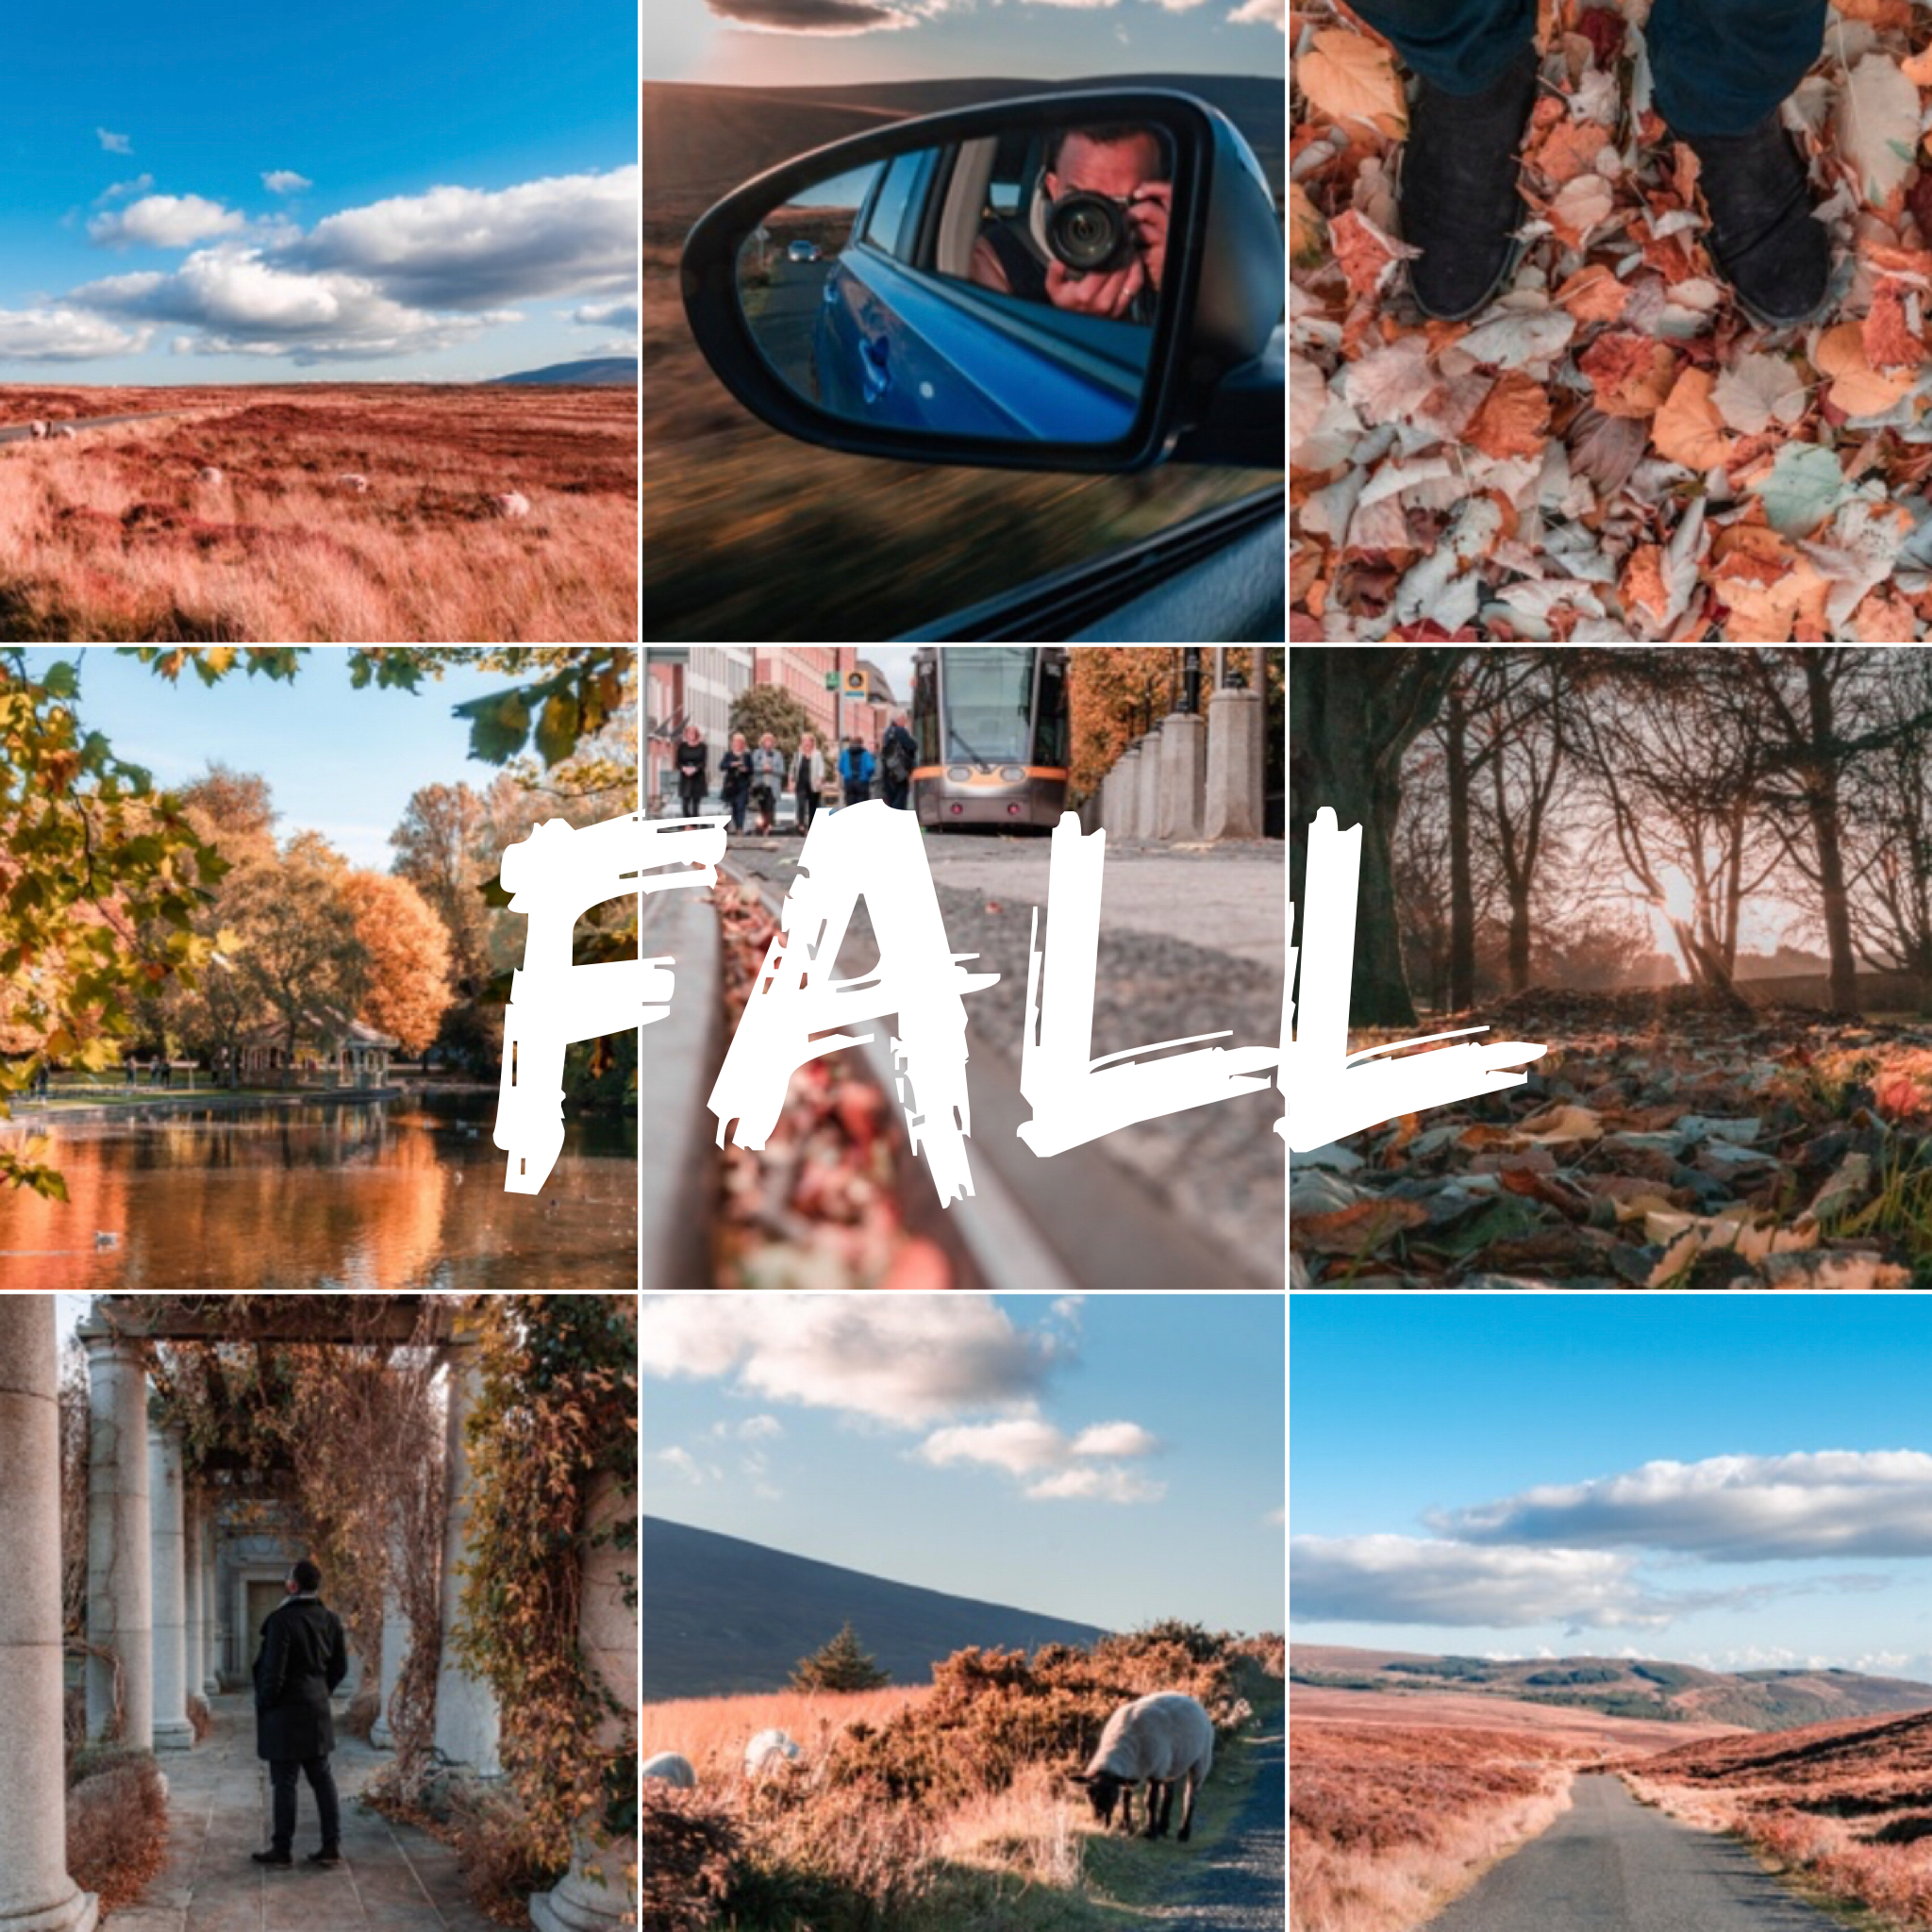
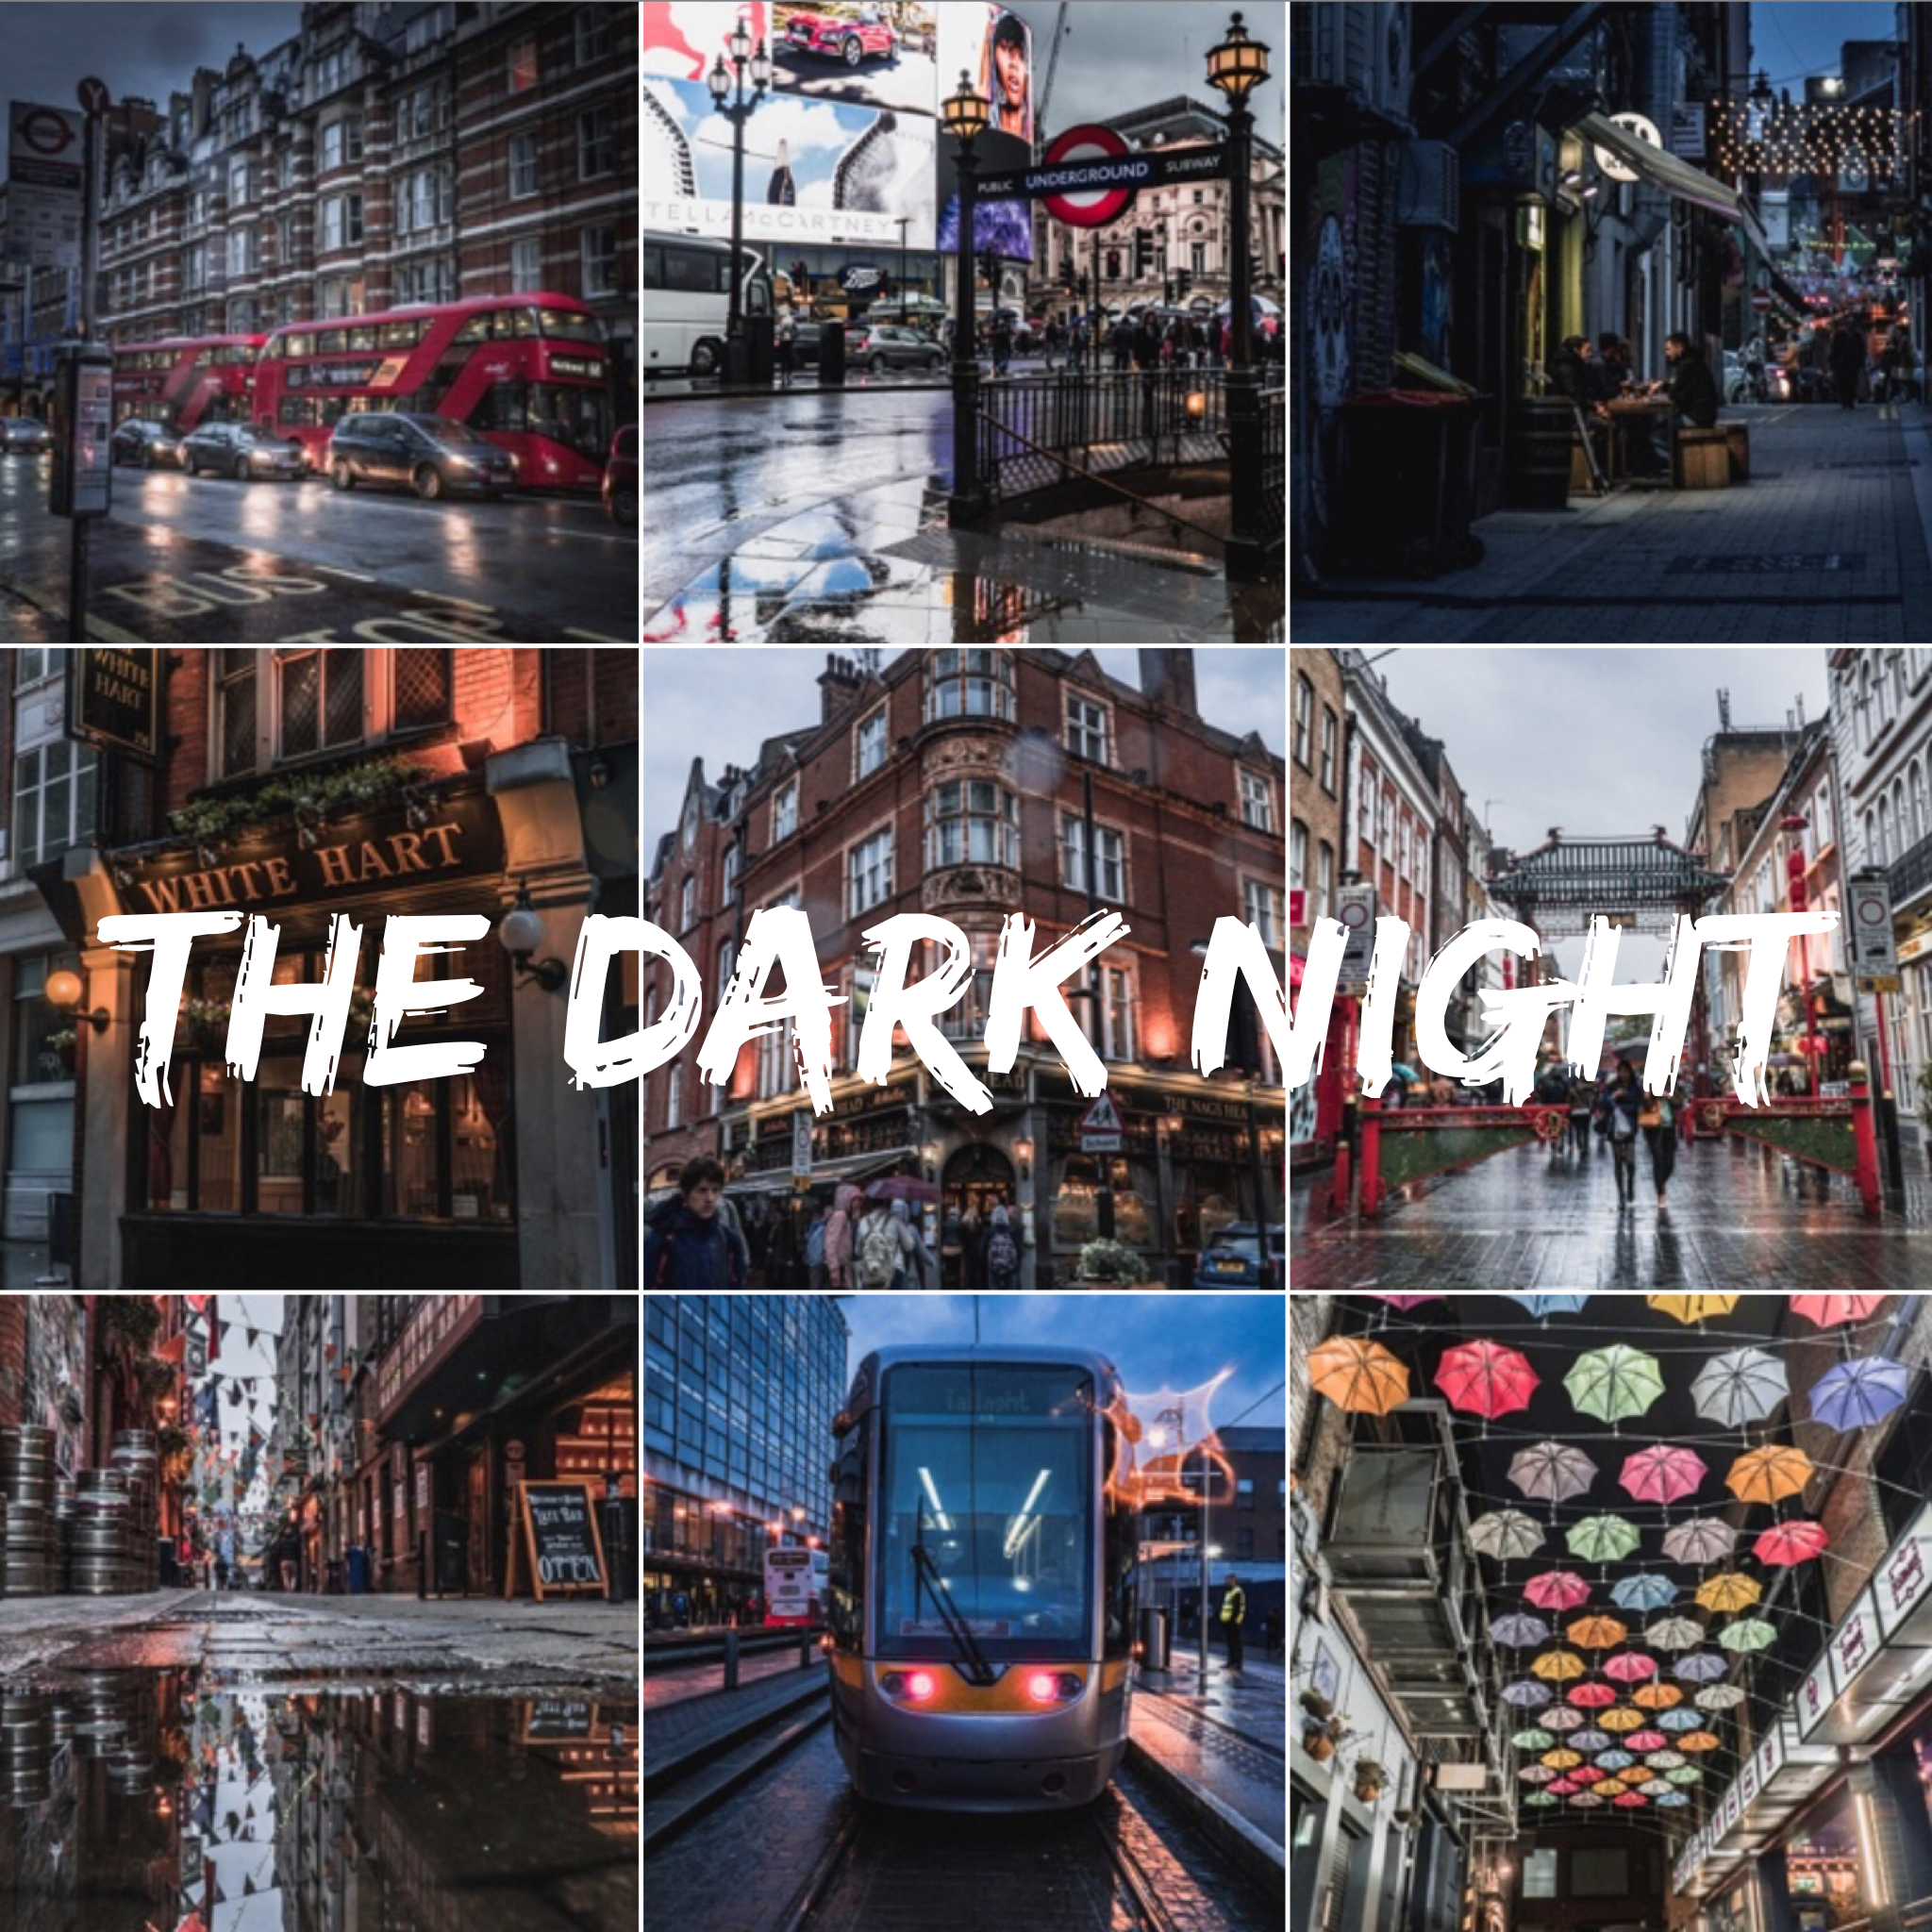
Or, buy presets that work with your photography style. You can check out my NEW Lightroom Travel Preset bundle . It took me a few weeks to work on them so that they can be used to any style of photography and any situations.
The advantages of using Lightroom mobile presets are mostly if you are a beginner photographer and want to get familiar with the editing process of other photographers you like.
Or, for more advanced photographers who do not want to spend too much time editing and apply the same filter to every photo. I’d say the latter would be perfect for any Instagram influencers willing to have a cohesive feed look.
Have a look at a few samples of my presets below.
How To Add Lightroom Presets On Mobile
If you decided to buy my presets, you will need to install them first before using them. Check out my article How to Install Lightroom Presets On Desktop and Mobile for more information.
Pick RAW or DNG file format while taking your photos on mobile.
In order to make the best of the presets you buy, you will need to shoot your photos in RAW format if you shoot them with a DSLR, point and shoot or mirrorless camera.
Or you can use the camera app within Lightroom mobile to take your photos and in that case you will need to select DNG format before taking your photo.
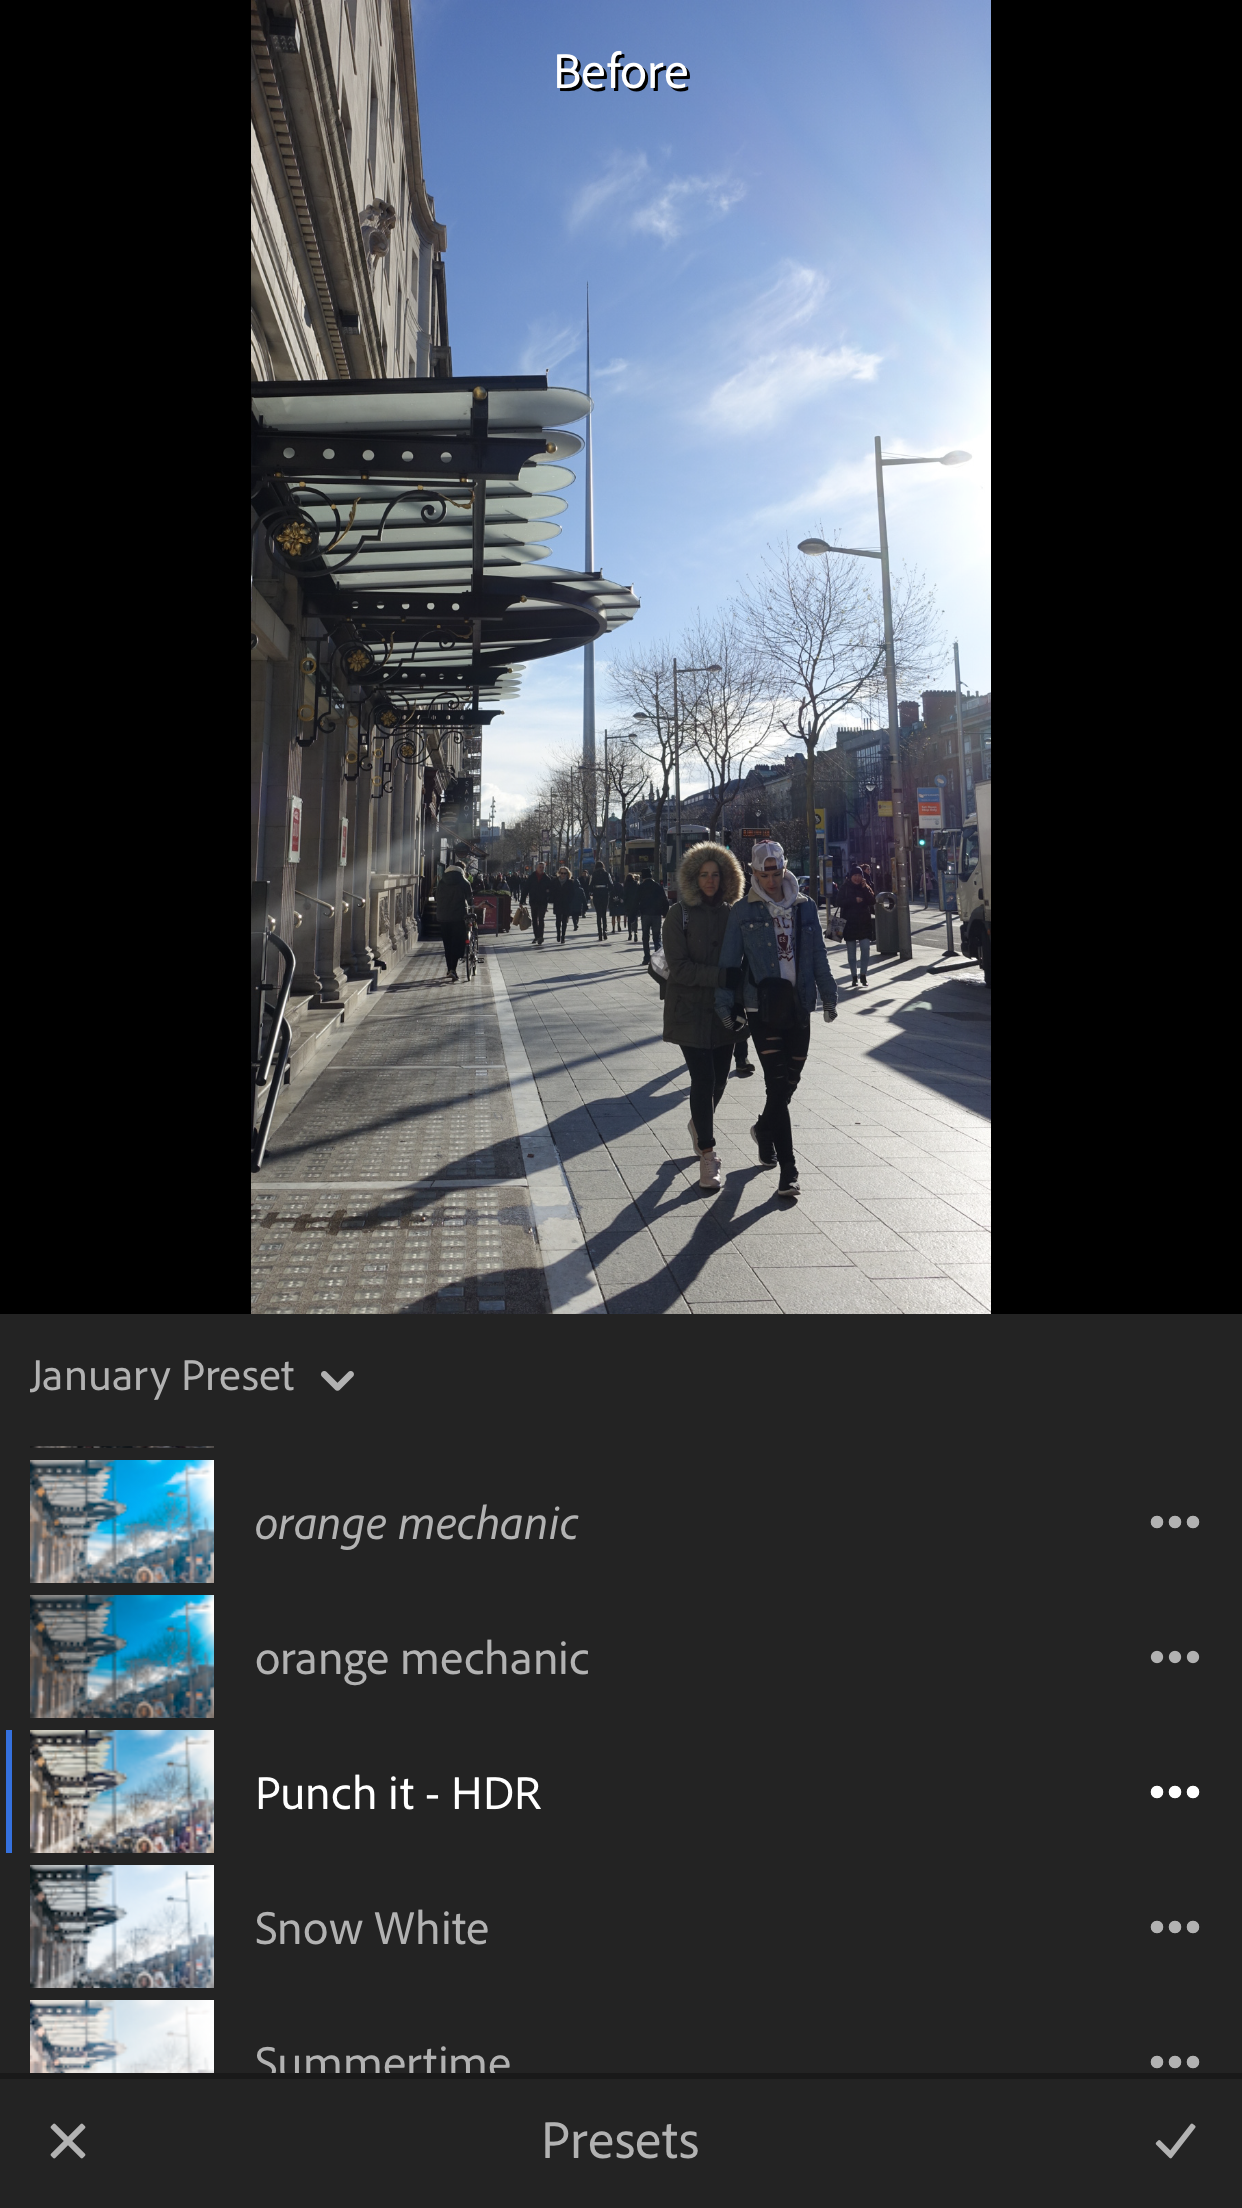
Open Lightroom Mobile app, select preset, select the one of your choice, tweak adjustments
Once your photo is taken, you will be able to find it stored in the gallery.
All you need to do now is swipe to the right, tap on the icon presets, select the preset of your choice according to the style of photography you want to go after and voila your photo is now edited in one click with the preset you bought.
However, note that every preset works differently on every photo because of different light or colour settings. So you may need to still apply a few adjustments.
But the main benefit is that you won’t have to start from scratch and it will save you a lot of time editing.
Bonus
Thanks to Adobe Creative Cloud, you can now start editing your photos on your mobile phone or tablet, if like me you are always on the go, and then continue the edit on the desktop version of Adobe Lightroom CC.
You won’t need to do another transfer as the photo would have automatically synced between the desktop and mobile version of the app. That is what I love the most about it.
Using Lightroom presets and editing my photos with Adobe Lightroom Creative Cloud have drastically changed the way I take and edit my photos.
As a content creator, I have to create content fast and publish it fast also.
When I used to travel often in the past, I had to carry my laptop all the time to be able to edit my photos on the go and when you are just leaving for a few days, that is a lot of gear and weight to carry around.
But now I can just take some photos on my camera, transfer them wirelessly from my camera to my phone or tablet, open Lightroom app, apply a preset and a few adjustment to my photos and I am done.
It takes me less than 5 minutes to do it. How cool is that?
And as it syncs automatically with the desktop version, I can take care of organising the files when I open the desktop version of the app. No wonder every professional photographer uses this application. It is so user friendly and time saving.
What about you? Are you already using it? If yes, what is your favourite feature and how did it change your workflow since you started using it. If not, are you thinking of using it after reading this article? Let me know in the comment section below.
I hope that you found this article helpful. If you did, make sure to like this post, it actually makes a difference and if you would like to buy my 2019 Travel Pack Presets you can find them right here.
Do you want to take better pictures with your phone? Get frustrated when you leave the camera at home. Follow my 3 steps approach and take stunning travel photos.
Register for my free mobile photo webclass that will teach you how to shoot like a pro with your phone!

