How to install Lightroom mobile presets on Desktop and your phone
/Since early 2018 I have been using Lightroom to edit my photos. The reason why is that I shoot my photos in RAW format and in order to edit them, you need a software that can read RAW format files. If you would like to learn more about Lightroom, you can check out this blog that I wrote Why You Should Use Adobe Lightroom To Edit Your Photos.
Now, the thing is that I do not always have my camera with me and since I upgraded my phone to an iPhone 7 plus in 2018 I surprised myself using it all the time to shoot photos.
The great news is that smartphone cameras have become so powerful that you can now shoot RAW using your smartphone! YAY!
Some smartphones will do it by selecting the option in their native camera app, others will need to use a third-party app.
Here is another good news, since October 2017, Adobe has released Lightroom CC application and you can now shoot RAW and edit your photos on the go!
So now, there are two versions of Lightroom, Lightroom Classic for desktop and Lightroom CC or Creative Cloud mostly intended for mobile photographers or photographers who need to edit on the go.
When it comes to editing my photos, I like to use presets in order to create a cohesive look on all my photos. Even though applying presets does not always make the final photo, they provide a solid editing ground to apply a mood to your photos before applying the final tweaks.
You can have a look at my set of Travel presets here. I spent a few months working on them to make sure they could adapt to any situation when travelling. Click on the button below to see for yourself.
Here you can find 11 custom Travel Lightroom Presets I have created for any type of scenes. From Landscape and Urban to Lifestyle and Portrait shots, these filters will enhance your photos with unique amazing colours and style.
All of them come in 3 different styles (basic + low & high contrast) so there will be 33 presets in total to create beautiful Instagram photos and impress your followers with your brand new cohesive feed!
So how to apply those presets, whether you are using the Desktop or mobile version of Lightroom? This is what I break down in this article.
Desktop
It is very simple to install your presets.
There are two ways:
The first one is if you are subscribed to Adobe Creative Cloud
The second is if you are NOT subscribed to Adobe Creative Cloud
Solution #1:
On desktop, open Adobe Lightroom Classic CC, scroll down to preset, click right on one of the presets and select show in finder when using a Mac.
The folder where all your presets are stored will open. Select the file ending with (.xmp files)
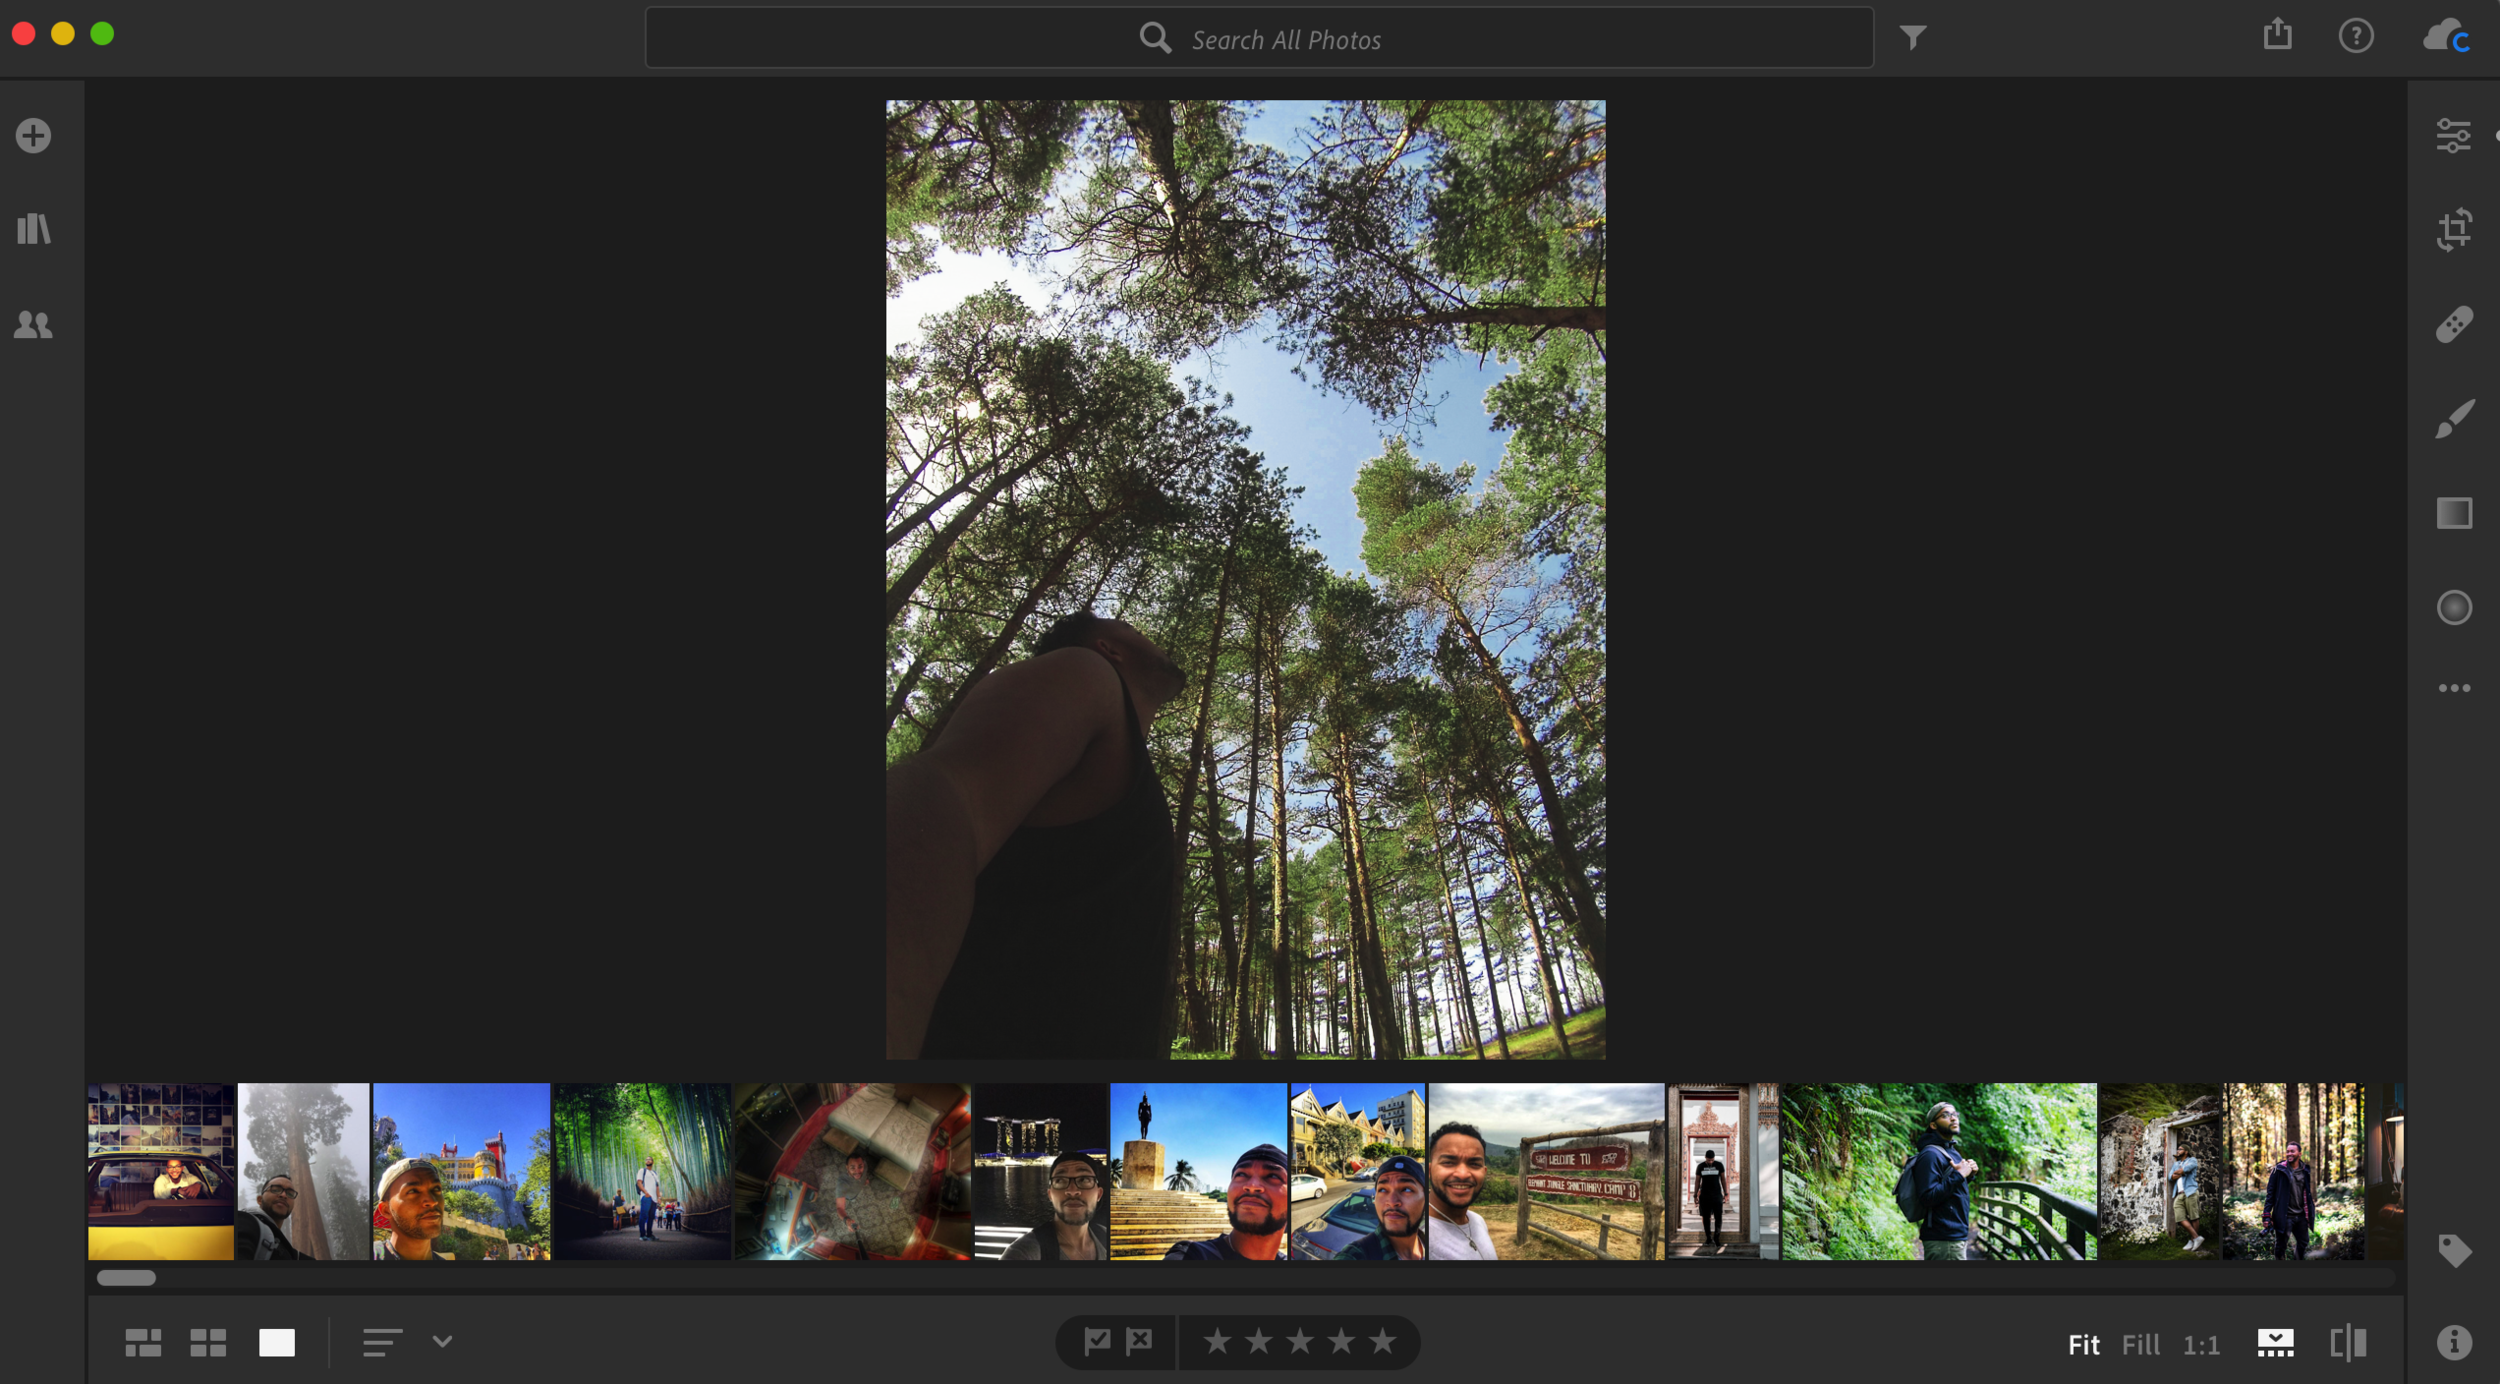
Now open Lightroom CC
Click on the sliders icon in the top right
Scroll down and click on Presets at the bottom
Then click on the 3 dots and import presets
Select your presets from the folder where they are stored and click on import
Now the creative cloud will install the presets on both Adobe Lightroom CC desktop…
and the mobile version.
Solution #2:
It is a bit of a long process but it is doable. I tried to break down the process as simple as possible below for iOS and Android users.
LIGHTROOM MOBILE users (APP): iOS Users
1. install the Lightroom Mobile App (if you haven’t yet) on your phone
2. I recommend to install two more applications, Dropbox to be able to save and download the Zip Files directly to an iPhone or iPad. And iZip or similar to be able to open the zip file once it will be downloaded.
3. If you decide to buy my Lightroom Travel Pack 2019 presets, as soon as you place an order you will be able to download your pack directly on the confirmation page
or via the order confirmation email that contains a download link.
Note: Make sure to download them within 24h before the link expires.
Once you download Your Presets, this should automatically open up the Dropbox Application. (cf. slideshow below)
After you click your download link, you will see the page below, just tap more and follow the steps:
select dropbox to open the file
You can either download directly or create a new folder.
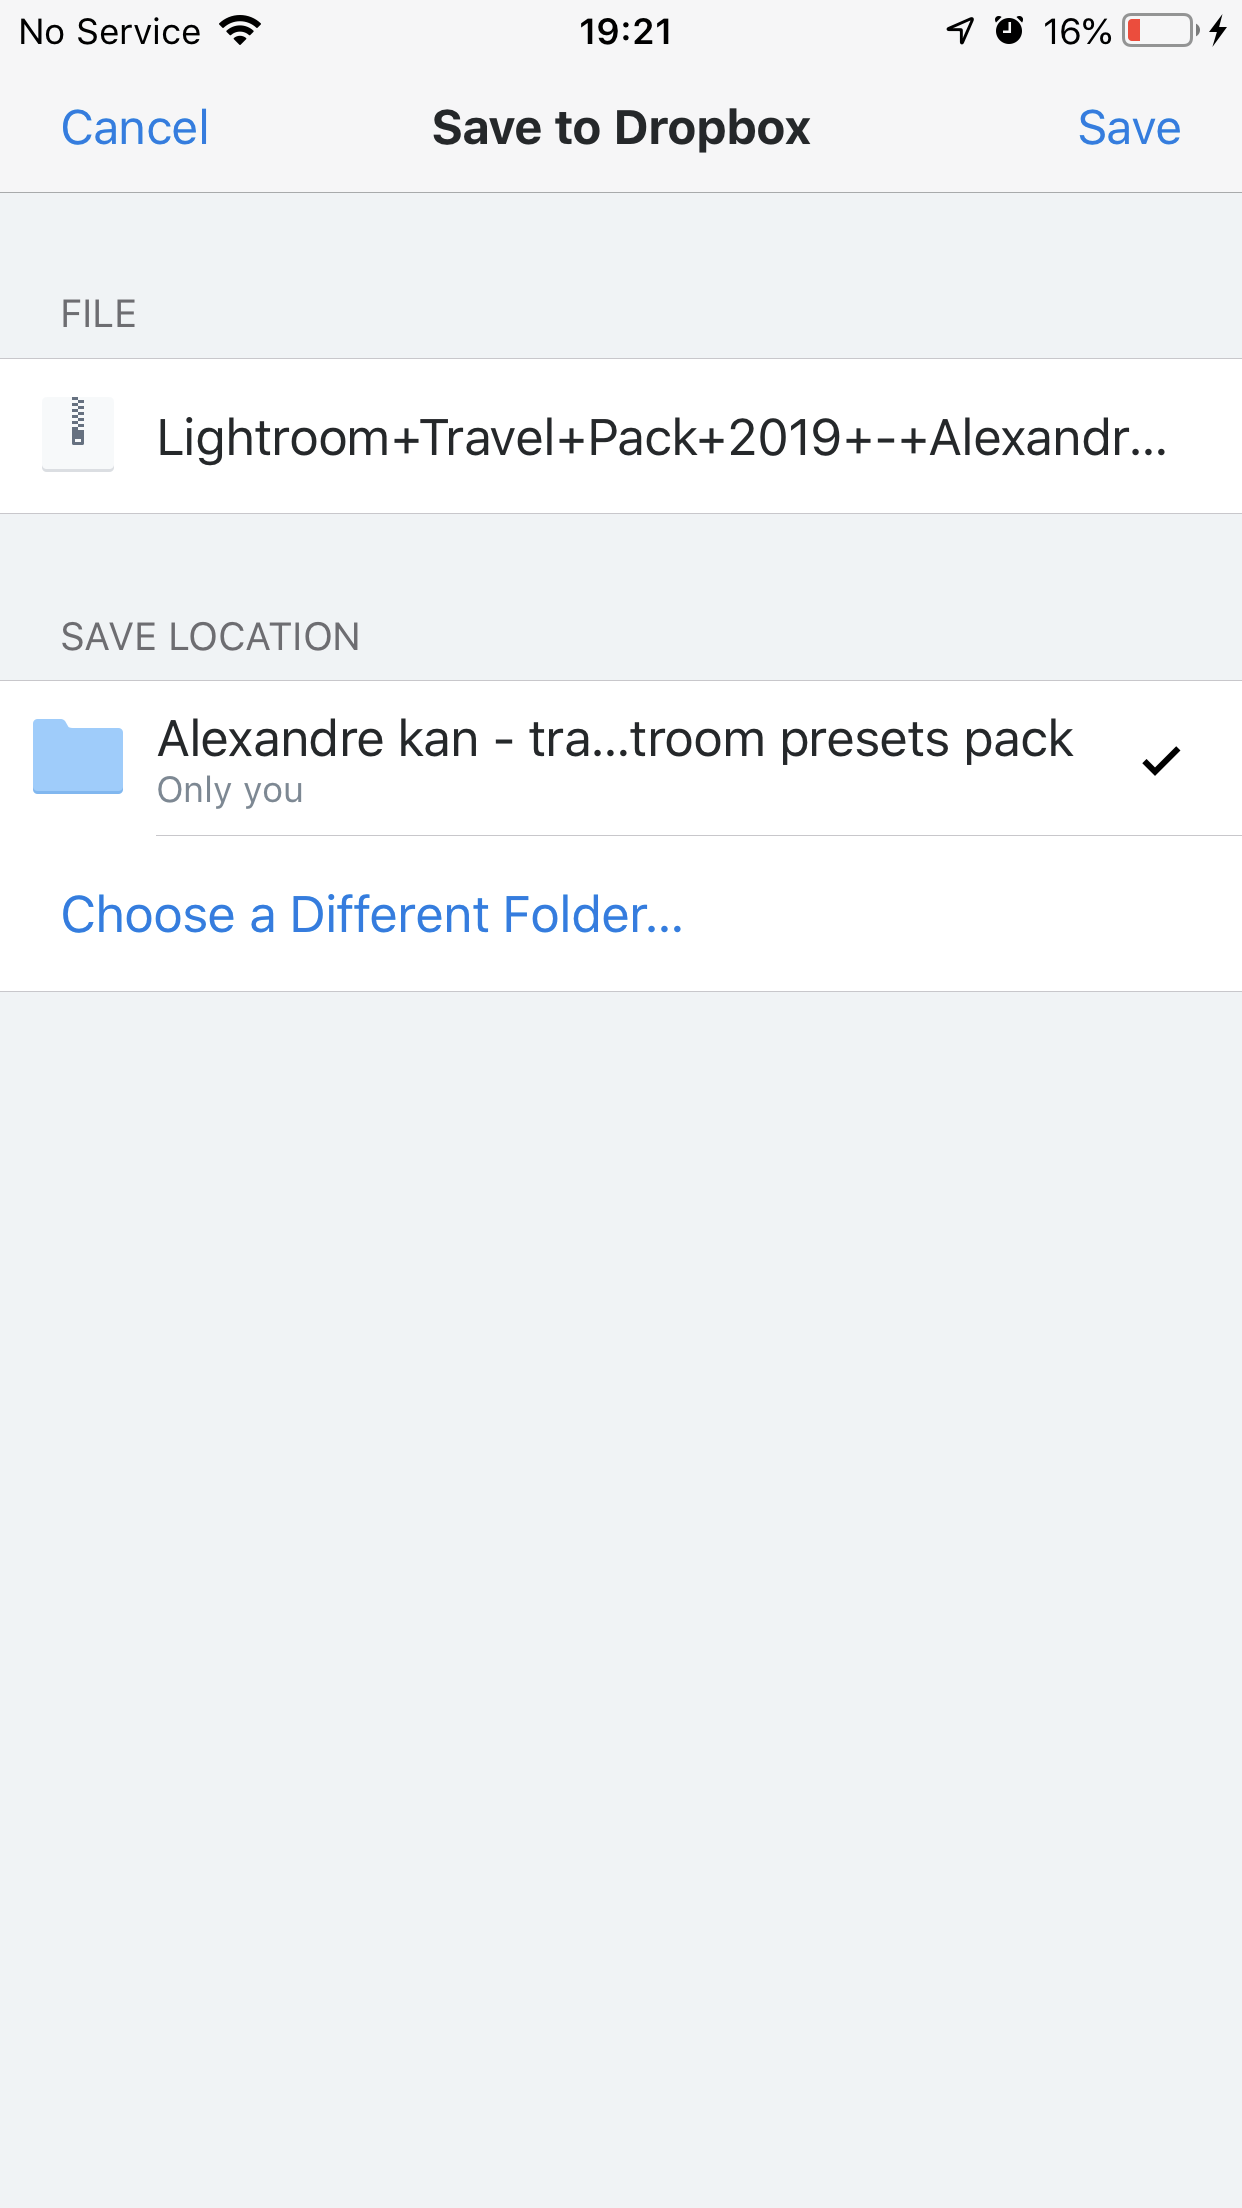
If you create a new folder to store the file, name it as you like. For this example I named it “Alexandre Kan - Travel Lightroom Presets Pack”
A new empty folder will open, tap choose at the bottom right
Then tap save on the next screen.
Your file is now saved in Dropbox. Tap on the 3 little dots under the zip file and select export.
Select Copy to iZip to unzip the file.
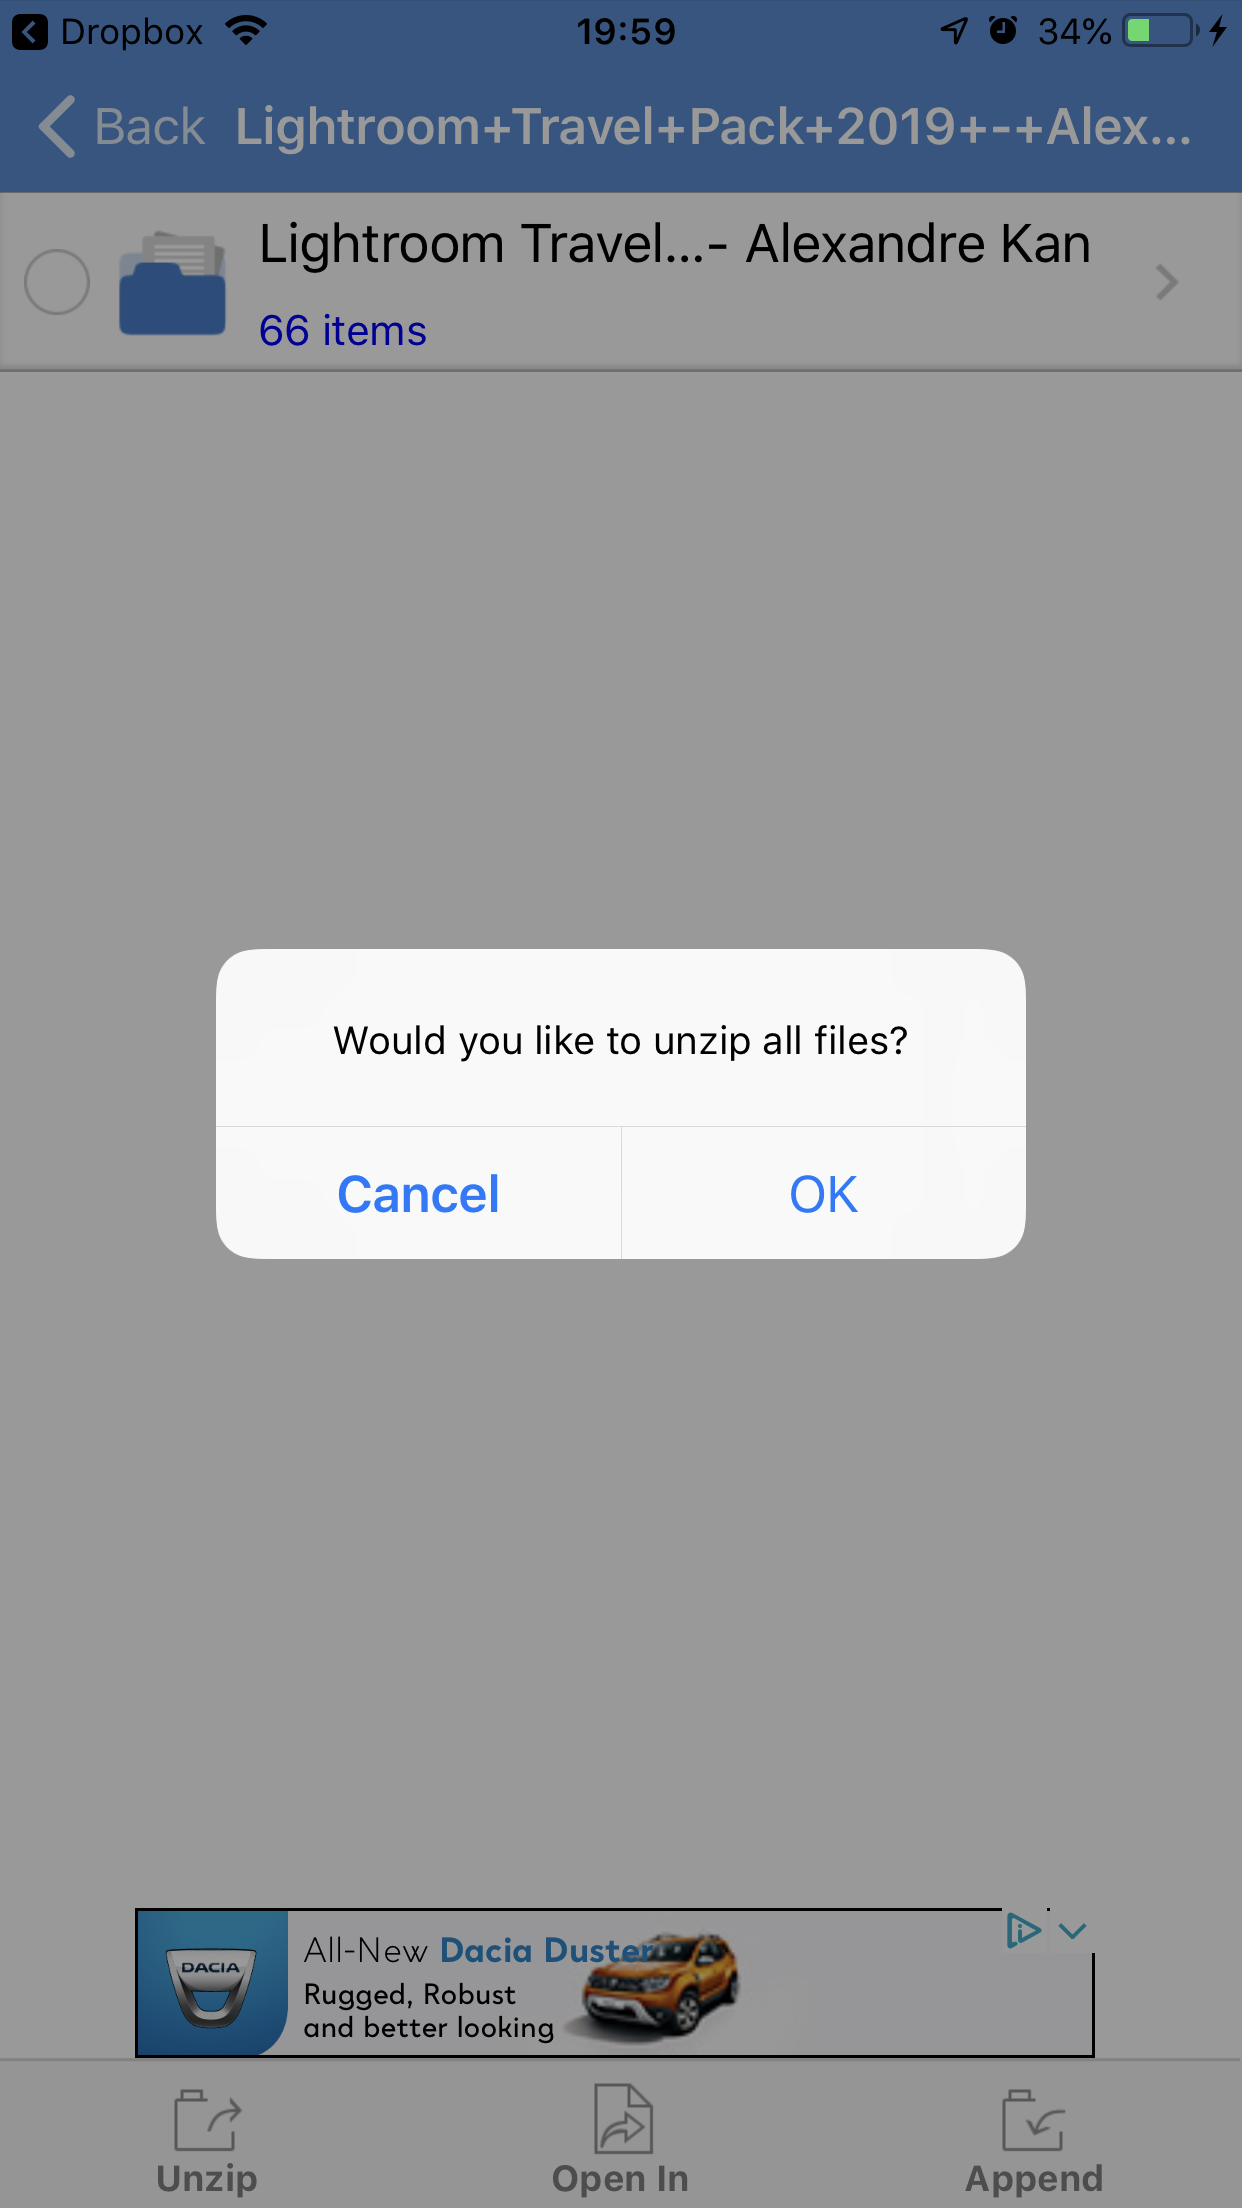
Tap ok to the question “ Would you like to unzip all files”
After extraction you will see a new folder (Alexandre Kan - Travel Pack Presets) click on that folder to open it and tap on the file ending with (.DNG files).
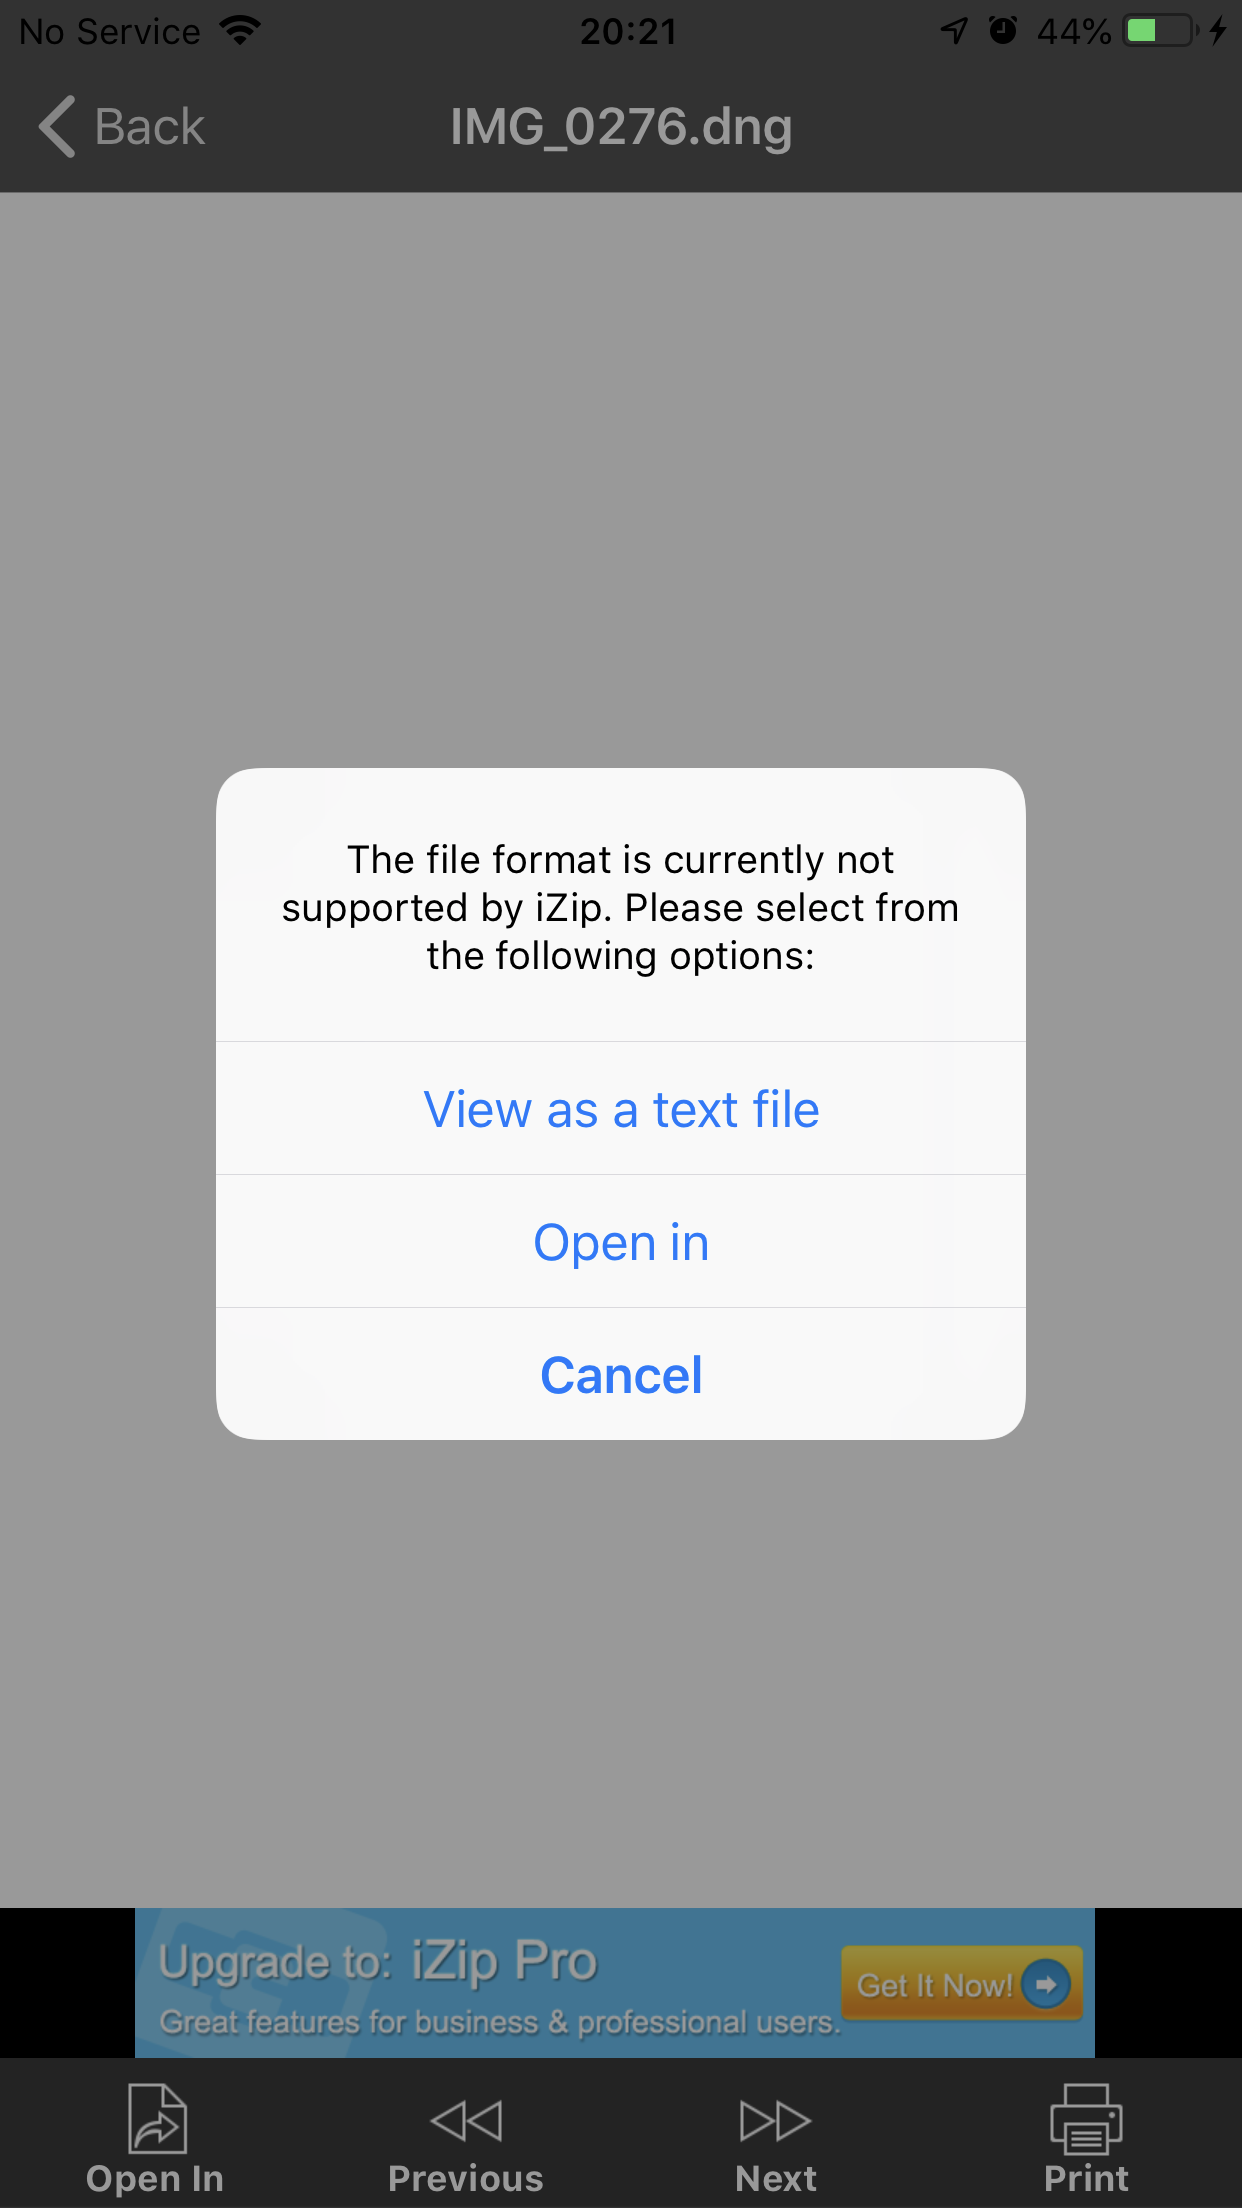
Select the first file and choose “open in” and then “copy to Lightroom Mobile”.
Repeat step 7 for all DNG preset files you want to import to Lightroom Mobile.
Once you imported all files open the Lightroom Mobile App again.
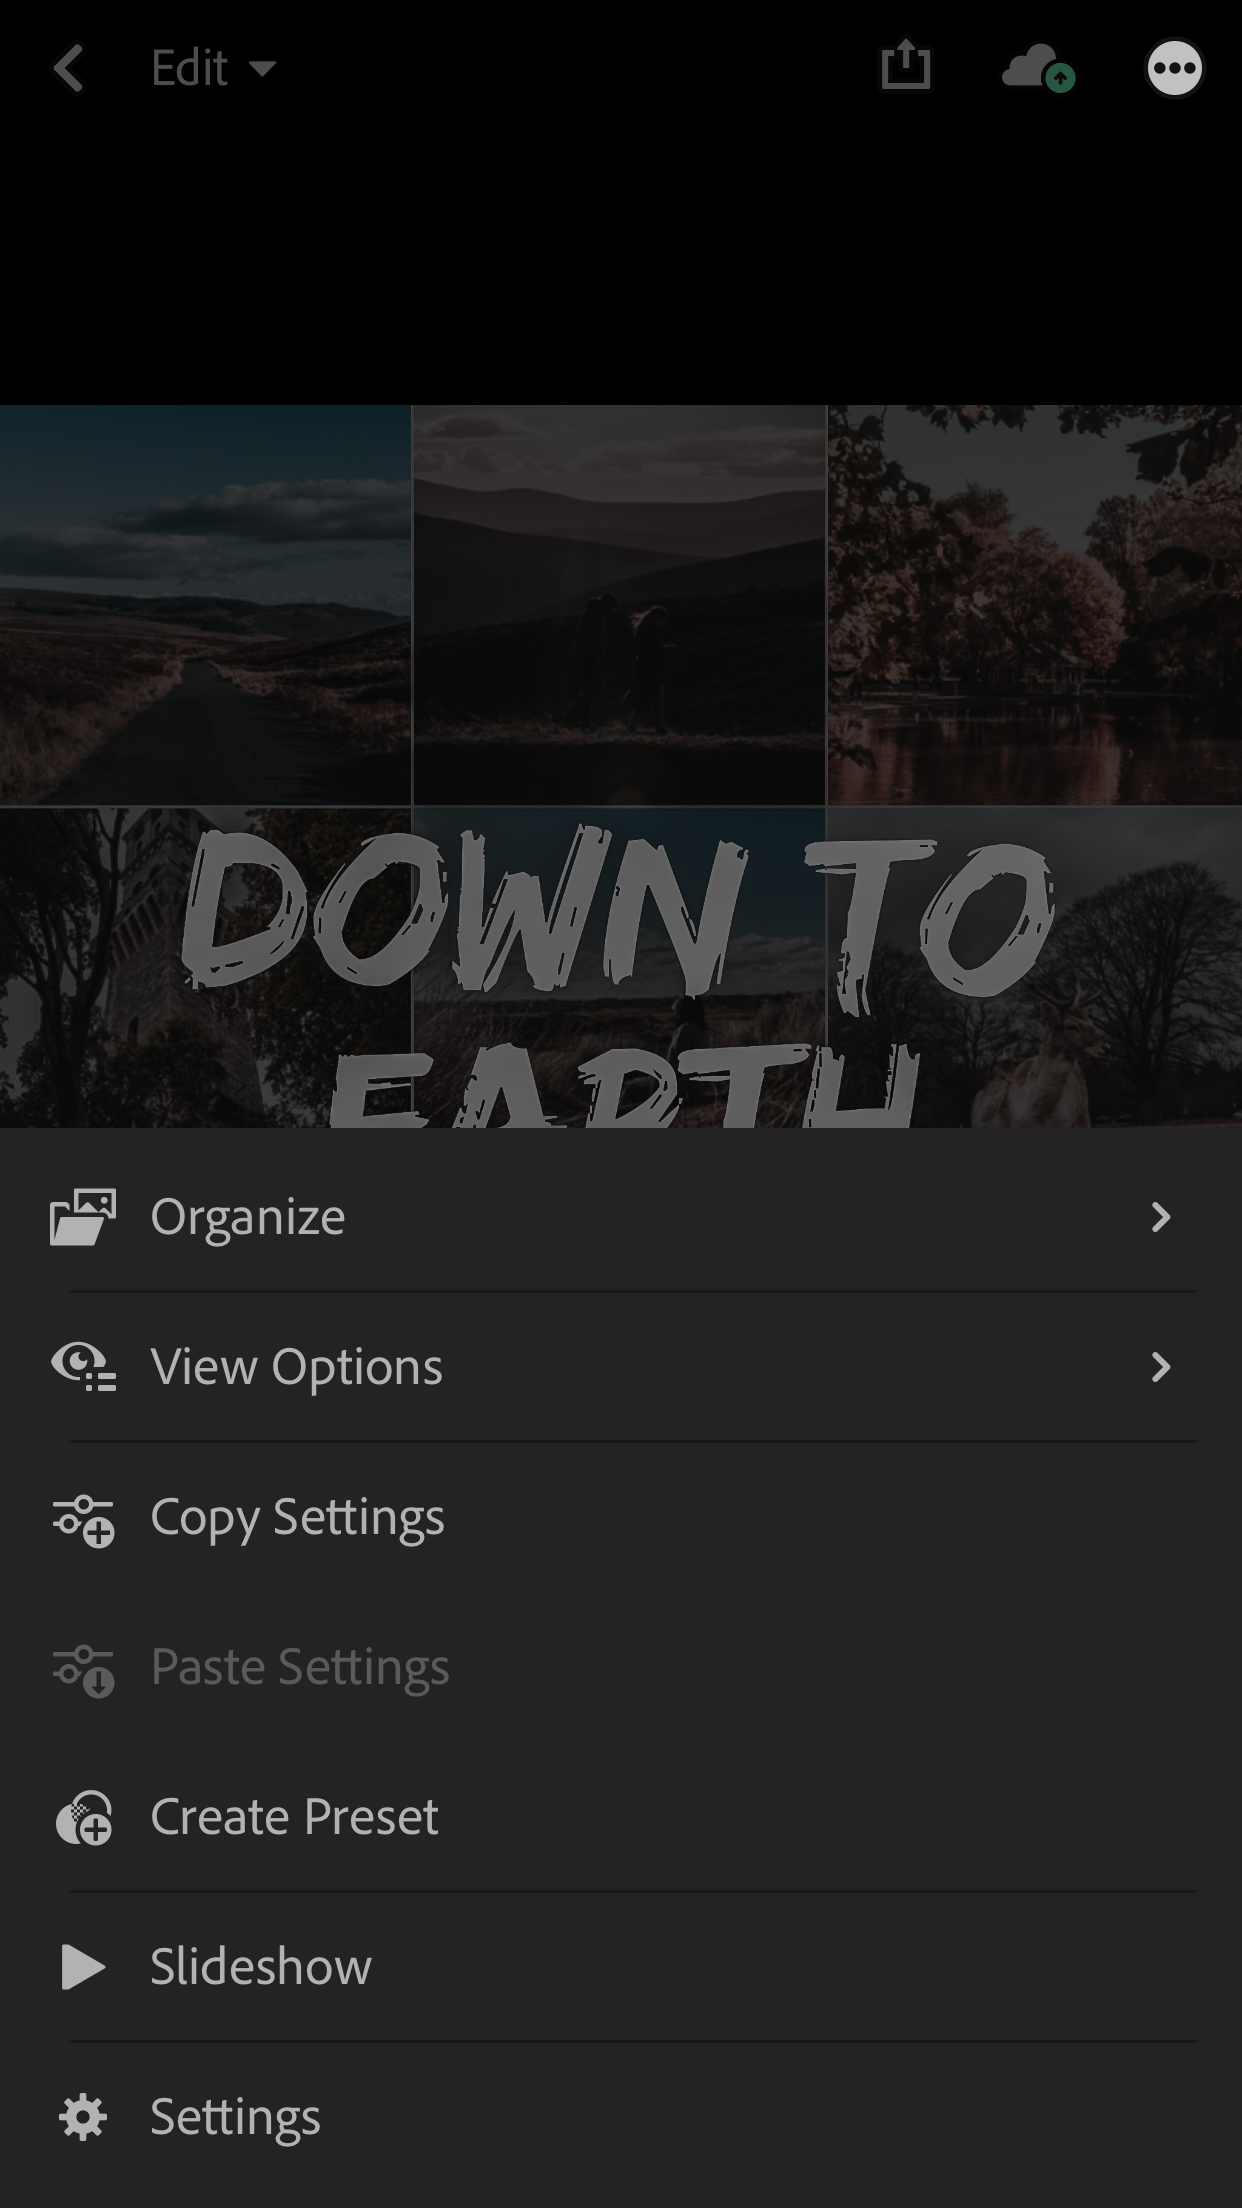
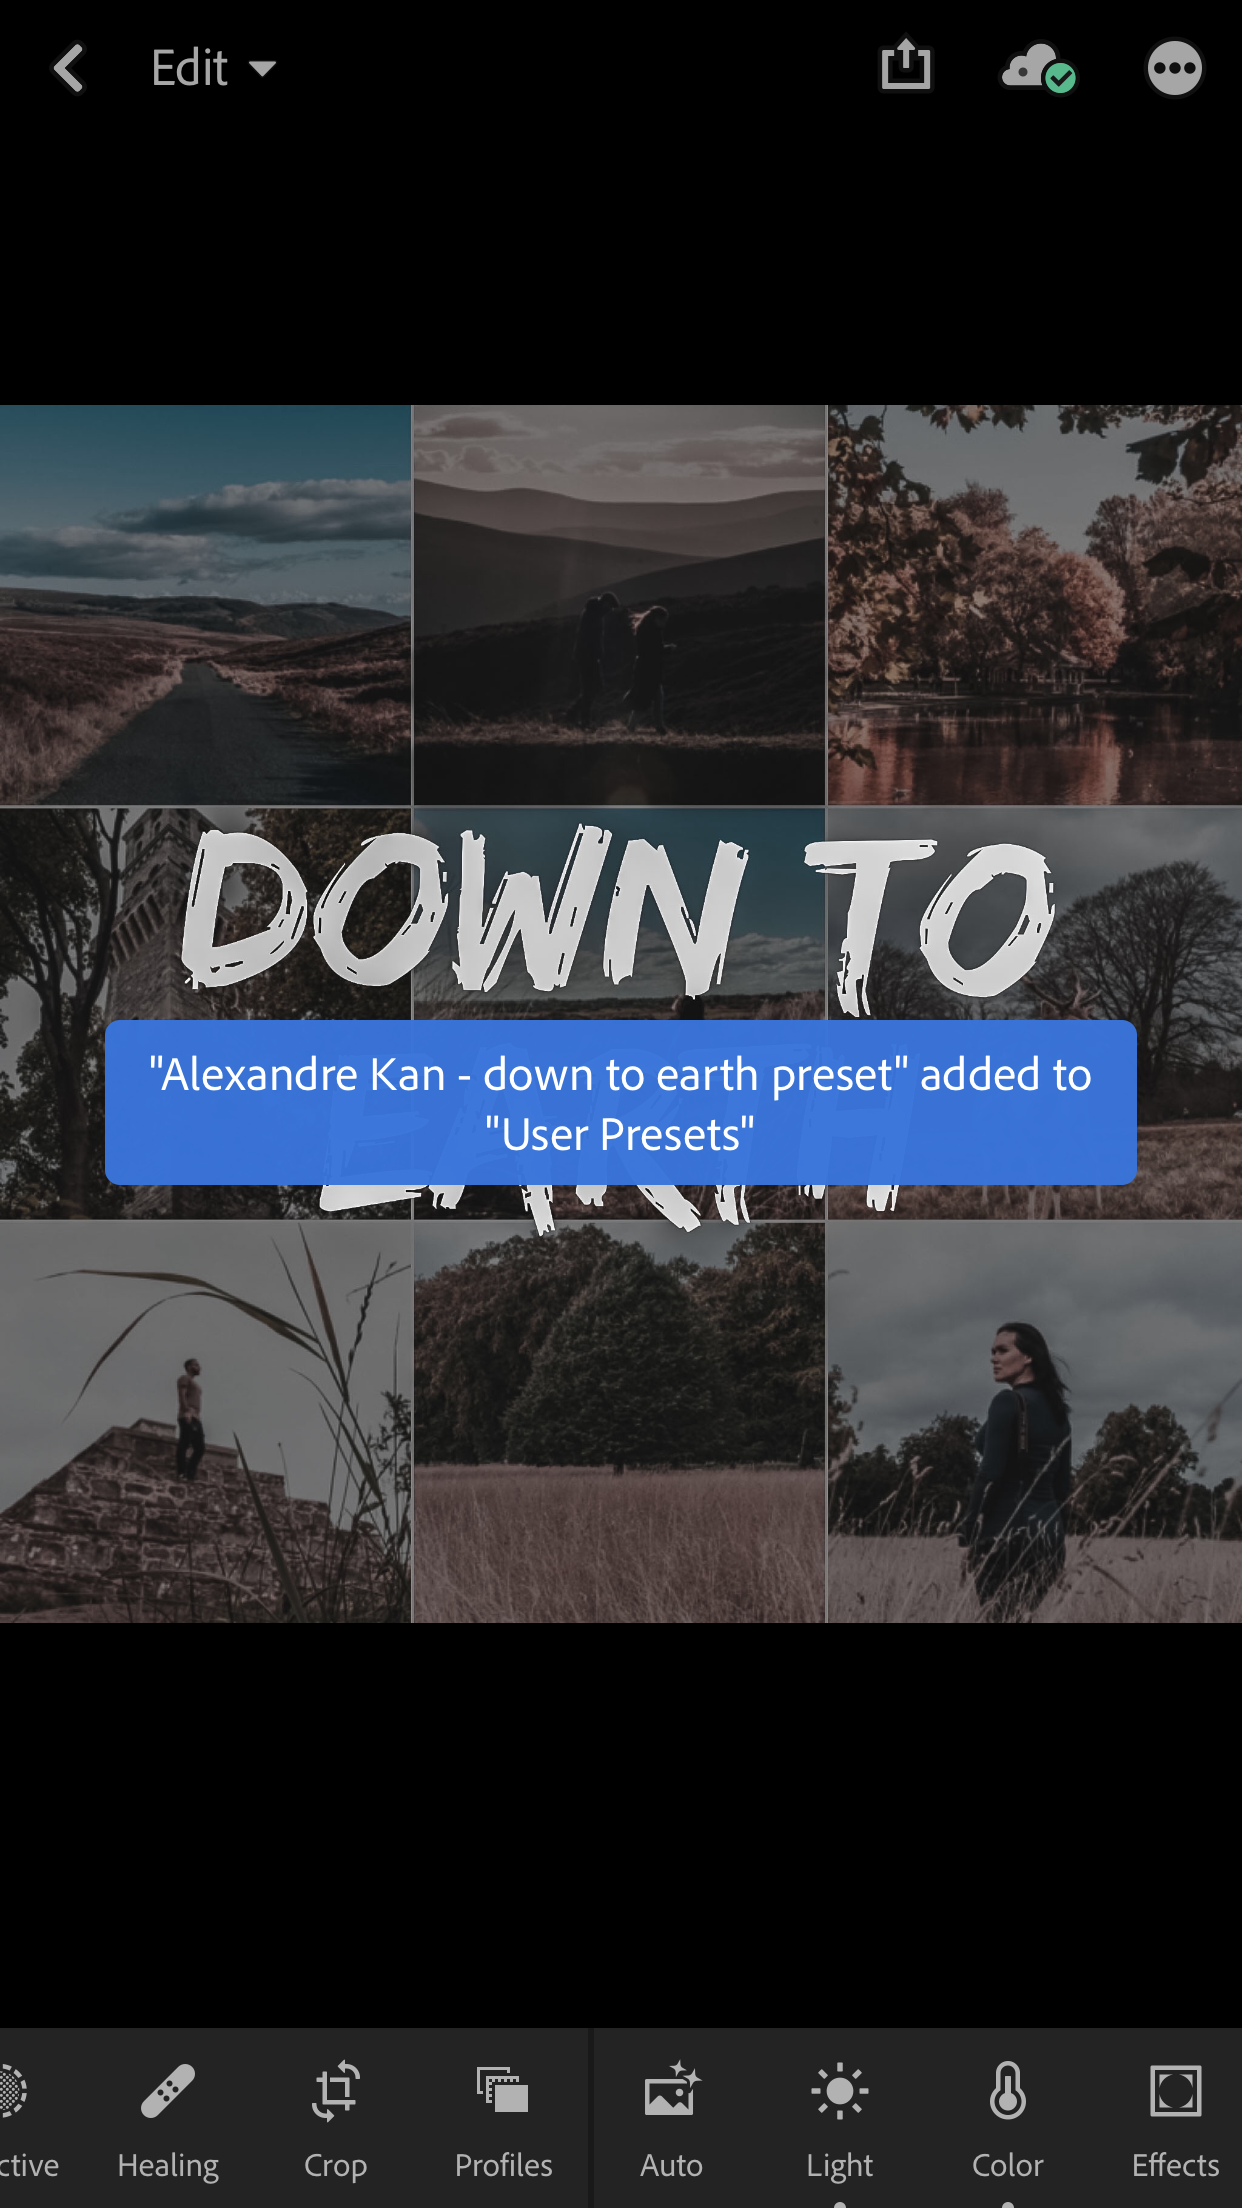
Click the three dots in the upper right corner and choose “create preset”. Choose the same name as the one on the image to make it simple & save it.
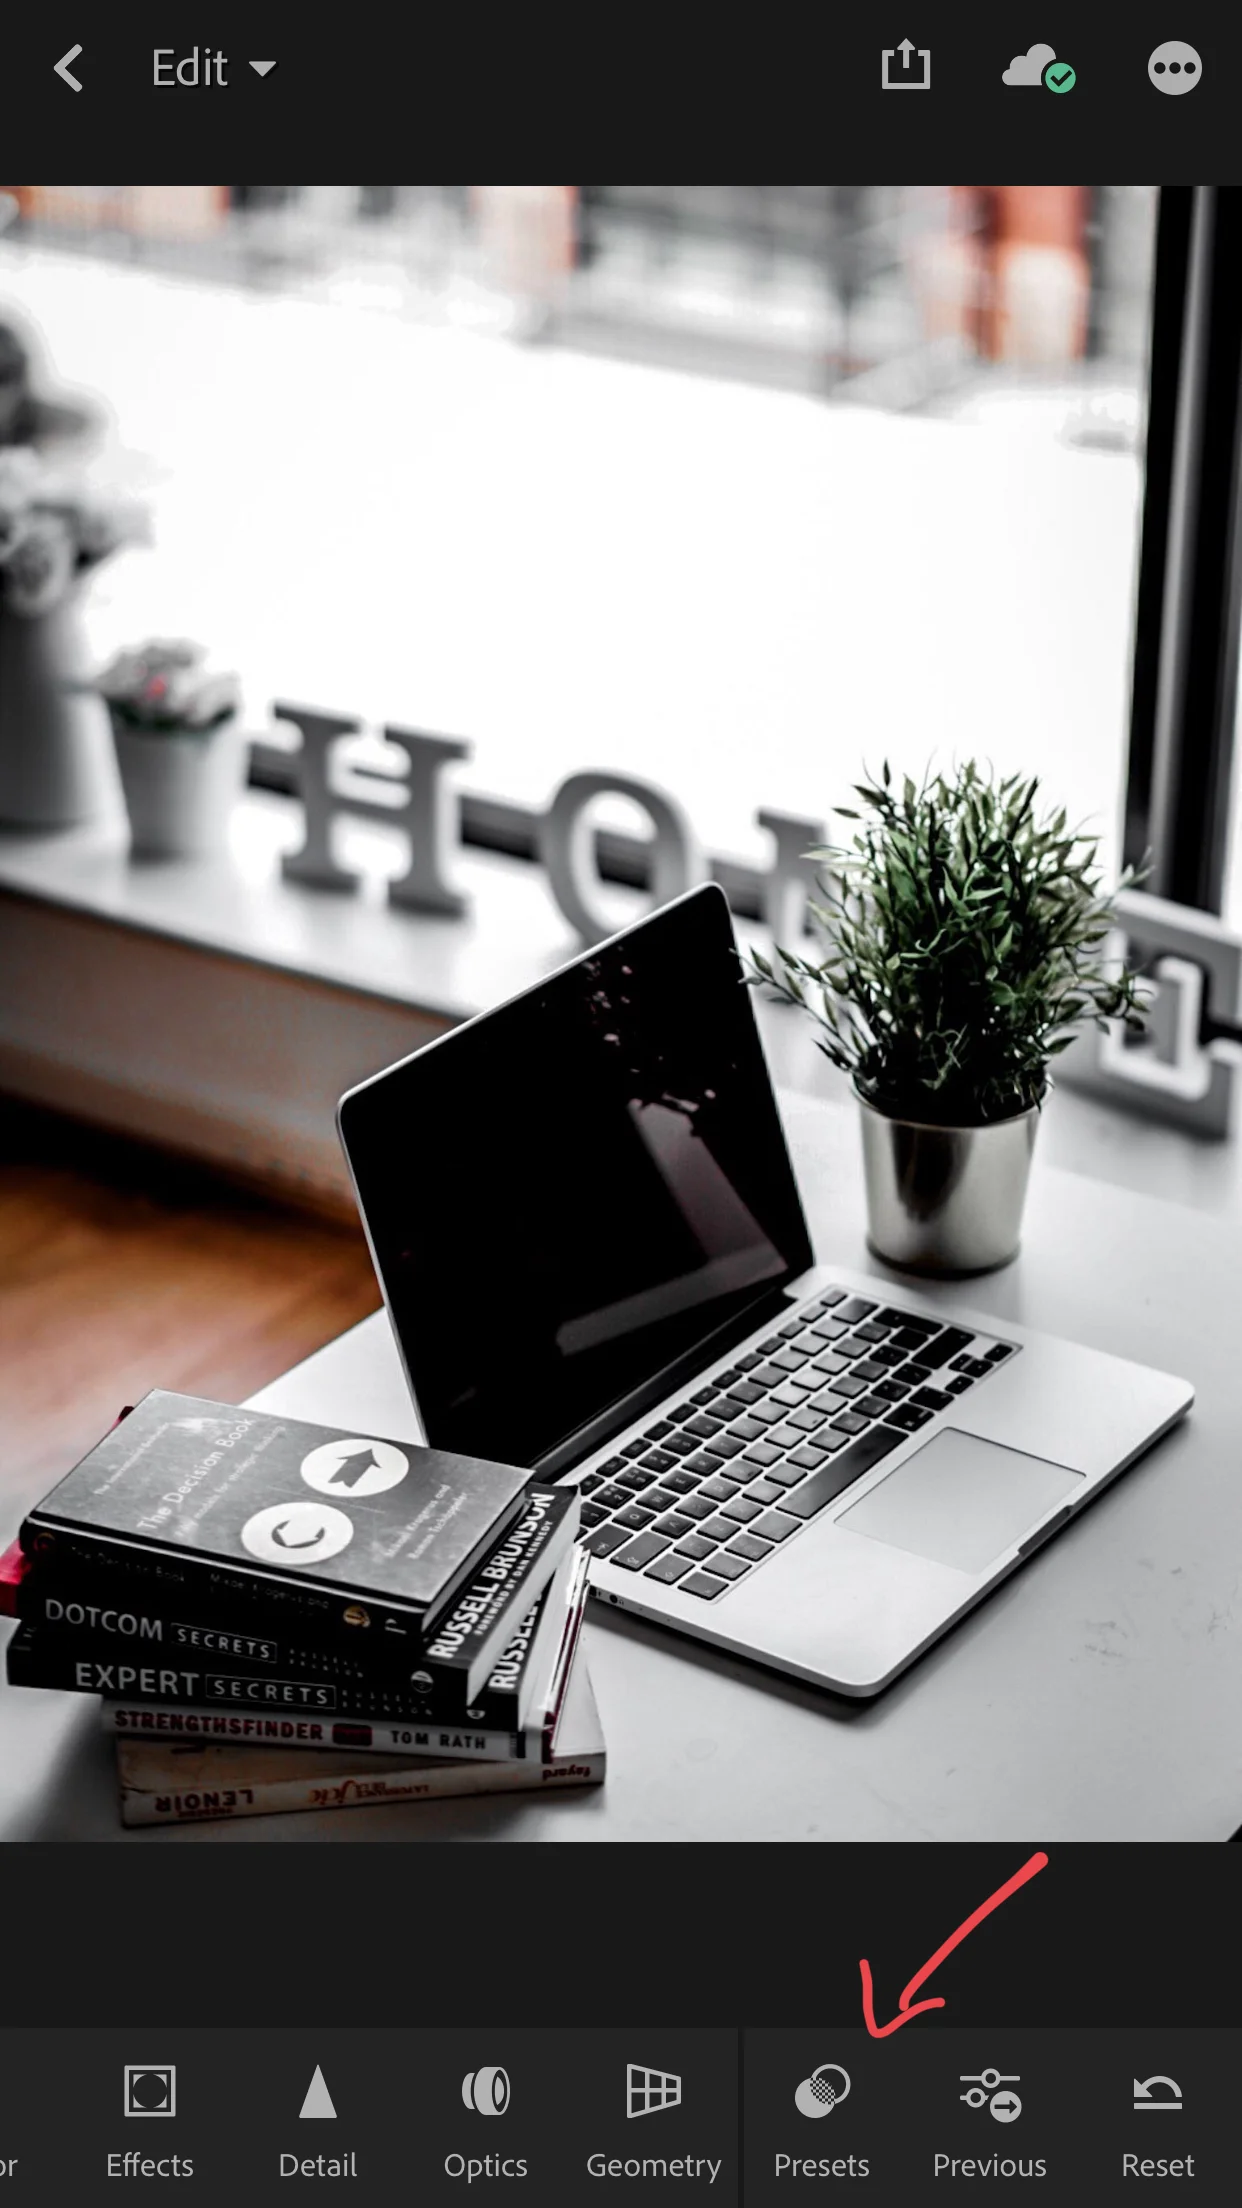
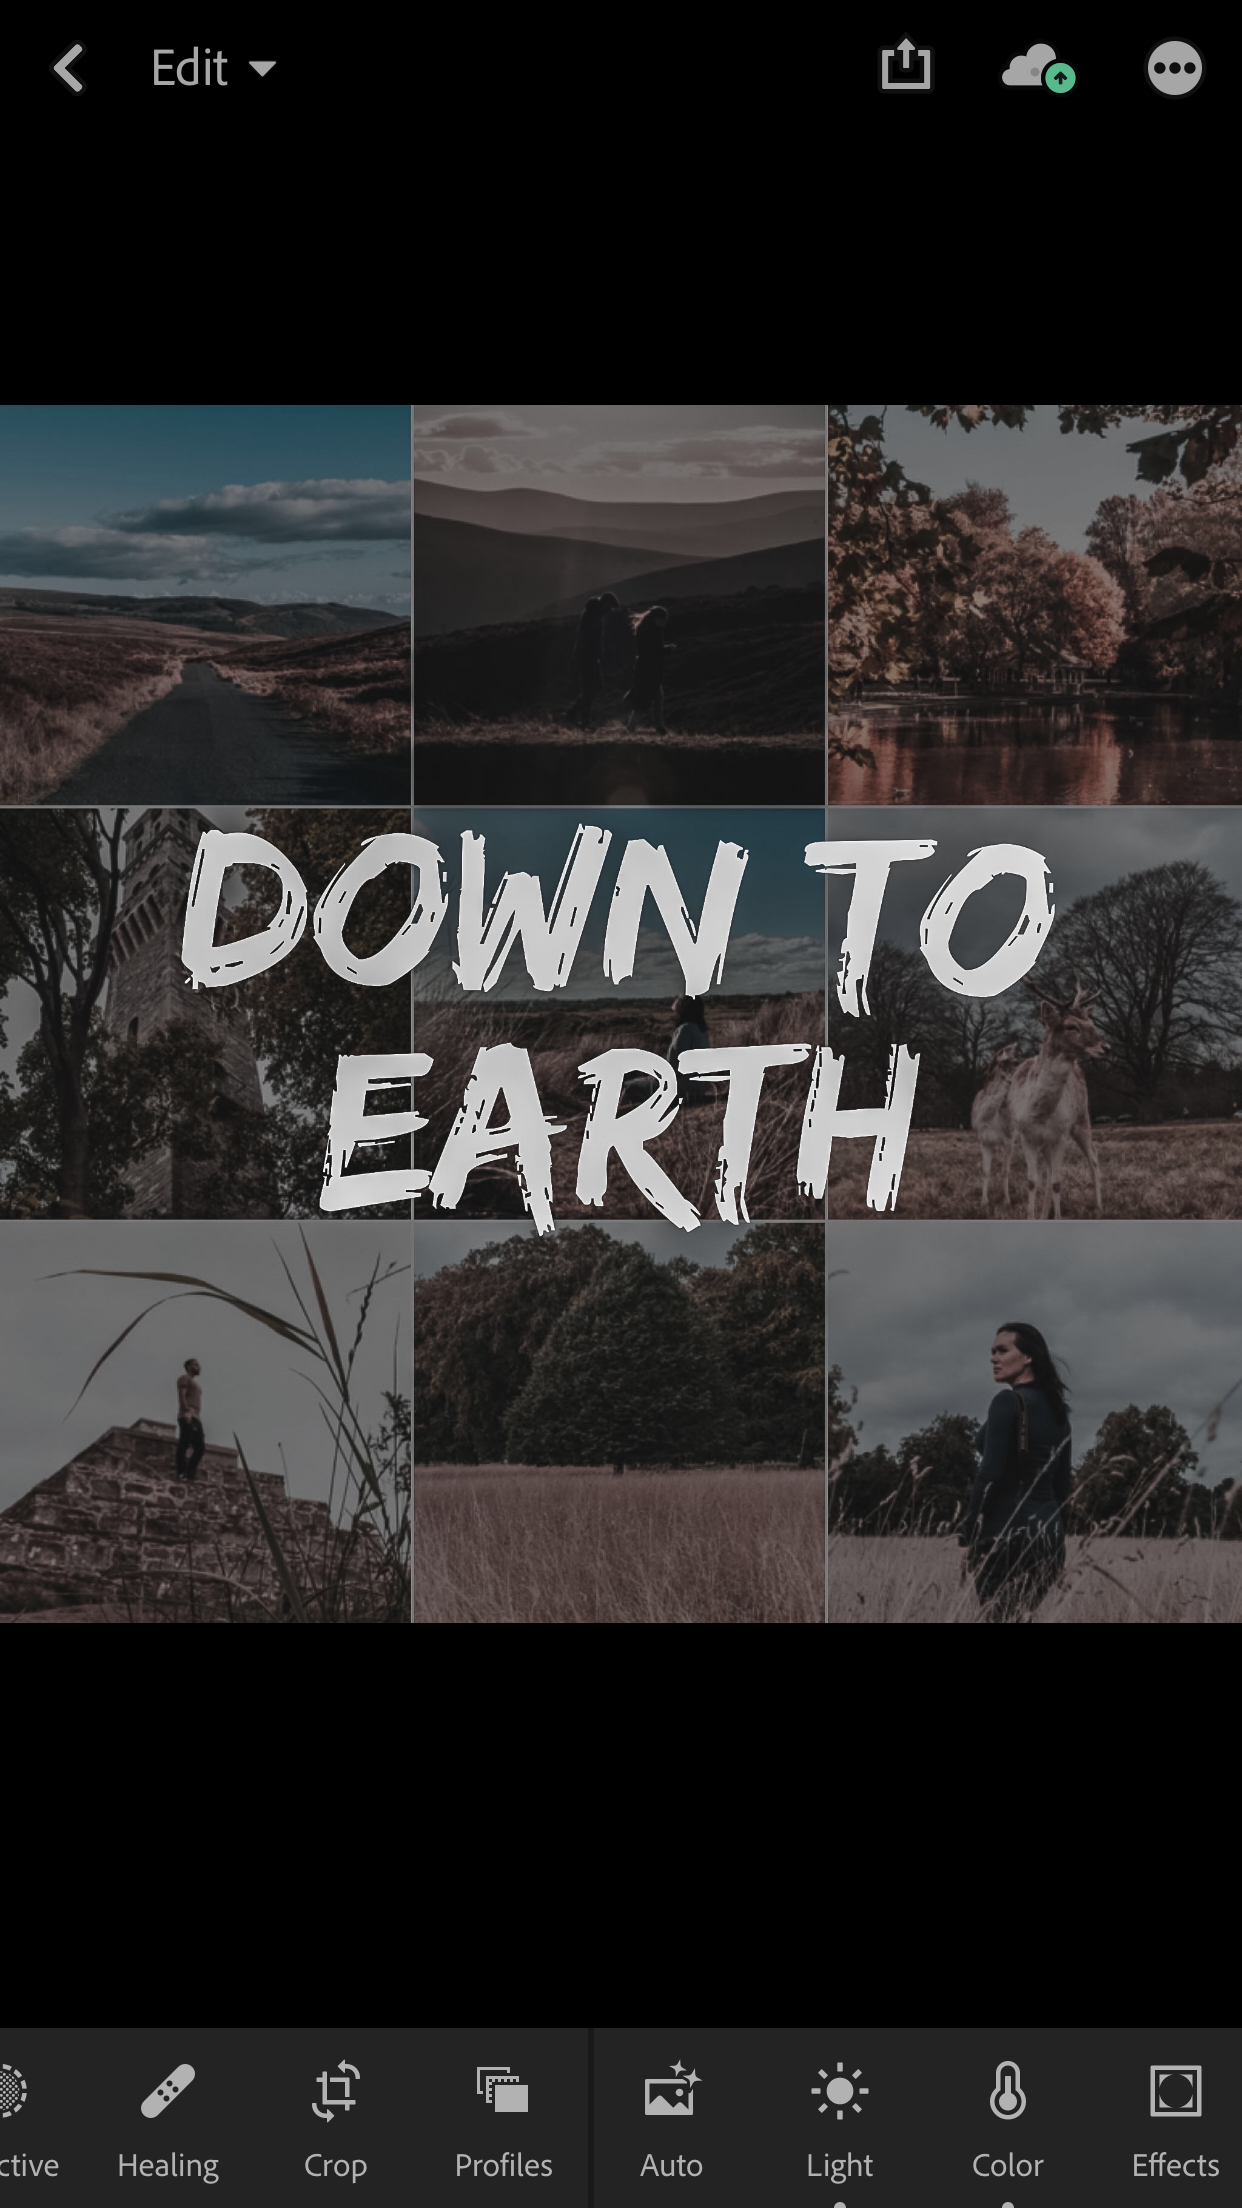
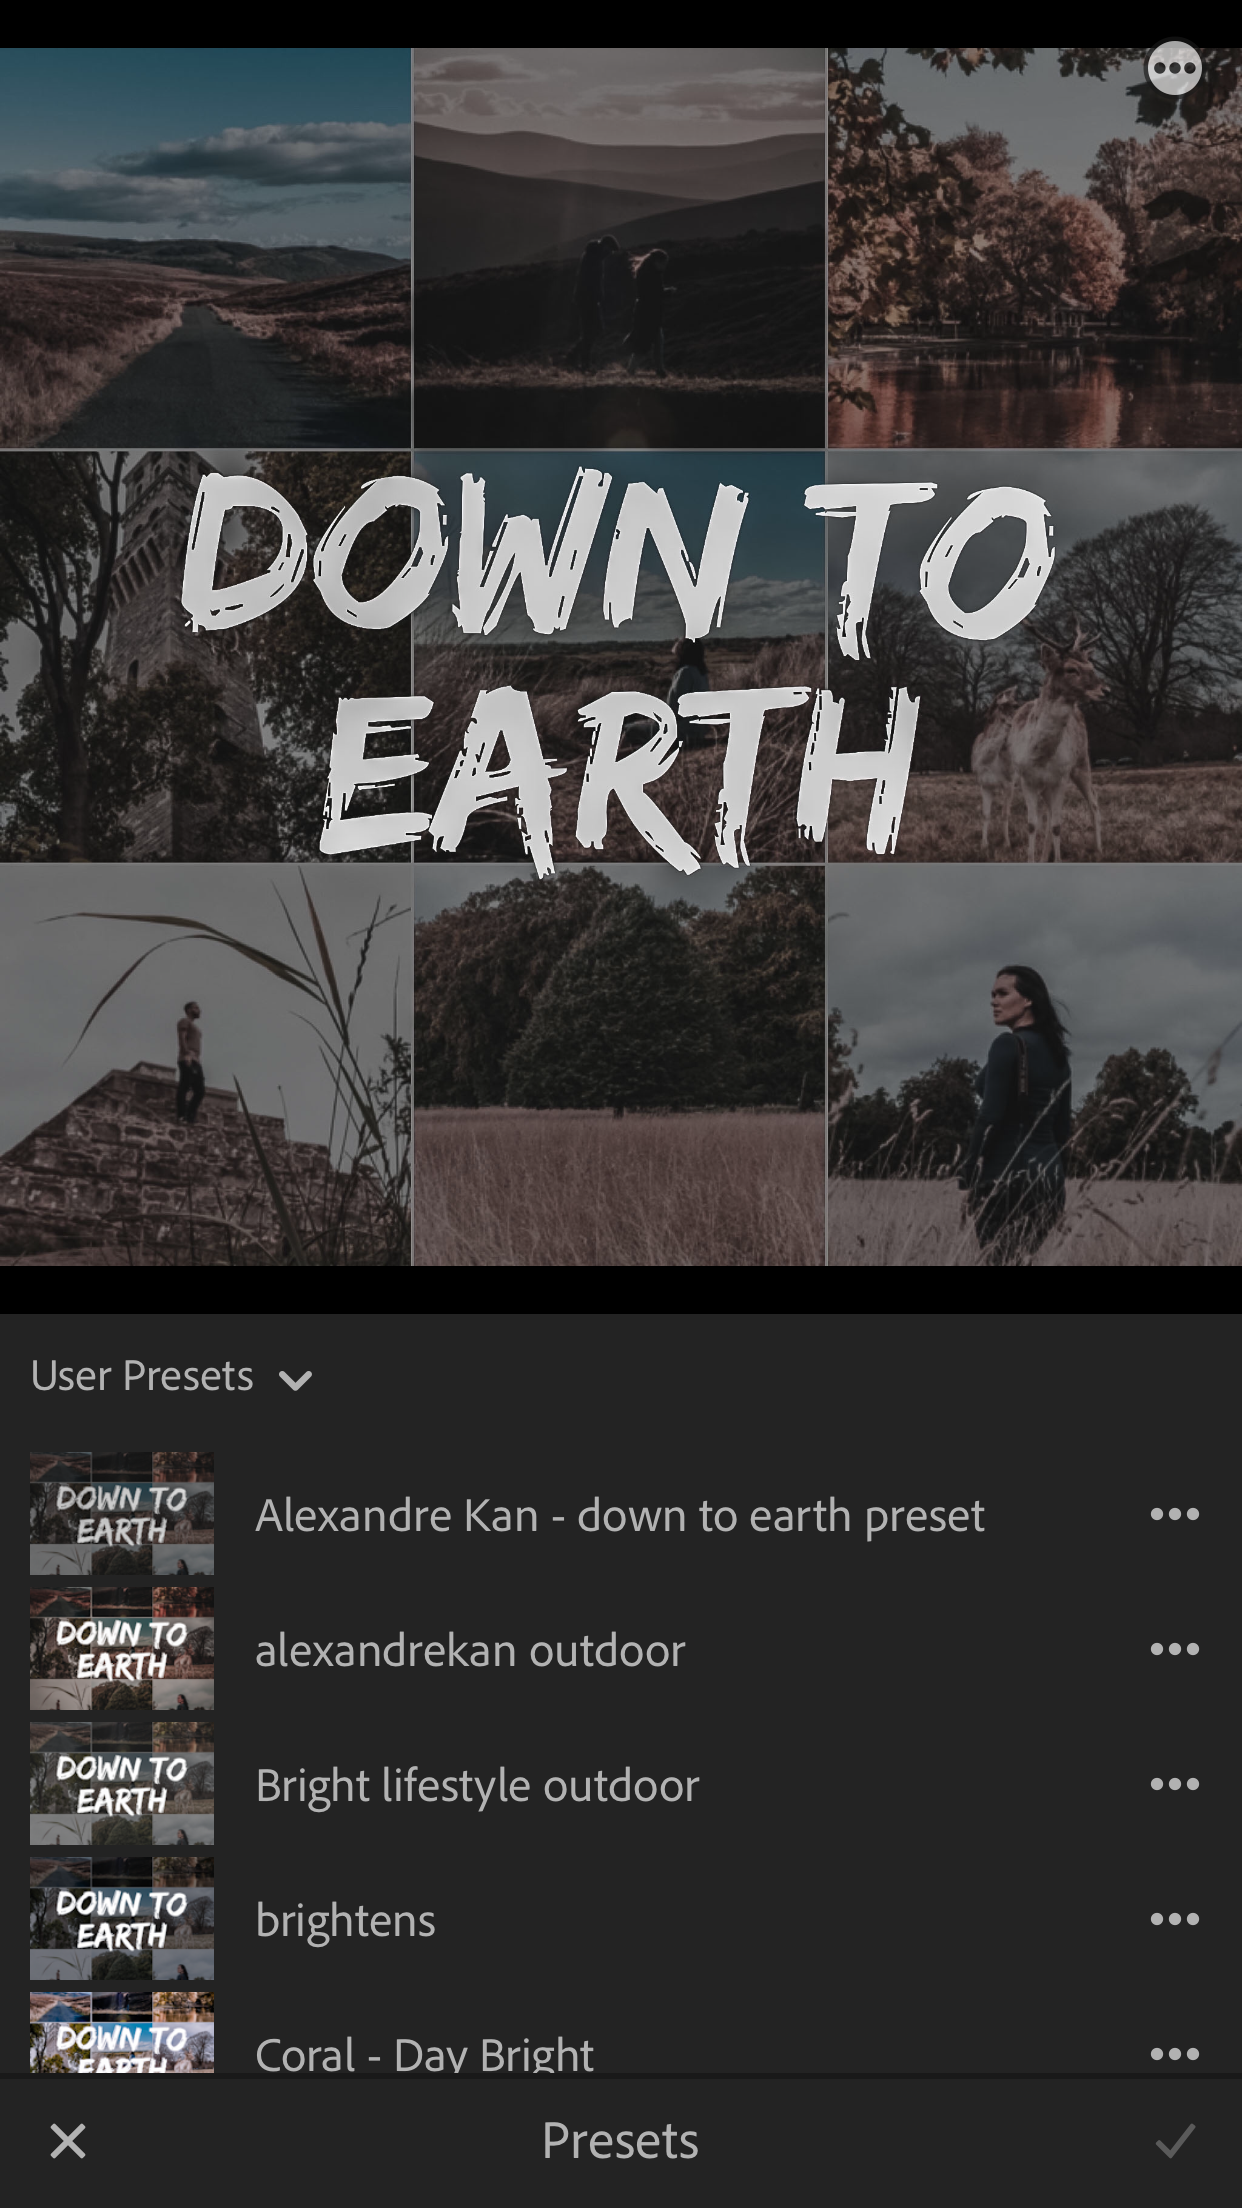
From now on you will find your presets in the editing tool bar section called “presets”. You will just need to tap it once on your image (ideally RAW image) to edit your photo with the preset.
LIGHTROOM MOBILE users (APP): Android Users
1. Grab your phone and install the Lightroom Mobile App from your Google Store (if you haven’t yet)
2. As soon as you place an order you will receive an email from me which contains a download link.
3. Tap on the link to download the zip file! You can go ahead and tap Download.
4. Choose a folder and store the zip file. As soon as you download it, press open it and unzip.
5. Automatically a new folder will be visible in your gallery with all the presets from the zip file.
6. Open your Lightroom app, create new album by click +, choose a name and save.
7. Then press the three dots on the right next to the album name and Add Photos, choose and add the mobile presets to this album. Open the presets one by one, press the three dots in the upper right corner of the screen, then Create preset, choose a name, rename it and press save . It will automatically go in the section User presets which is visible when you scroll to the left on the bottom of your screen.
And voila!!!
It can take some time to do it, but it is a workaround if you do not want to pay for the Creative Cloud subscription. And once you have your presets imported, you won’t have to worry anymore and will be able to edit your photos in one tap/click in the future.
Using presets and Lightroom CC mobile have definitely helped me in my photography workflow process. As I am always on the go, being able to edit my photos without using my laptop is saving me a LOT of time and sometimes my clients even wonder how I can edit them so quickly!
So there you have it. I hope that you found this article helpful. If you did, make sure to like this post, it actually makes a difference and if you would like to buy my 2019 Travel Pack Presets you can find them right here.

