10 Ways To Improve Your Lightroom Editing Workflow
If you are a new or intermediate photographer and use Lightroom to edit your photos, you must know how much time consuming editing a series of photos can be. I love taking photos and I love editing them too, but sometimes after a holiday or after a work assignment, I used to dread to edit my photos because I knew I took hundreds of them and that it would take me a few hours to edit them all.
However, after a few months of experience and a LOT of practice, I have found out a few shortcuts to edit my photos faster, that I recommend to every photographer to use, no matter your level. Here they are:
Auto tone
The first thing I do before applying any presets to my photos is to adjust the lighting and make sure that the photo is exposed correctly. You can do it manually with the sliders or you can use the Auto tone button.

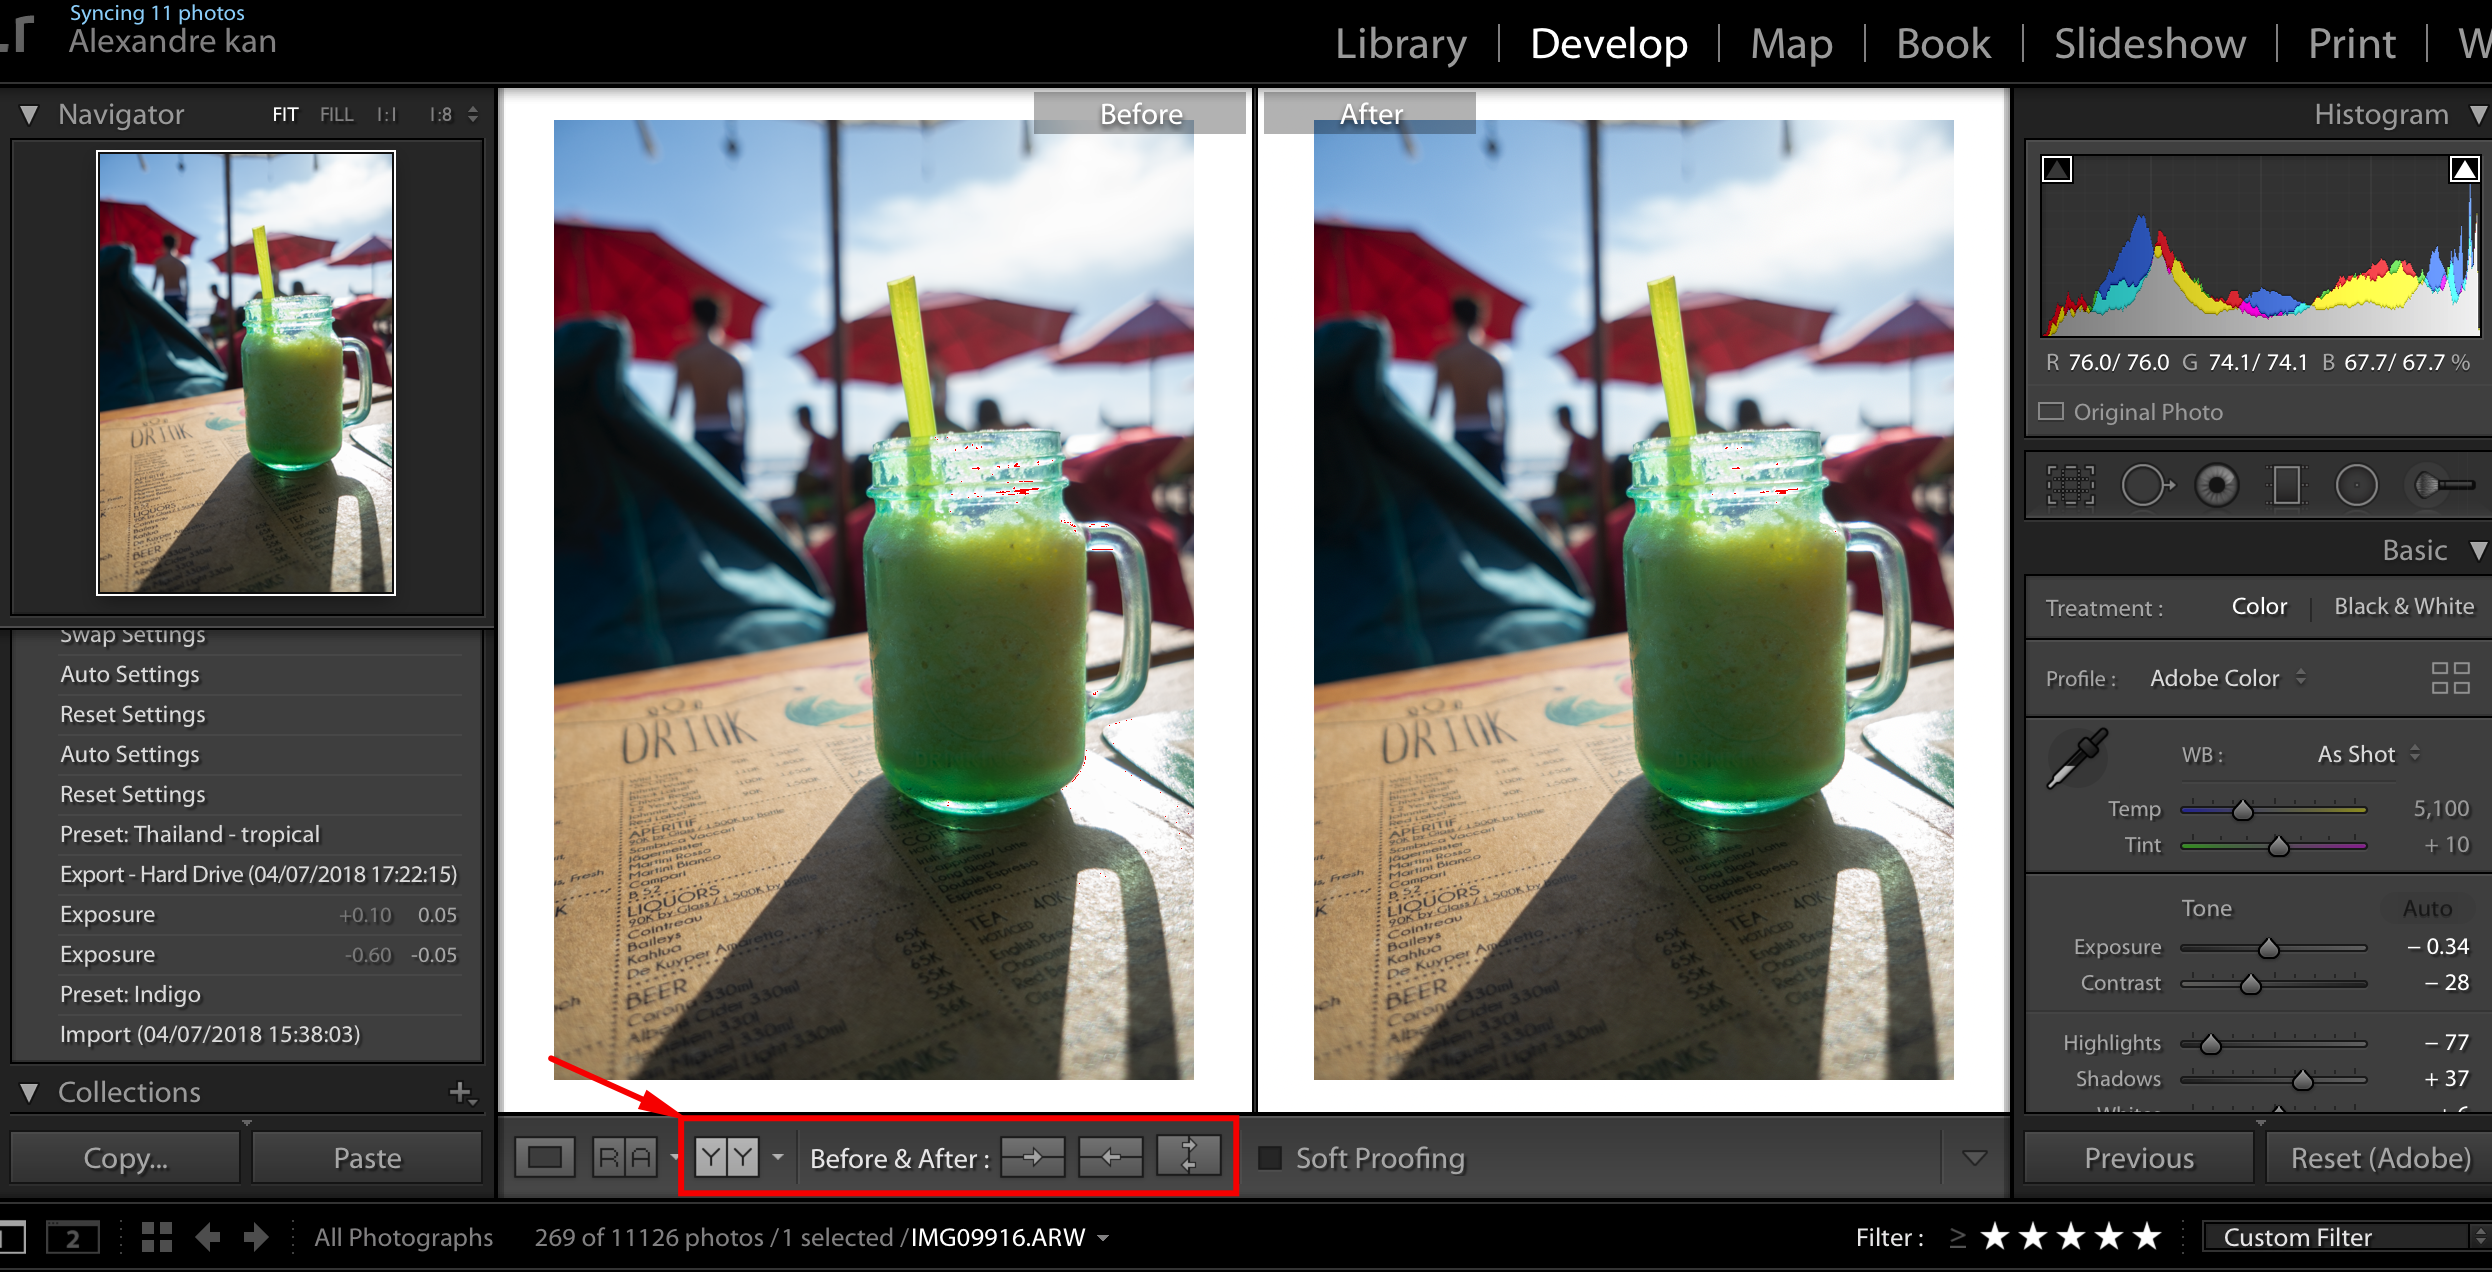
Here is a before/After photo to show you the difference. In just one click the exposure is set correctly!

Before/After
Speaking of Before/After, the quickest way to do it is to use the following shortcut
press the key Y on your keyboard or click on the YY button below the photo
or use the key \ on your keyboard
Resetting your edits
Are you struggling to bring back your slider to the 0 position? stop struggling and just double click on the slider button to bring it back to its initial position and reset your edits.
Grid overlays


You must be familiar with the classic Grid overlay view to crop, straighten and recompose your photo following the rule of third. But did you know that you can access it using the shortcut R on your keyboard and cycle through different type of overlays using the shortcut O on your keyboard?
Clipping


When an area has no information, it is either pure white (clipped highlights) or pure black (clipped shadows). Photographers often refer to these as "blown out" areas. Most of the time or eyes cannot really see the difference on the screen. Therefore using this shortcut with the letter J on your keyboard and by adjusting the exposure of your photo, you will notice a red colour spreading on your image. This colour tells you if your photo is over exposed. On the contrary, if you reduce the exposure it will go blue to let you know if your photo is under exposed.
Make the horizon straight


There is nothing more annoying than seeing a photo that does not have a straight horizon. With Lightroom there are two ways to level out your photo. Either click angle, draw the horizon line on your photo and voila. Or click on Auto. It does not always work 100% but most of the time it does.
Turn the lights out


Sometimes you want to see your photo without any distraction around. By using the shortcut L the background will black out slightly. Tap the key twice and it will go full black. Tap it again to come back to normal.
Use the radial-brush adjustment to isolate your subject
This is one of my favourite tools to use. Rather than using the vignette effect that will affect the corners of your photo to get darker. You can draw a mask using the radial brush adjustment in order to attract the eye of the viewer towards a specific part of your photo.


Organise yourself
Rate your photos with stars using the numbers from 1 to 5 on your keyboard. Use numbers from 6 to 9 to label your photos with different colours.you can select your favourite by hitting the shortcut P. Then just use the custom filter to find your photos faster.


Use the Sync button
If you are editing a series of photo taken at the same location with the same light condition. Take your time to edit one photo the way you want it and then just click on the thumbnail, select the other photos holding command if you want to select them individually or pressing the key shift to select a range, and click on the button sync. This will apply the adjustments of the original photo on all the selected ones automatically.


Using these shortcuts have helped me edit and organise my photos faster than I used to when I just got started and also helped better enjoy the editing process as a photographer. What about you? Did you know these shortcuts? What shortcuts are you using to edit your photos in Lightroom?
If you are a beginner photographer and would like to better understand how to use the manual settings of your camera to get the best image. Make sure to download my FREE guide right here.

If you liked this blog post, do not hesitate to like it, it actually makes a difference, subscribe to my weekly newsletter if you would like to receive more photography tips straight in your inbox, and if you know anyone that could benefit from this article, feel free to share it with them.