Behind the Lens: A Photographer's Guide to Photo Editing on iPad
/
This post may contains affiliate offers and if you make a purchase through these links, I may earn a commission, which helps support this website and keep it ad free. This comes at no extra cost to you
If you're like me and passionate about capturing moments through your lens, you know that the real magic often happens after the shot is taken. Photo editing and retouching can transform a good photo into a stunning work of art.
And guess what? You can do it all on your iPad.
In this article, I'm going to share my tips and tutorials on using iPad apps for professional photo editing and retouching. So, let's dive into the world of creativity behind the lens!
Why Edit Photos on the iPad?
Before we dive into the editing process, you might be wondering, "Why edit photos on an iPad?" Well, let me tell you, the iPad offers a compelling set of advantages:
1. Mobility and Flexibility
The iPad is your portable editing studio. Whether you're on location, traveling, or simply lounging in your favorite coffee shop, you have the flexibility to work on your photos wherever inspiration strikes.
2. Touchscreen Precision
The iPad's touchscreen interface allows for precise and intuitive editing. You can use your fingers or stylus to make fine adjustments, creating a more tactile and engaging editing experience.
3. Powerful Hardware
Modern iPads are equipped with powerful processors and high-resolution displays, making them more than capable of handling the demands of professional photo editing.
4. Vast App Ecosystem
The App Store is teeming with photo editing apps that cater to various editing styles and needs. From beginner-friendly to professional-grade tools, you'll find apps that suit your editing preferences.
The Essential Photo Editing Apps for iPad
Now, let's explore some of the essential photo editing apps for your iPad. These apps provide a range of tools and capabilities to elevate your photos to the next level:
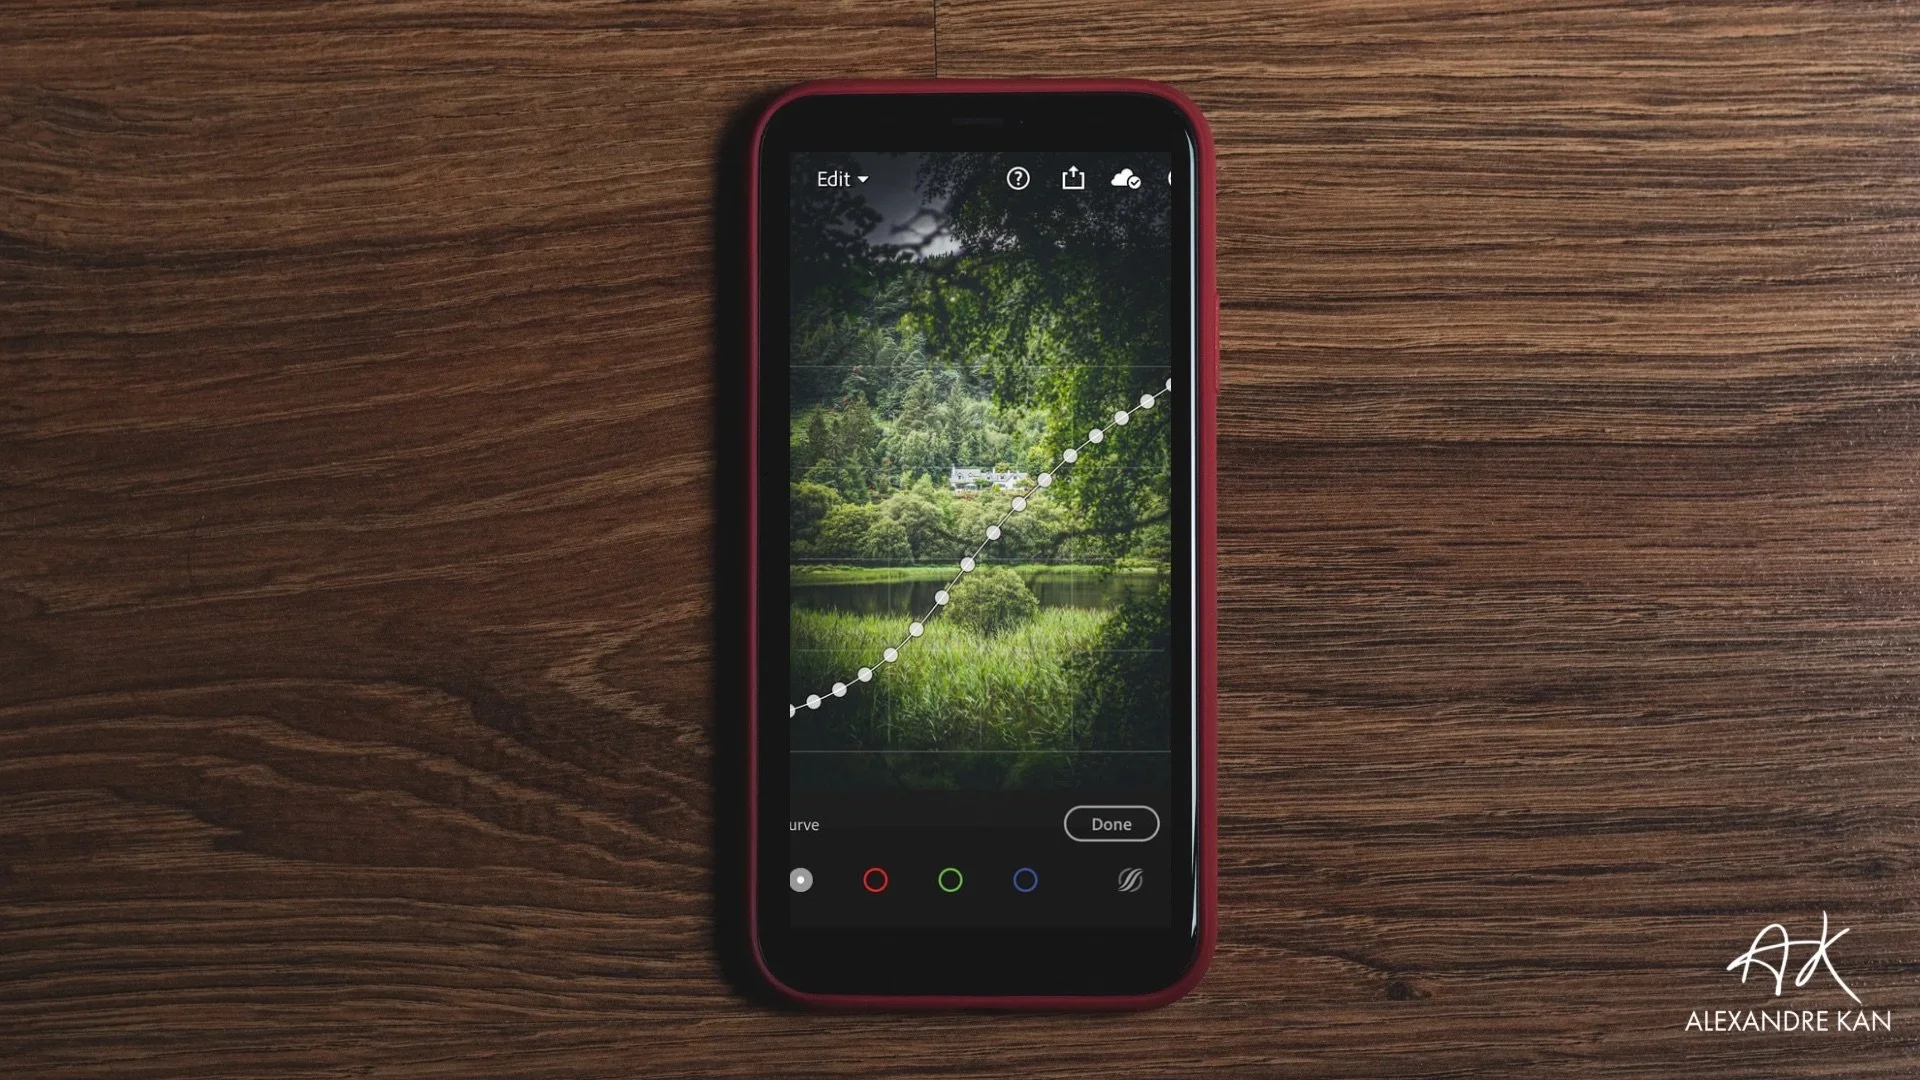
1. Adobe Lightroom for iPad
Adobe Lightroom is a powerhouse when it comes to photo editing. It offers a wide array of professional-grade editing tools.
Basic Editing
Exposure and Contrast: Adjust exposure and contrast to get the right balance of light and shadow.
Color Correction: Fine-tune the colors to make them pop.
Cropping and Straightening: Crop your image for better composition and straighten horizons.
Advanced Editing
Selective Adjustments: Use the brush tool to make selective adjustments to specific areas.
Presets: Explore and apply presets to achieve various styles and moods.
Noise Reduction: Reduce noise in low-light photos for a cleaner look.
You can have a look below at my editing workflow in video.
2. VSCO
VSCO is known for its stunning filters and film-like presets. It's perfect for achieving a specific aesthetic or mood in your photos.
Applying Filters
Choosing a Filter: Browse through the available filters and select one that complements your photo's mood.
Adjusting Intensity: Fine-tune the intensity of the filter for a subtle or dramatic effect.
Saving Custom Presets: Create and save your own custom presets for future use.
If you do not have much editing knowledge and just wish to apply a filter on your photos and be done with the editing, then VSCO is a great option. However, know that a filter may work on some photos but not all of them as other factors come into place such as lighting, composition, location etc…
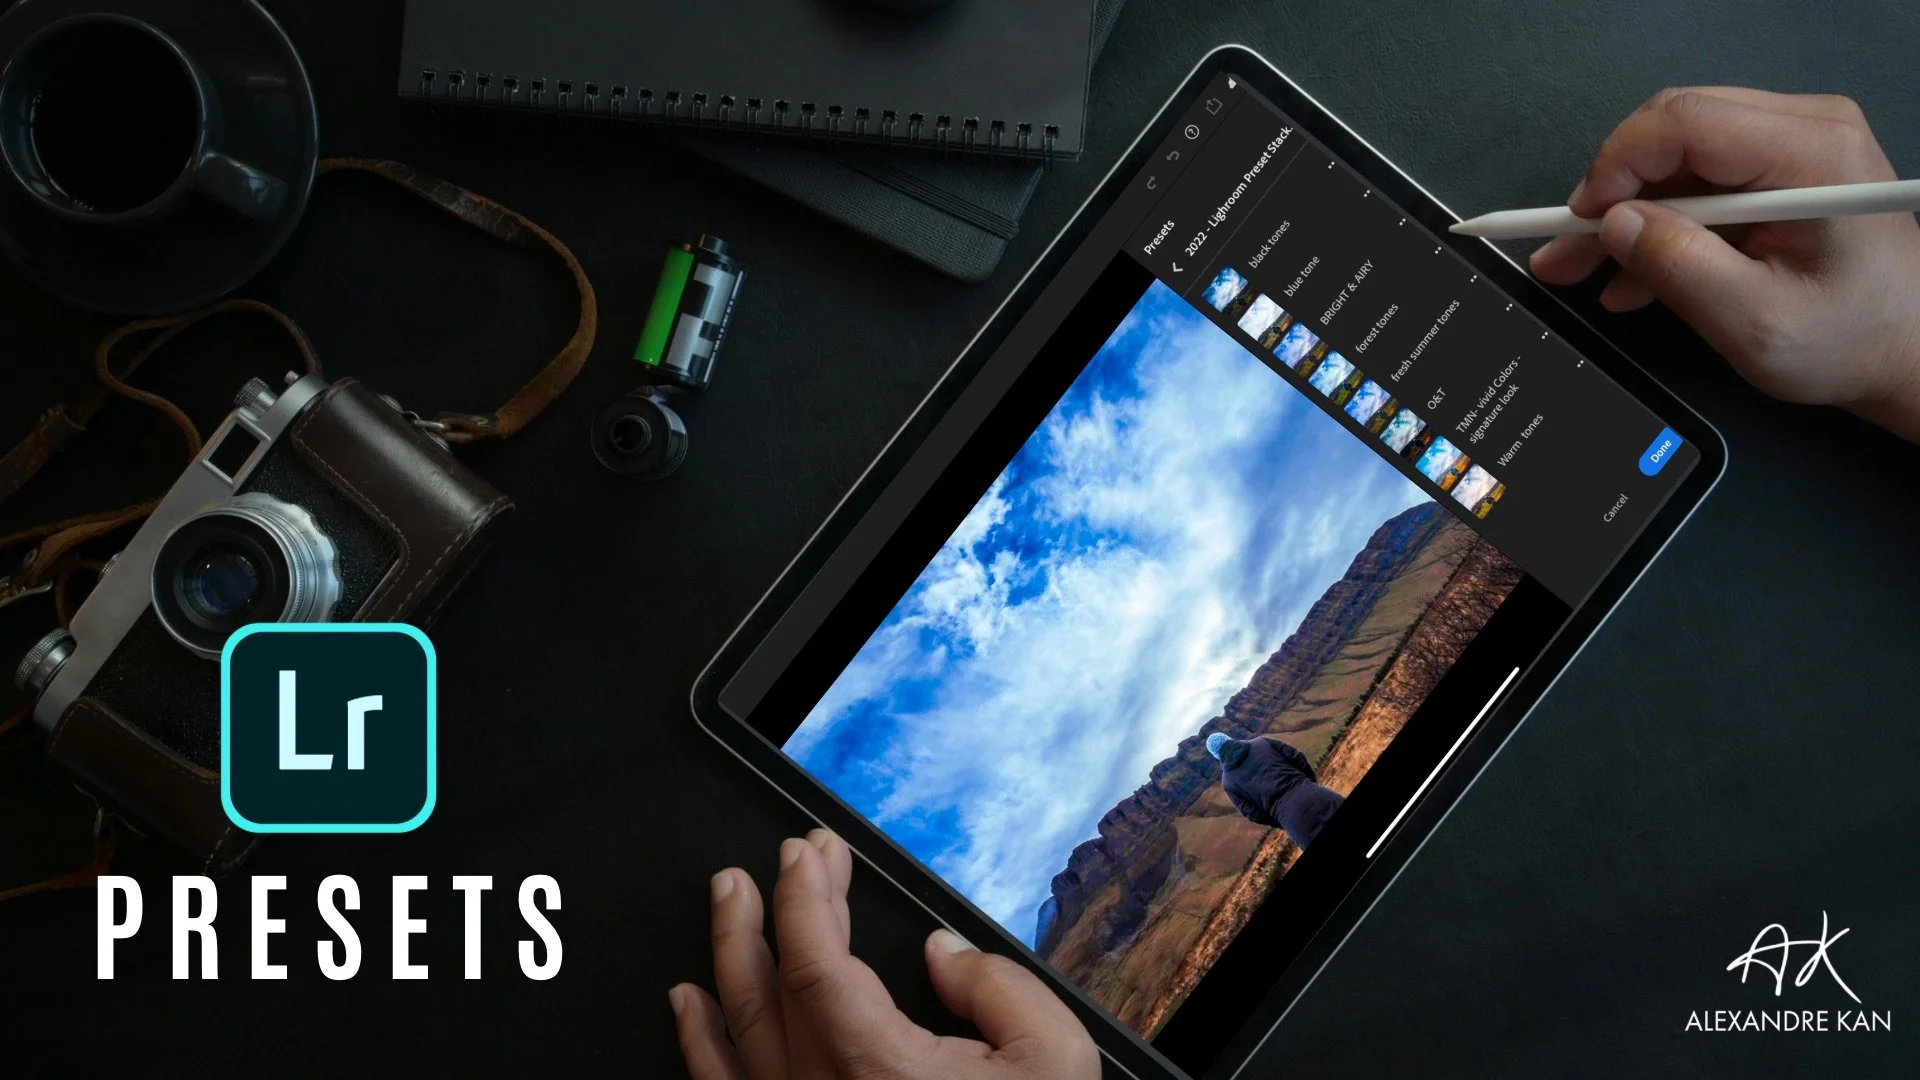
That is why I prefer to use Lightroom presets as I know I can be fully in control and apply the adjustments necessary to get the results I want.
That is one of the reasons why I decided to create my stacking Lightroom presets that breaks down the main adjustments I use in order, that can fully be customised by the slide of a button.
You can learn more by clicking on the button or image below.

3. Snapseed
Snapseed is a versatile photo editing app with a range of powerful tools. It's great for fine-tuning your photos.
Advanced Editing Techniques
Selective Editing: Use the "Selective" tool to apply adjustments to specific areas.
Healing Brush: Remove unwanted objects or blemishes from your photos.
Double Exposure: Create artistic double exposure effects for a unique look.
I used Snapseed when I got started with photography and it was a great way to get to know how to adjust settings for free. Now that I am more advanced with photography, this application has some limitations that don’t match my current workflow. But it is great for beginners.
My Photo Editing Workflow
Now, let me walk you through my typical photo editing workflow on the iPad. It's a step-by-step process that ensures my photos look their absolute best:
Step 1: Import and Organize
I begin by importing my photos into Adobe Lightroom. The app allows me to organize my images into albums or folders, making it easy to locate the one I want to edit.
Step 2: Basic Adjustments
I start with basic adjustments like exposure, contrast, and color correction. This sets the foundation for the overall look and mood of the photo.
Step 3: Selective Editing
For selective adjustments, I use the brush tool in Lightroom. This allows me to paint adjustments onto specific areas of the photo, ensuring that every detail is just right.
Step 4: Applying Filters (Optional)
Depending on the desired style, I may apply a VSCO filter to achieve a specific mood or aesthetic. It's a quick way to add character to your photos.
Step 5: Final Touches
I pay attention to the finer details, such as sharpening, noise reduction, and lens corrections. These subtle touches can make a significant difference in the overall quality of the photo.
Step 6: Export and Share
Once I'm satisfied with the edits, I export the final image and share it on my blog, social media, or with clients.

Elevate Your Photography with iPad Editing
Editing photos on an iPad offers a level of flexibility, precision, and creativity that can take your photography to new heights.
Whether you're a professional photographer or a hobbyist, these tips and tutorials should help you navigate the world of photo editing on your iPad with confidence.
Would you like me to walk you through my exact mobile photography workflow from how I take my photos to editing and exporting them for social media?
If yes, I have got something for you.
I created a free online workshop where I break down everything step by step on how you can achieve professional-looking photos with your mobile devices.
Stop guessing how to edit your photos or spending hours watching YouTube videos trying to replicate what you see.
I share with you in 30 minutes 5 years of photography knowledge.
Here is what You'll Learn
📸 The three-step formula for taking amazing photos with just your mobile phone
📸 Tips and tricks for editing and post-processing your photos to really make them shine
📸 The secret to a more visually appealing Instagram feed
📸 ...and more useful takeaways!
I can’t wait to see you on the inside.
If you enjoyed this article, make sure to like it, it actually makes a difference. And if you know anyone that could benefit from reading this article, do not hesitate to share it with them.


PIN ME