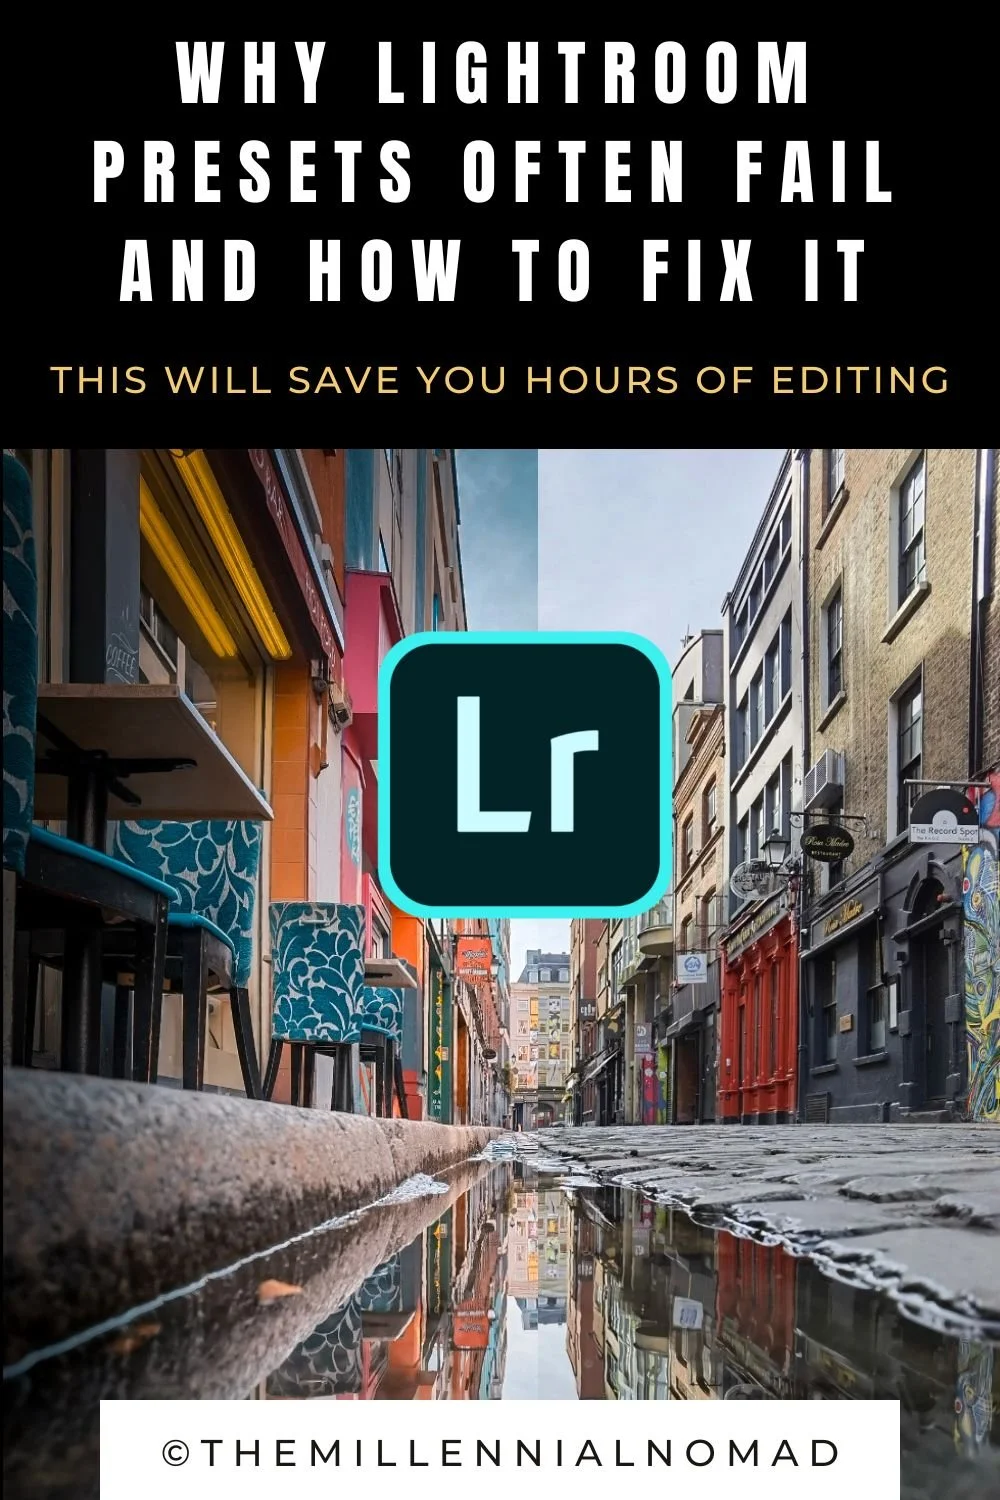
Why Downloading Presets For Lightroom Mobile Often Fail - And How To Fix It

Have you ever downloaded Lightroom presets all excited about your purchase, only to realise that you are not getting the results wanted on all your photos like it was promise?
You're not alone.
There are a lot of people who have trouble using Lightroom presets, and it can be a frustrating experience. But with a little practice, you can get the hang of it and start editing your photos like a pro!
There is a learning curve when it comes to editing your photos and using Lightroom. Having a one pack of preset that is sold as a “one size fits all” does not work. Or if it does you may end up with funny looking images.
So what is the solution when it comes to using presets to fast track your results and avoid spending hours editing every single photo?
This is what I will break down in this article.
What are Lightroom presets?
Lightroom presets are files that contain a set of Lightroom editing settings. When you apply a preset to a photo, the settings in the preset are applied to the photo.
There are a variety of Lightroom presets available, and each one is designed for a specific type of photo. For example, there are presets for portraits, landscapes, and weddings. Using a preset that is designed for the type of photo you are editing can help you get the best results.
The problem with Lightroom presets
The problem with Lightroom presets is that they are often designed for a specific type of photo, and they may not work well with other types of photos. For example, if you try to use a portrait preset on a landscape photo, the results may not be what you expect.
Additionally, Lightroom presets can be difficult to use, and if you don't have a lot of experience with Lightroom, you may not be able to get the results you want.
How many times have you tried presets in the past thinking that you would get the exact look the photographer offered but in the end got a totally different look?
I have been there. I know the struggle.
Here is my solution
Layering Presets in Lightroom
Have you heard of how to stack presets in Lightroom? This is the process of stacking presets on top of each other to create your own unique look.
There are many things that can affect the look of your photos.
The lighting, The time of day, The weather, Your camera settings,The subject matter,And your own editing style.
All of these things can affect the look of your photos, and no one preset can account for all of them.
However, by stacking presets, you can create a preset that is customized for the specific photo you are editing.
The best part about stacking presets is that it is easy to do, and you don't need to be an expert in Lightroom to get great results.
The Millennial Nomad Lightroom Presets Stacking Pack

That is why I decided to create my personal Lightroom Presets Stacking Pack.
You can use these presets as a starting point for your own unique look, or you can use them as-is to get great results.
This pack of presets works for for portraits, landscapes, weddings, and more.
With this preset pack, you will be able to create a unique look for any photo. You can stack these presets to create an infinite number of looks.
How to use it?
It is very simple. I like to follow steps when it comes to my editing style.
I start with:
tone curve adjustment
Masking and lighting
Effects
Color grading
In the Lightroom Preset Stacking Pack you will get 2 folders including presets with my personal adjustment settings when it comes to step 2,3 and 4. And a selection of 8 different color grading styles, among which my signature vivid color preset in the second folder, to match with every style of photography (landscape, urban, portraits, weddings, etc…). You will also get a complete video tutorial where I walk you through my best practices on how to use them.
Here is an example
That is the Raw photo taken on the streets of Temple Bar here in Dublin, Ireland.
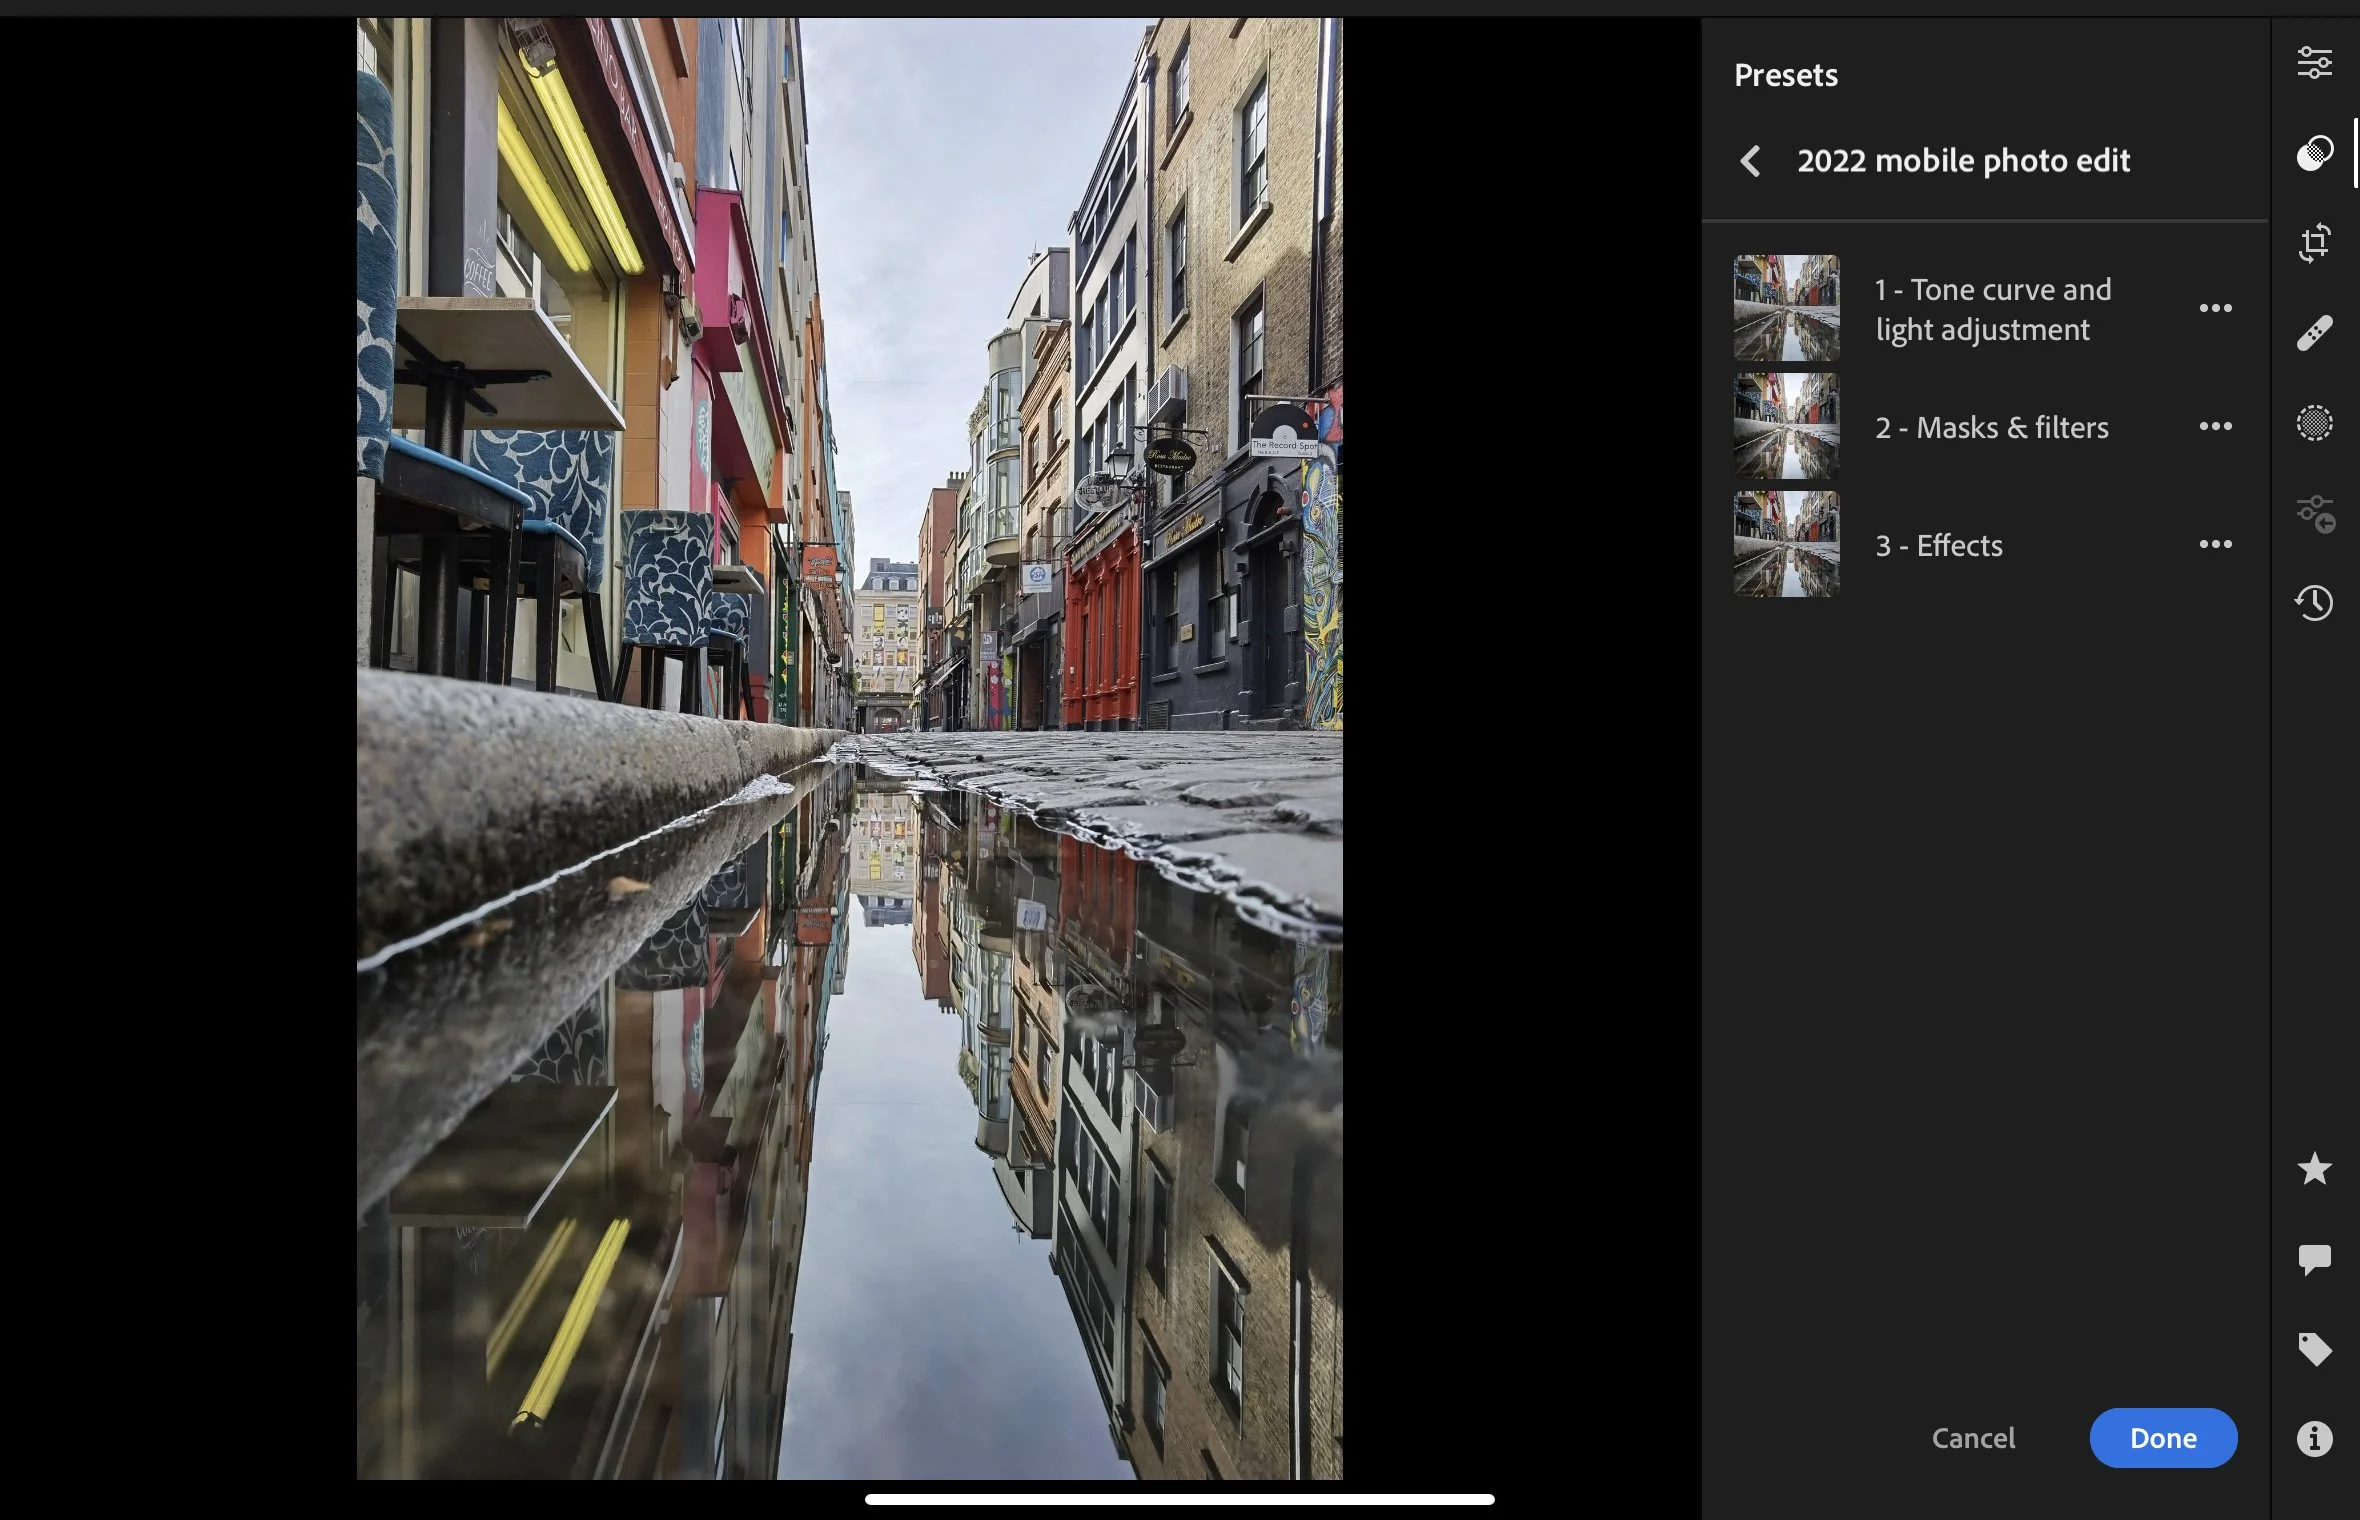
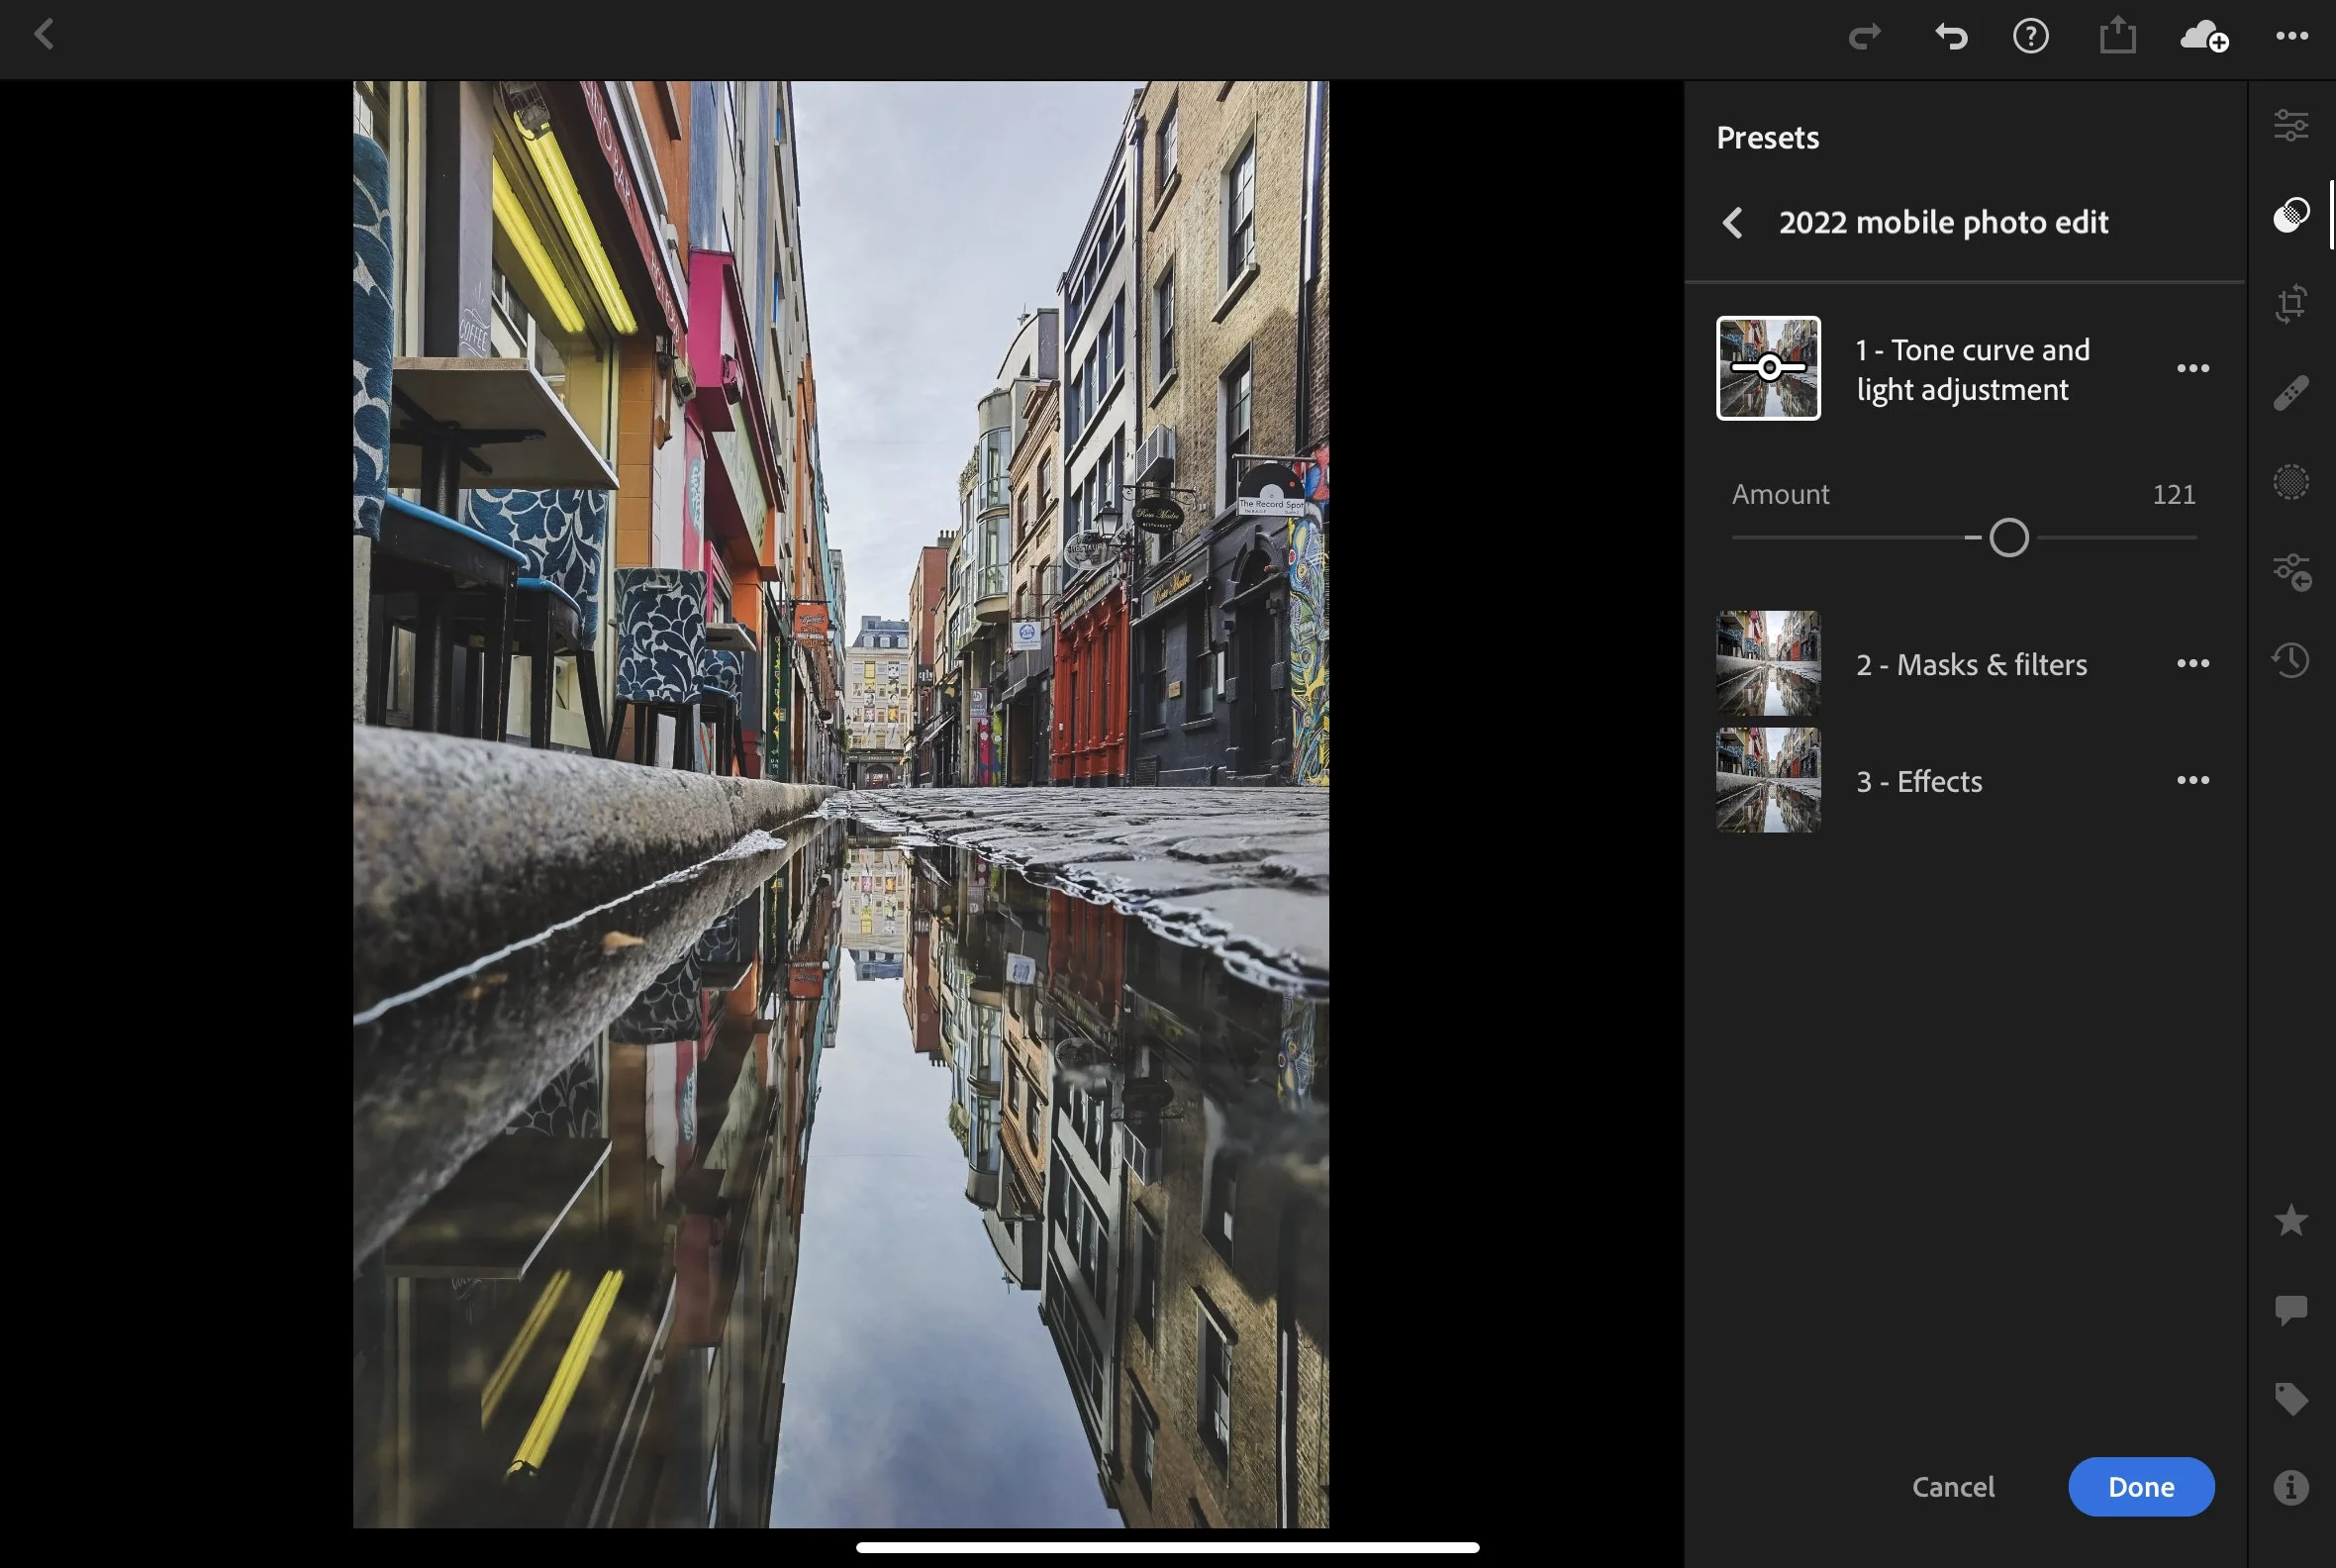
I start the edit using the Tone Curve and Light Adjustment preset.
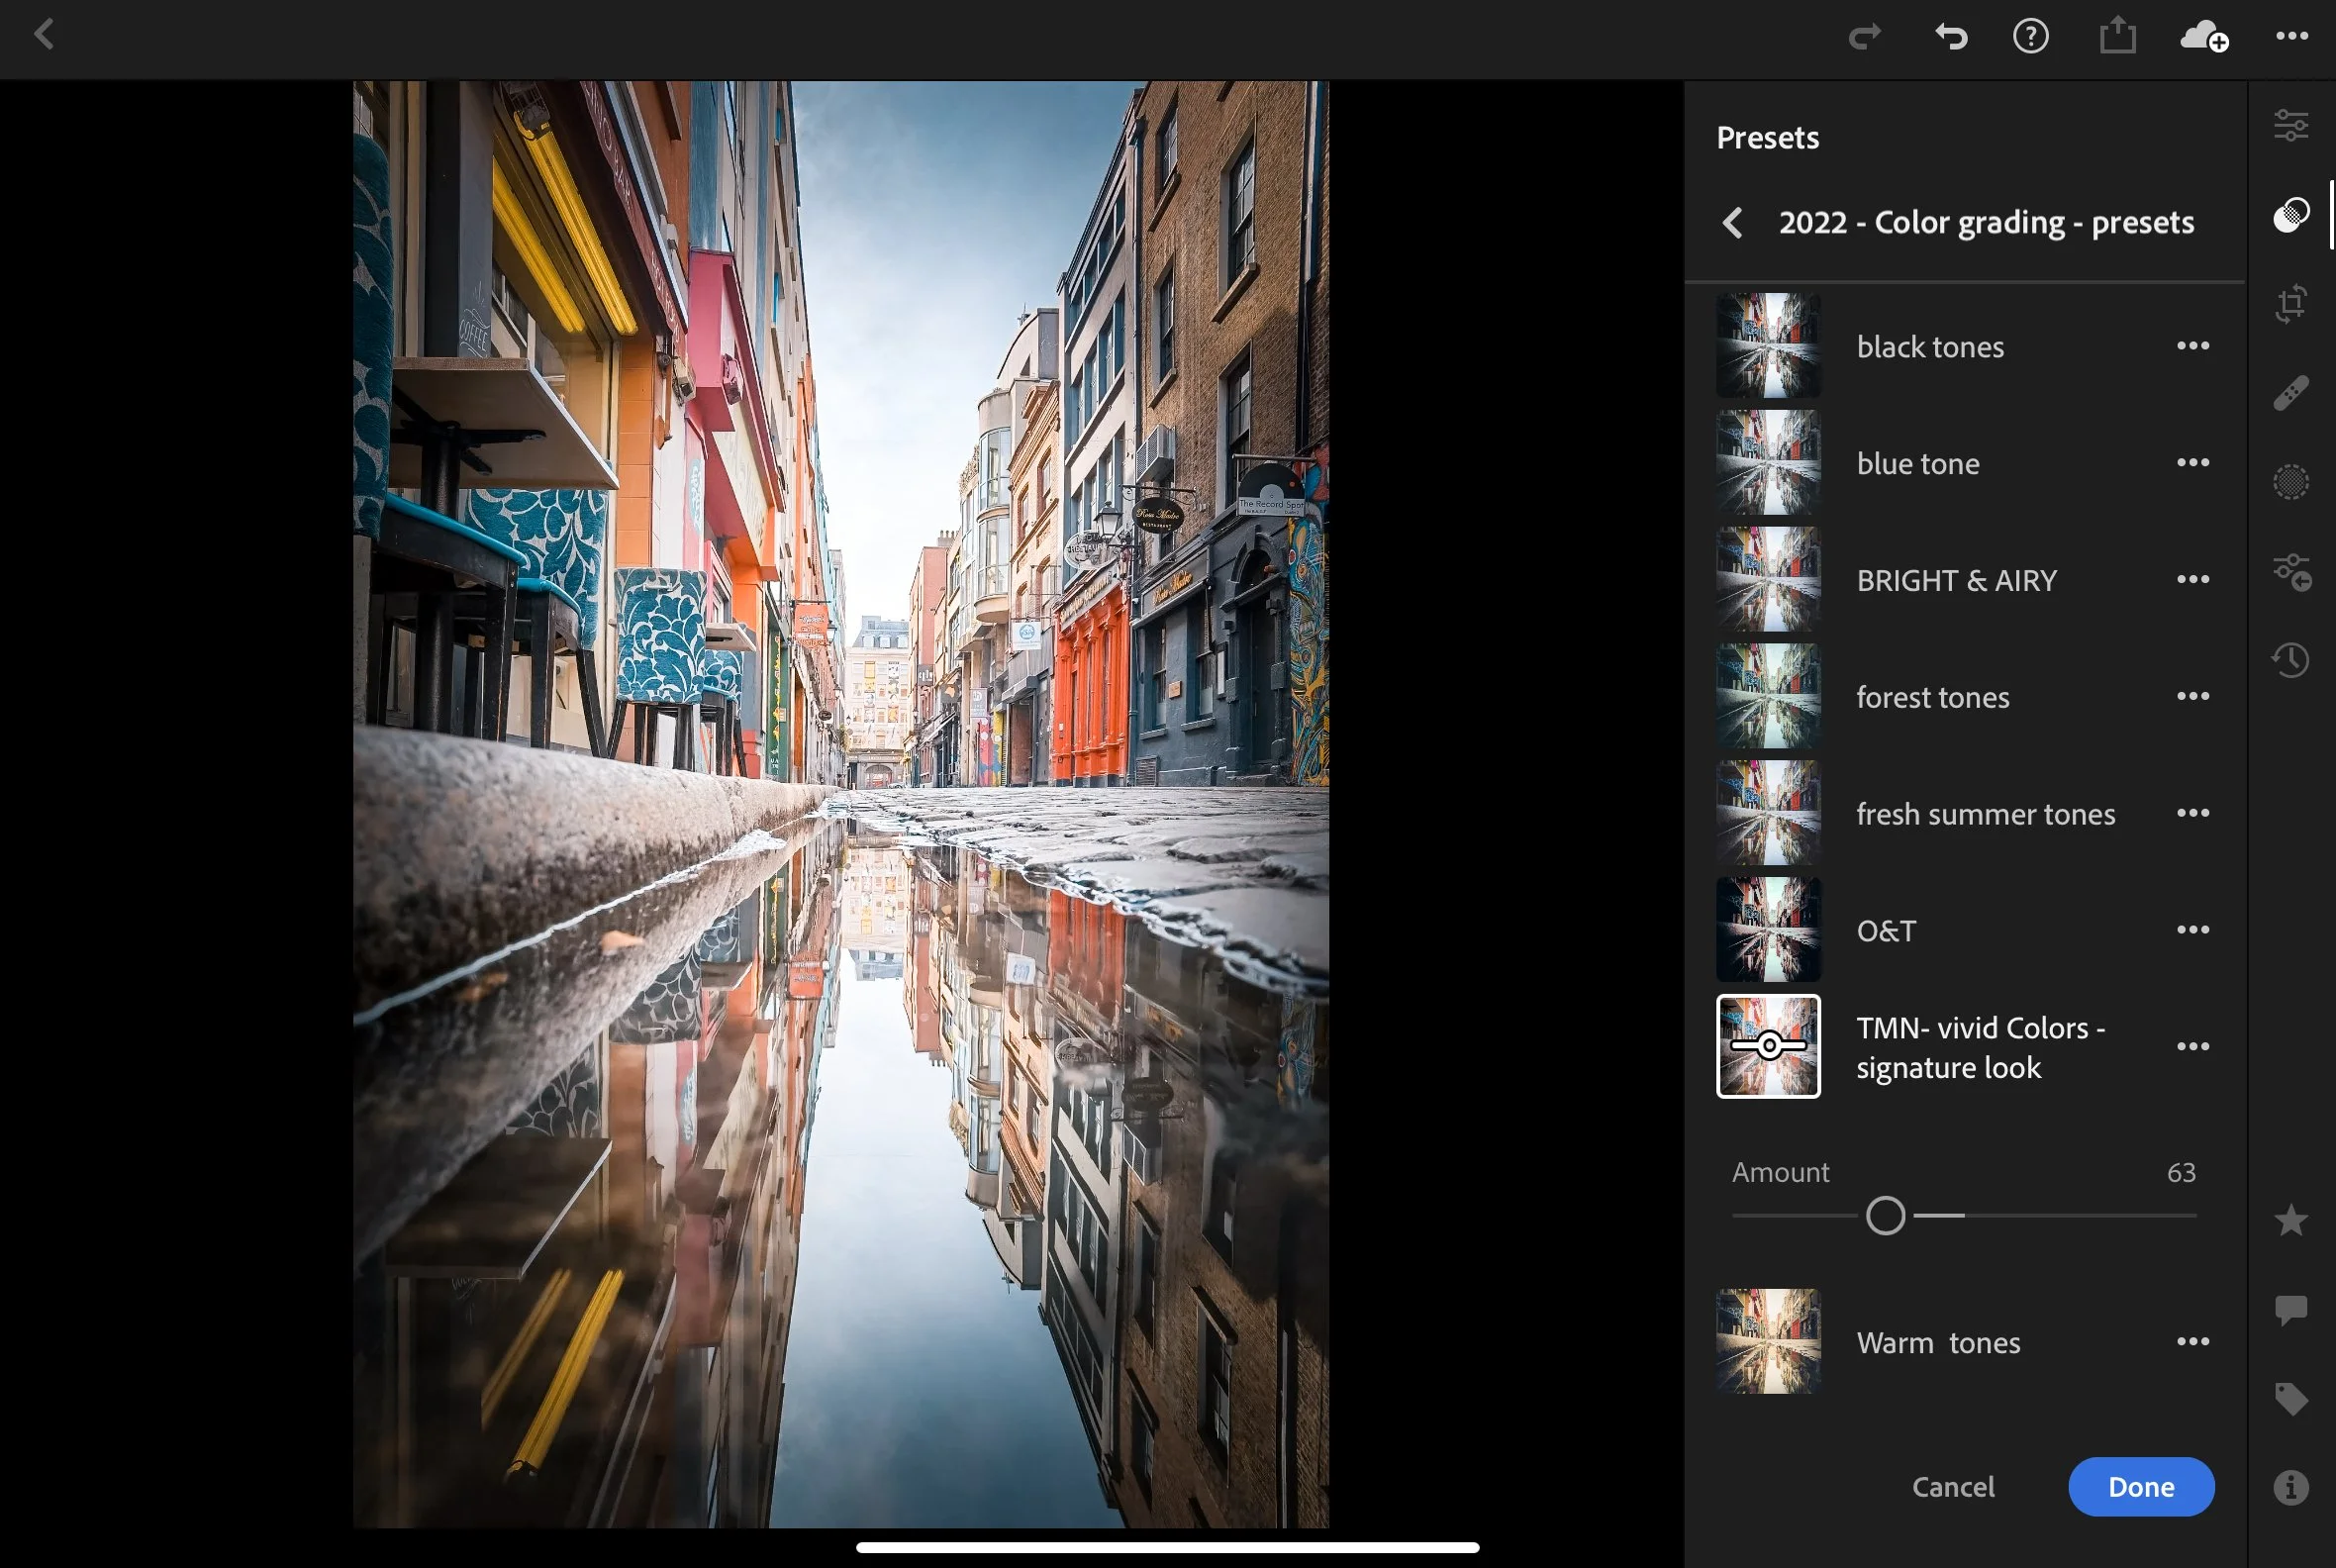
Since the latest Lightroom update, you can now use the slider to adjust the strength of the preset to your liking.
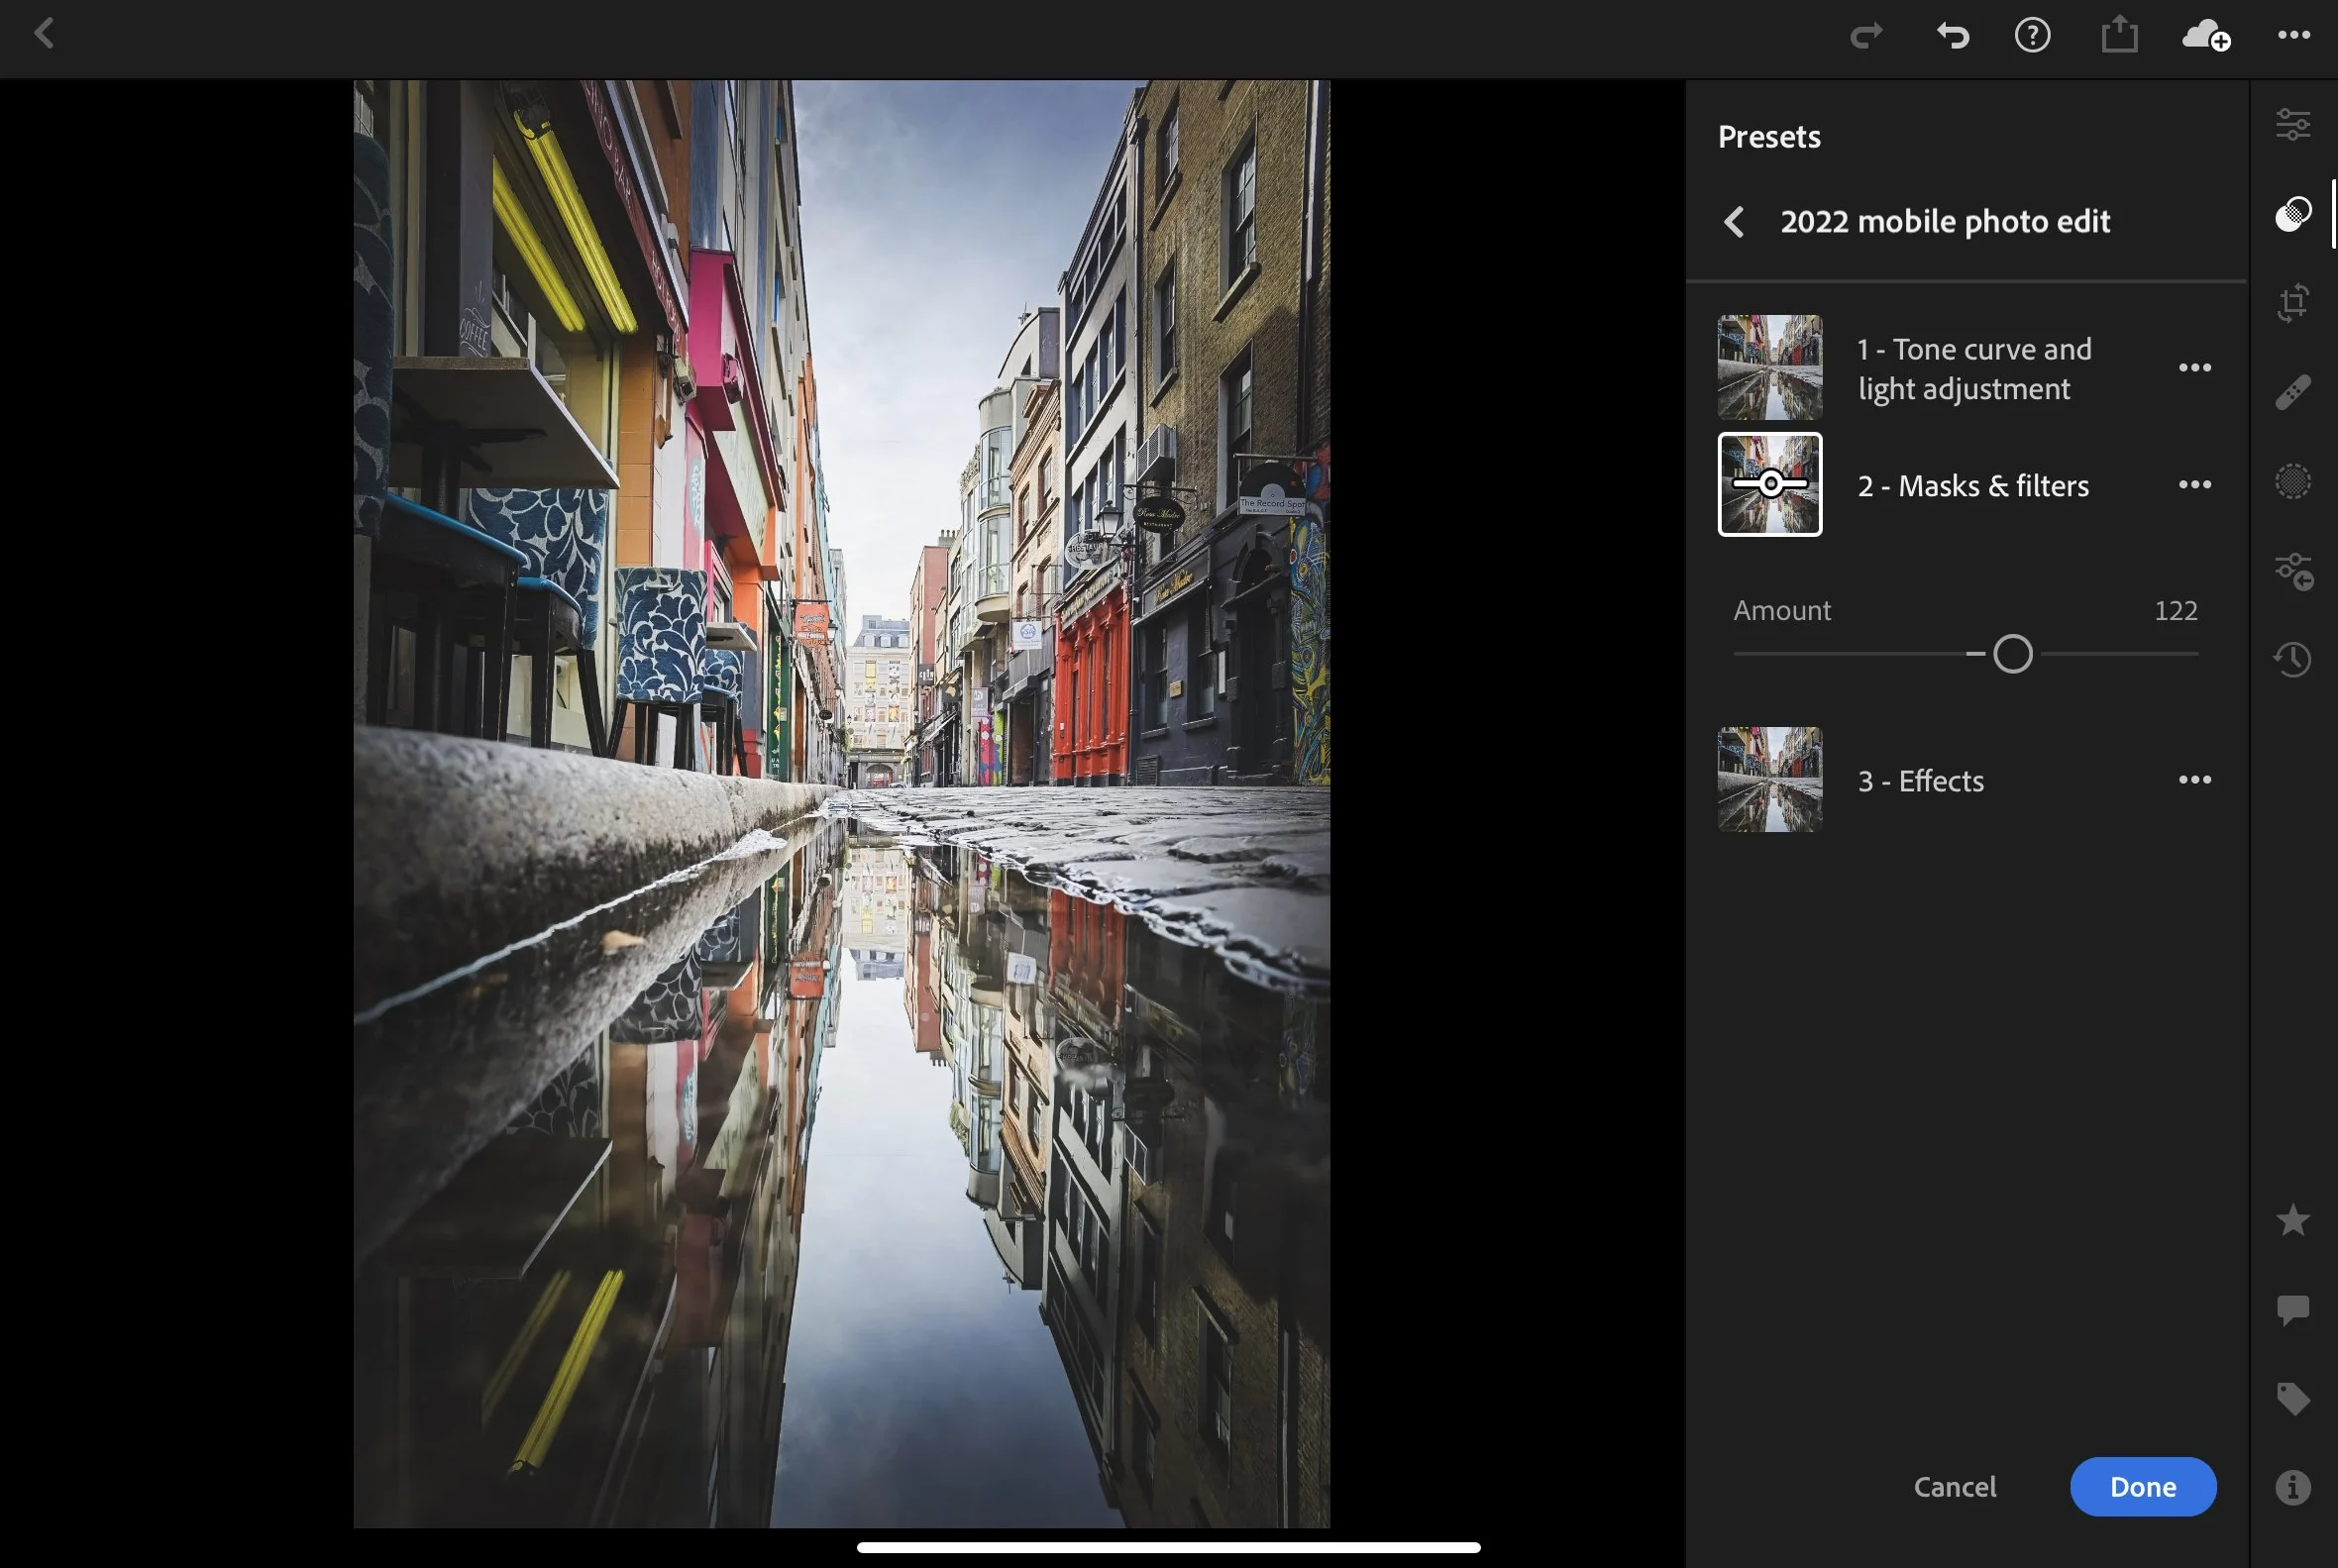
I then follow up with the Masks & Filter effect. Same, I use the sliders to adjust the strength to my liking. The purpose of this mask is to put the subject of your photo in focus by darkening parts of the photo.
The next step is to add some effects. In this case a bit of clarity and grains to bring some depth to the photo.

The last step is the color grading. As you can see, once you download the Lightroom Preset Stacking Pack, you will receive 8 different color grading style.
Up to you to use the one you believe renders the best for your photo.
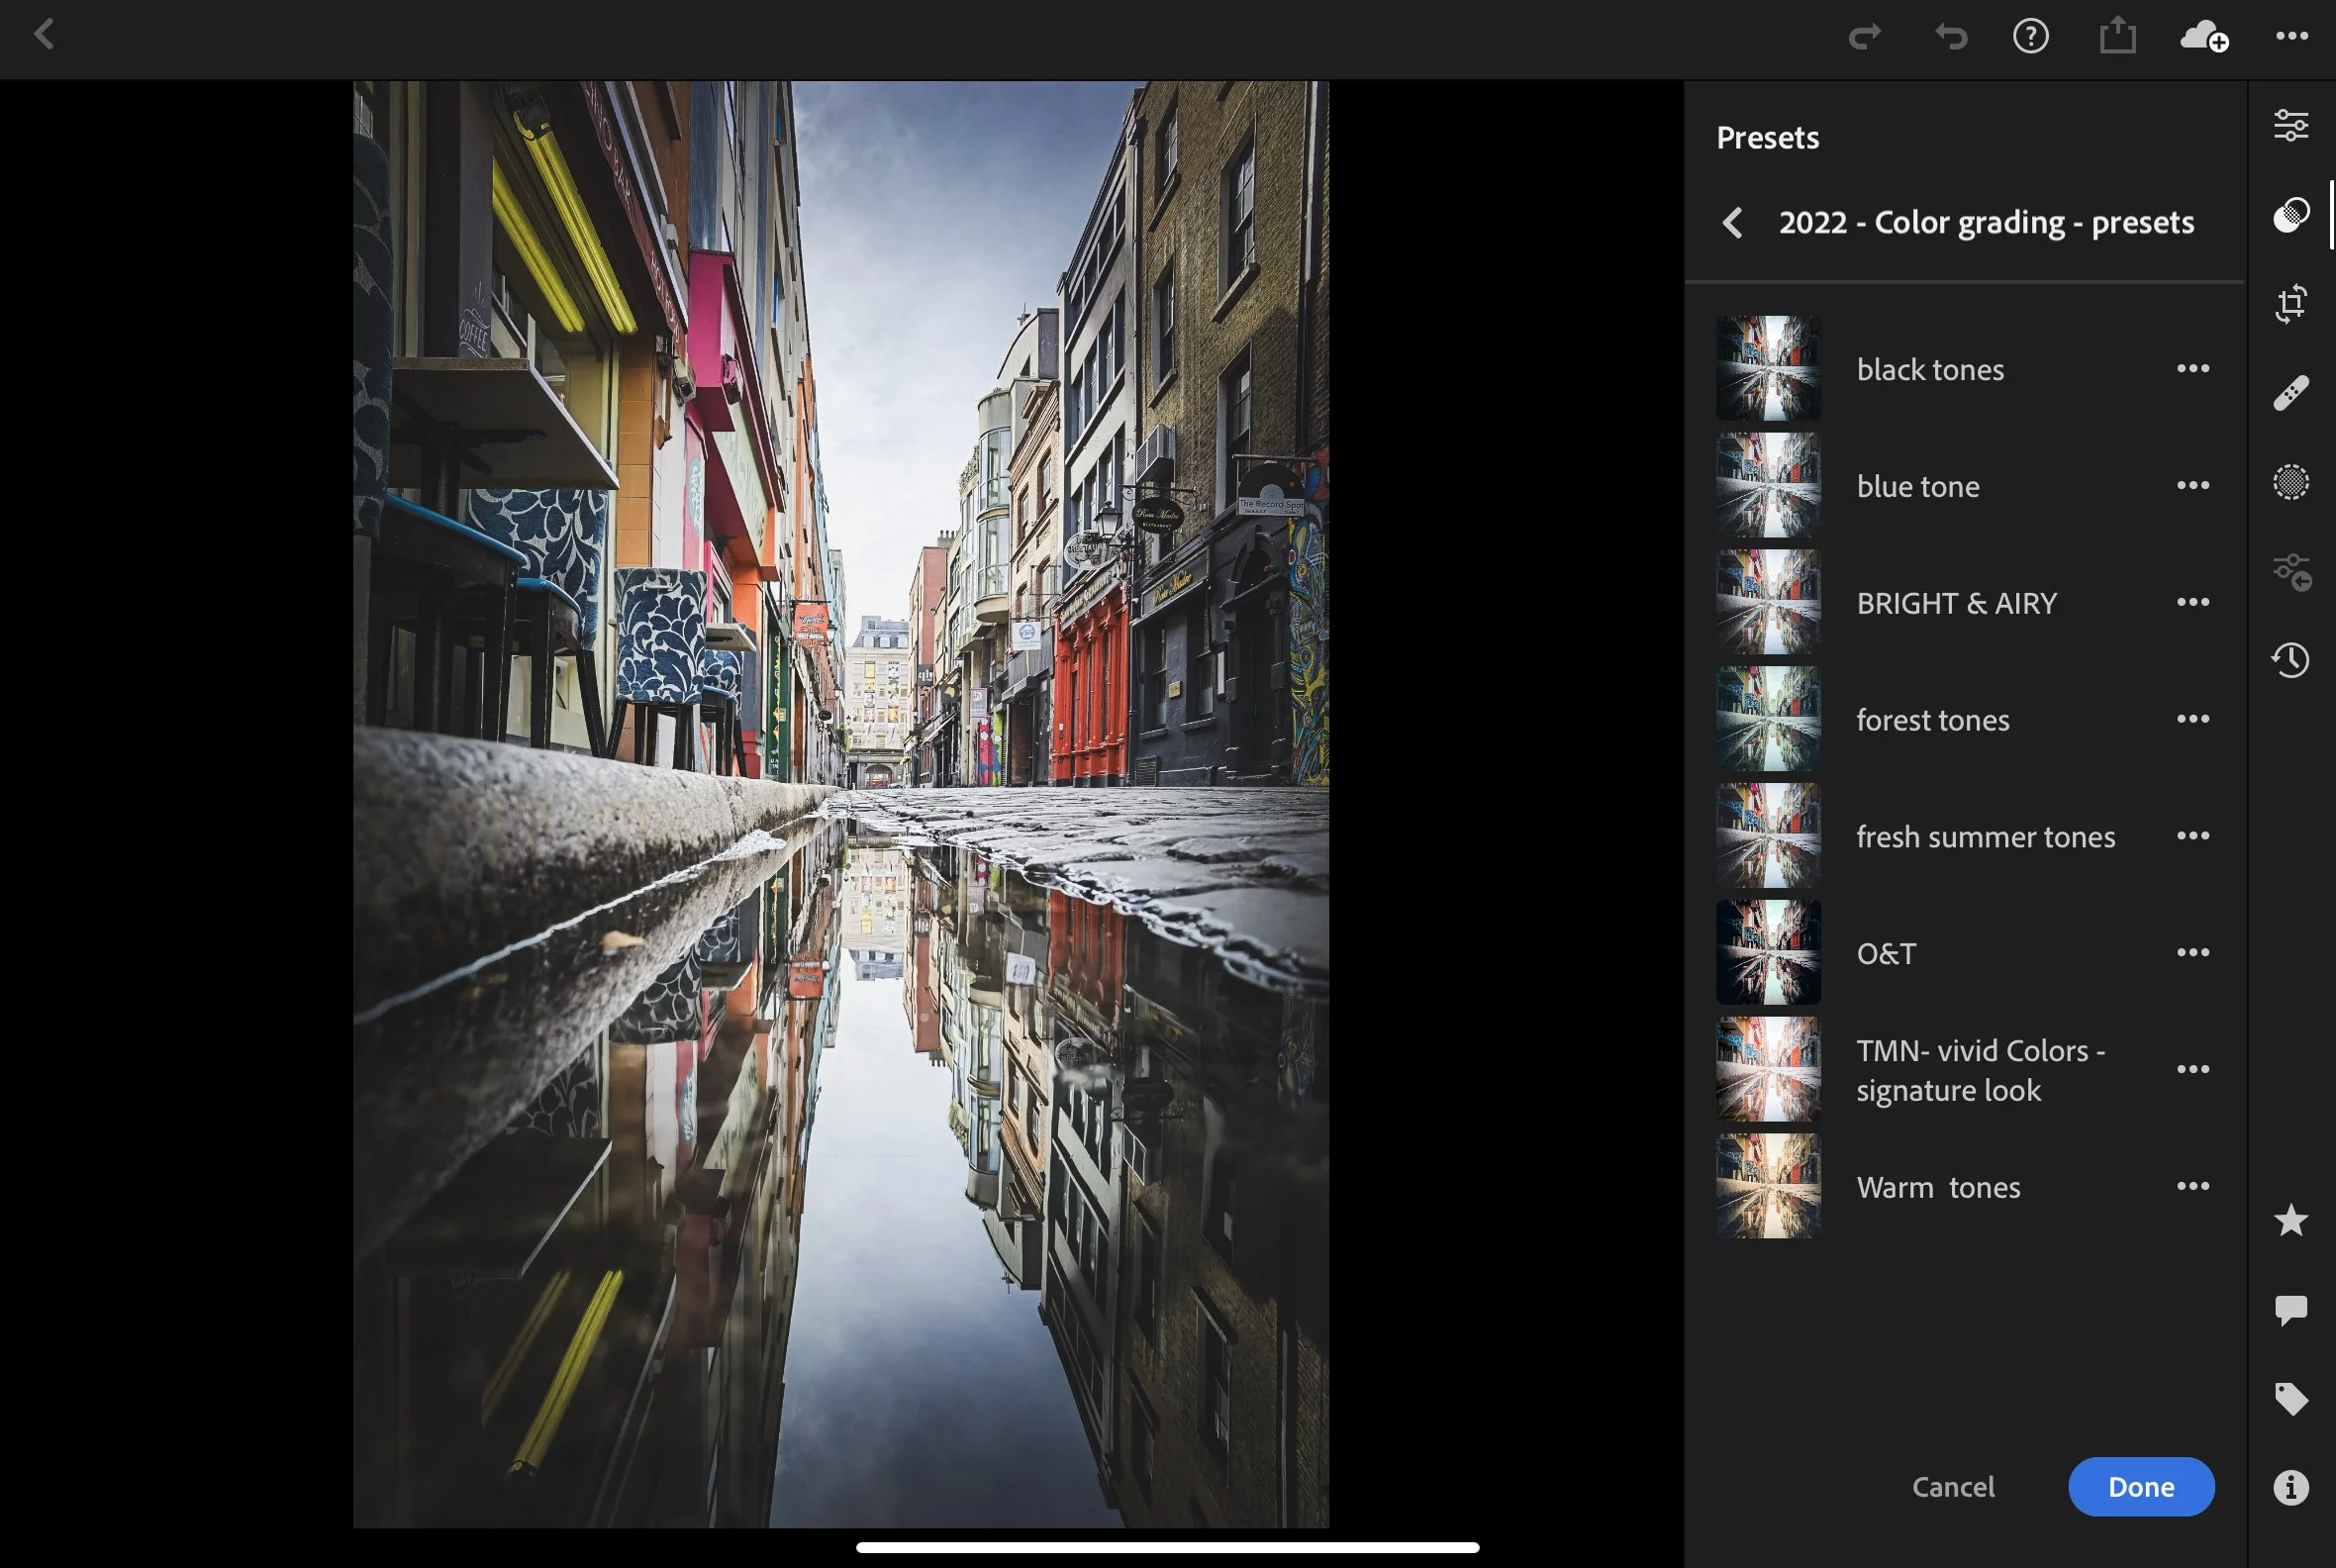
For this example I am using my signature preset Vivid Colors to make the colors pop o this photo as the buildings were very colorful on that street.
You can see below a before after of the edit.
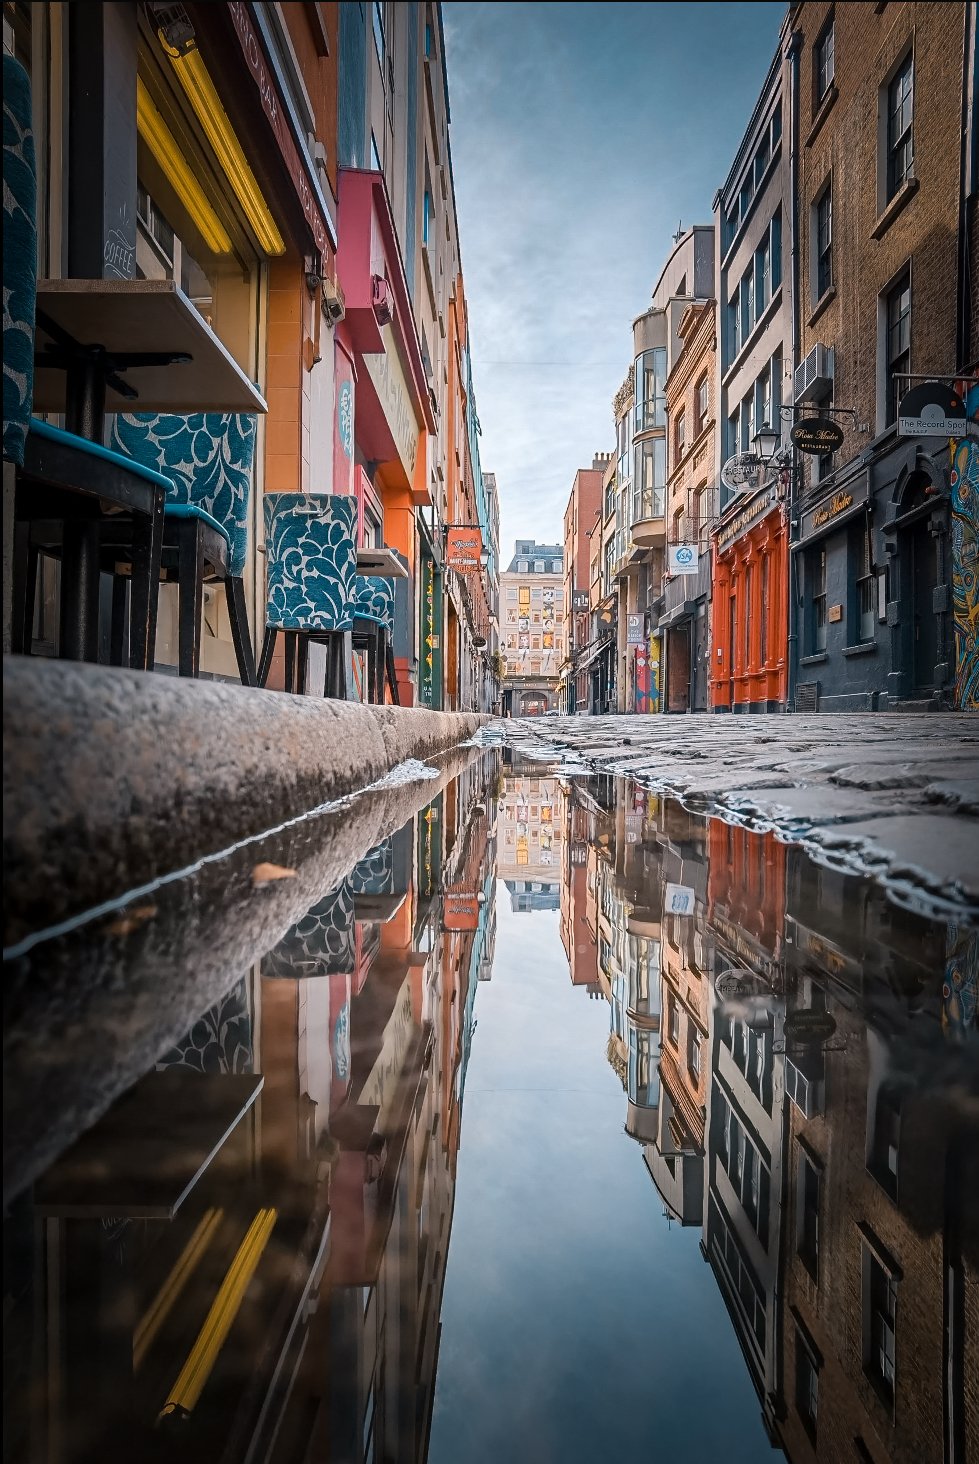
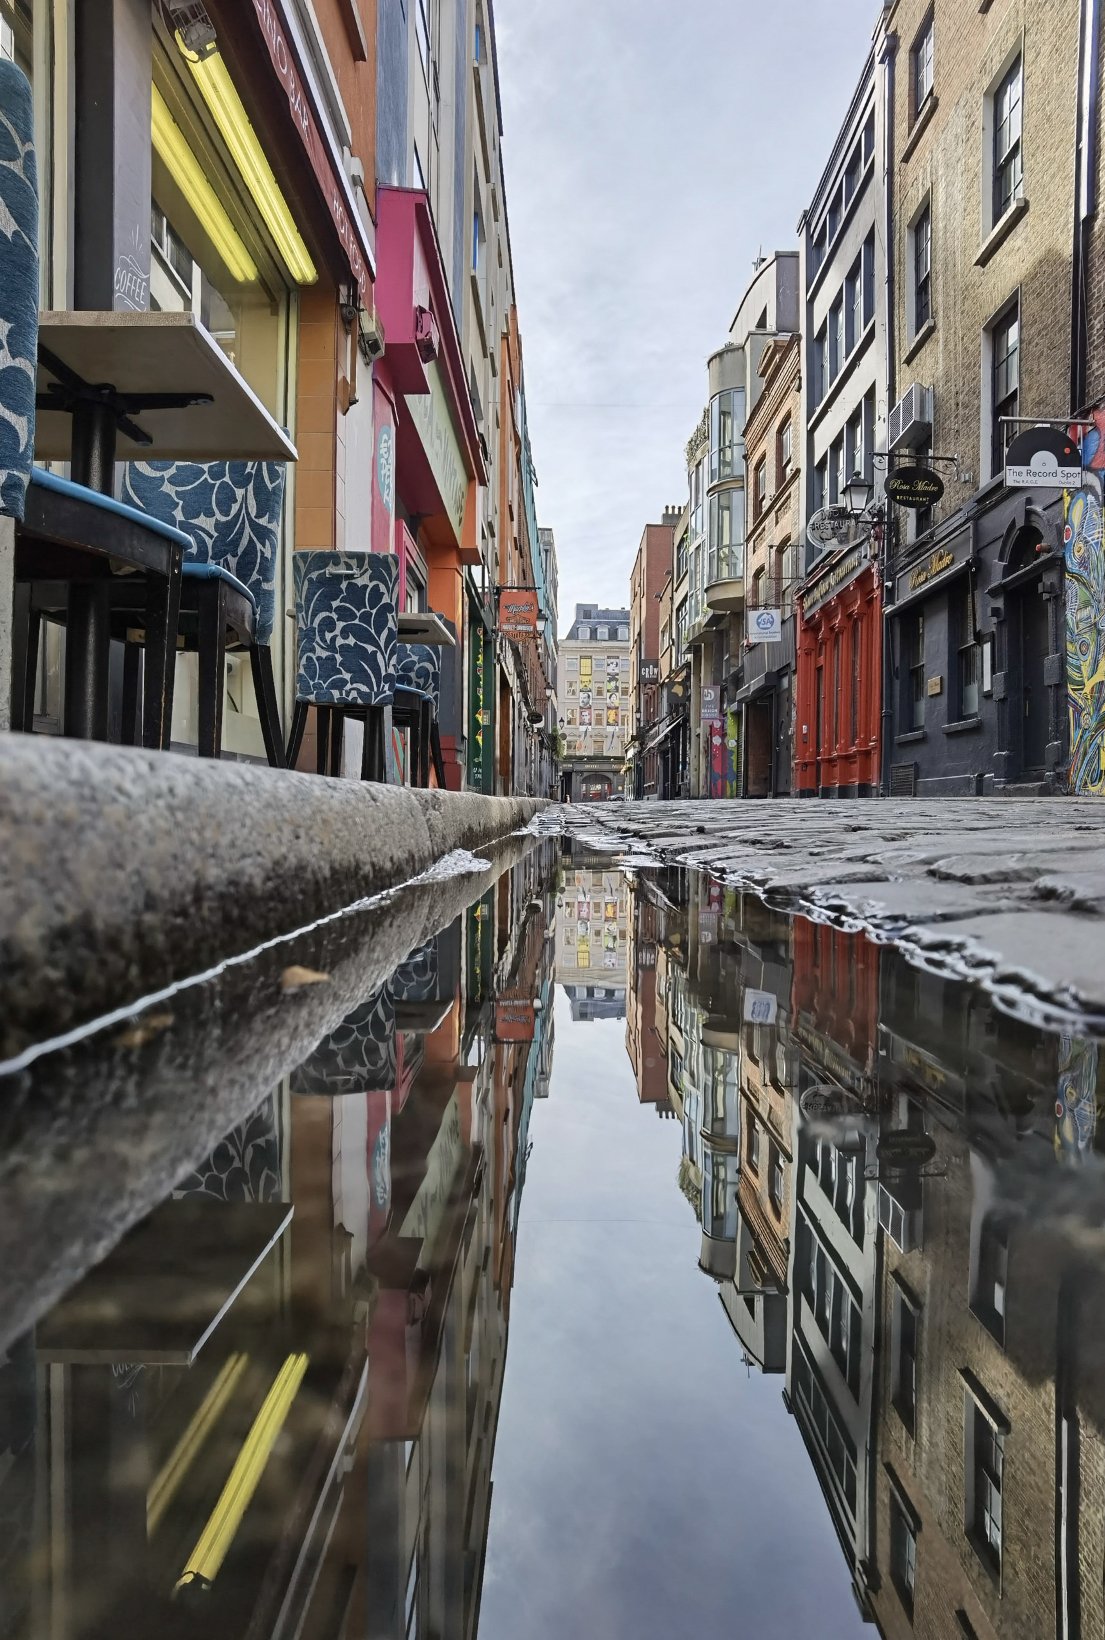
As you can see it took only 4 steps to completely edit this photo and there is no need to be a Lightroom expert.
Once you have found your ideal preset for a specific style of photography, you can then save this to your personal preset library and use it later on similar photos.
This is completely customisable and up to you! It is very user friendly with the latest Lightroom update that allows you to use sliders to adjust the strength of a preset to your liking. No need to be an expert.
If you’d like to get your hand on it, you can click on the button below to download the pack. You will find the instructions on how to install them too.
There you have it, my solution to the problem of using Lightroom presets. By stacking presets, you can create a preset that is customized for the specific photo you are editing. This is the best way to get great results with Lightroom presets in my opinion.
If you're interested in learning more about how to use Lightroom presets, I invite you to read my past articles below.
Other Lightroom articles:


![Make This Year Your Best Year For Travel Photography [Travel Lightroom mobile presets]](https://images.squarespace-cdn.com/content/v1/54c65950e4b0579944c39167/1548721422775-WNDS5DL2TPWD6XIGFDH7/THE.jpg)


PIN ME