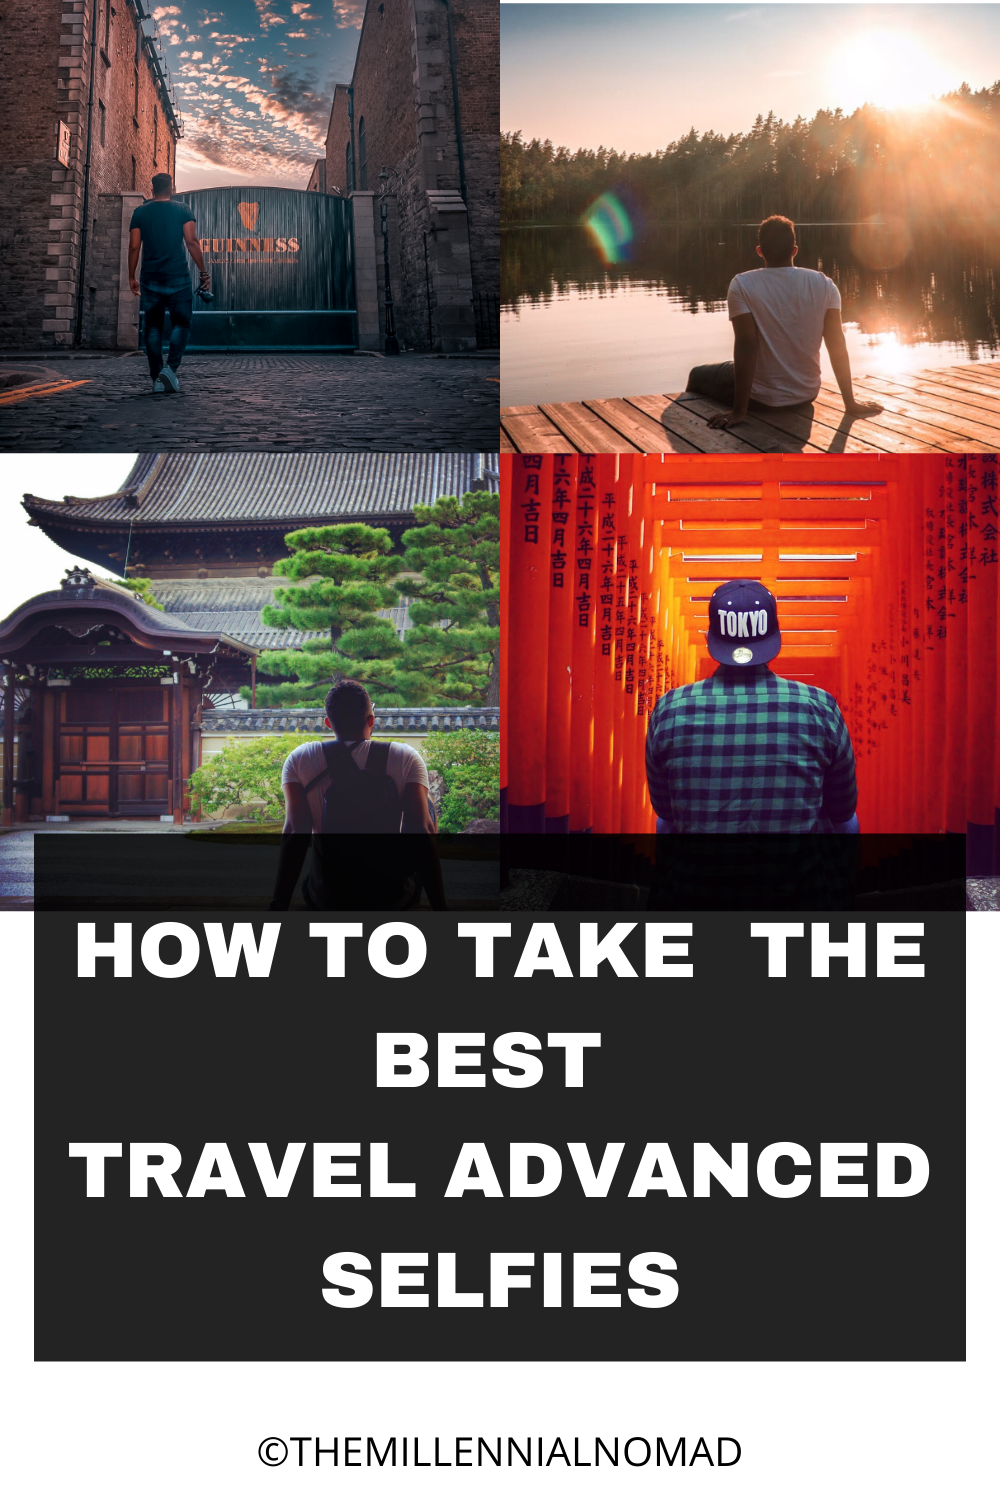
Top 3 Ways To Take Advanced Travel Selfies When Traveling Solo
/
This post may contains affiliate offers and if you make a purchase through these links, I may earn a commission, which helps support this website and keep it ad free. This comes at no extra cost to you
I have traveled to most destinations in the world solo. And one thing that I was struggling with the most was to take photos of myself when traveling.
It is great to take photos of places you visit, but my primary goal with photography is to create memories.
By taking a photo of myself in that location, I can relive exactly how I felt on that day at that special moment.
And another reason as a photographer using Instagram to promote my brand, showing lifestyle photos tend to perform better than just beautiful landscapes photos.
You can ask help from a friend or a stranger, but the result of the photo won’t really be as you want it.
Or you could even hire a photographer now using services like airbnb experiences but this comes with an additional cost to your travel budget.
So, if like me a few years ago, you are wondering how can you take a photo of yourself when there is no one around to help you and without breaking the bank? I got you covered.
This Instagram reel below is a good example of the evolution of my travel selfies.

Option 1: Use a GoPro

I have used a GoPro multiple times during my travels to take some selfies. The wide angle was ideal even without a pole to take a POV shot on a location.
It is a great way to give that immersive feeling to the viewer when looking at the photo and make them feel like if they were there with you.
You can have a look at a few examples below.
The only down side I’d say of the GoPro I used (Go Pro Hero 3+) is the pixel resolution limitation and the fact that it would not shoot the photos in RAW format. Which is more challenging when it comes to editing the photos in Lightroom without damaging some details of the photo.


Option 2: Use a DSLR camera

Using a DSLR camera, whether full frame or mirrorless requires you to know what you are doing. It is not as simple as a point and shoot.
If you are still having difficulties understanding your camera's manual settings, I wrote a guide that walks you through the steps you need to follow to take better photos and feel more confident shooting your photos using the manual settings.
Just click on the button below to get your copy.

Using the manual settings means more control when it comes to shooting the photo and get the results you want. Which is ideal to shoot those advanced travel selfies.
However, taking photos of yourself can be challenging and there are other factors to take into consideration than just knowing your camera.
You need to find a theme
You need to find the location
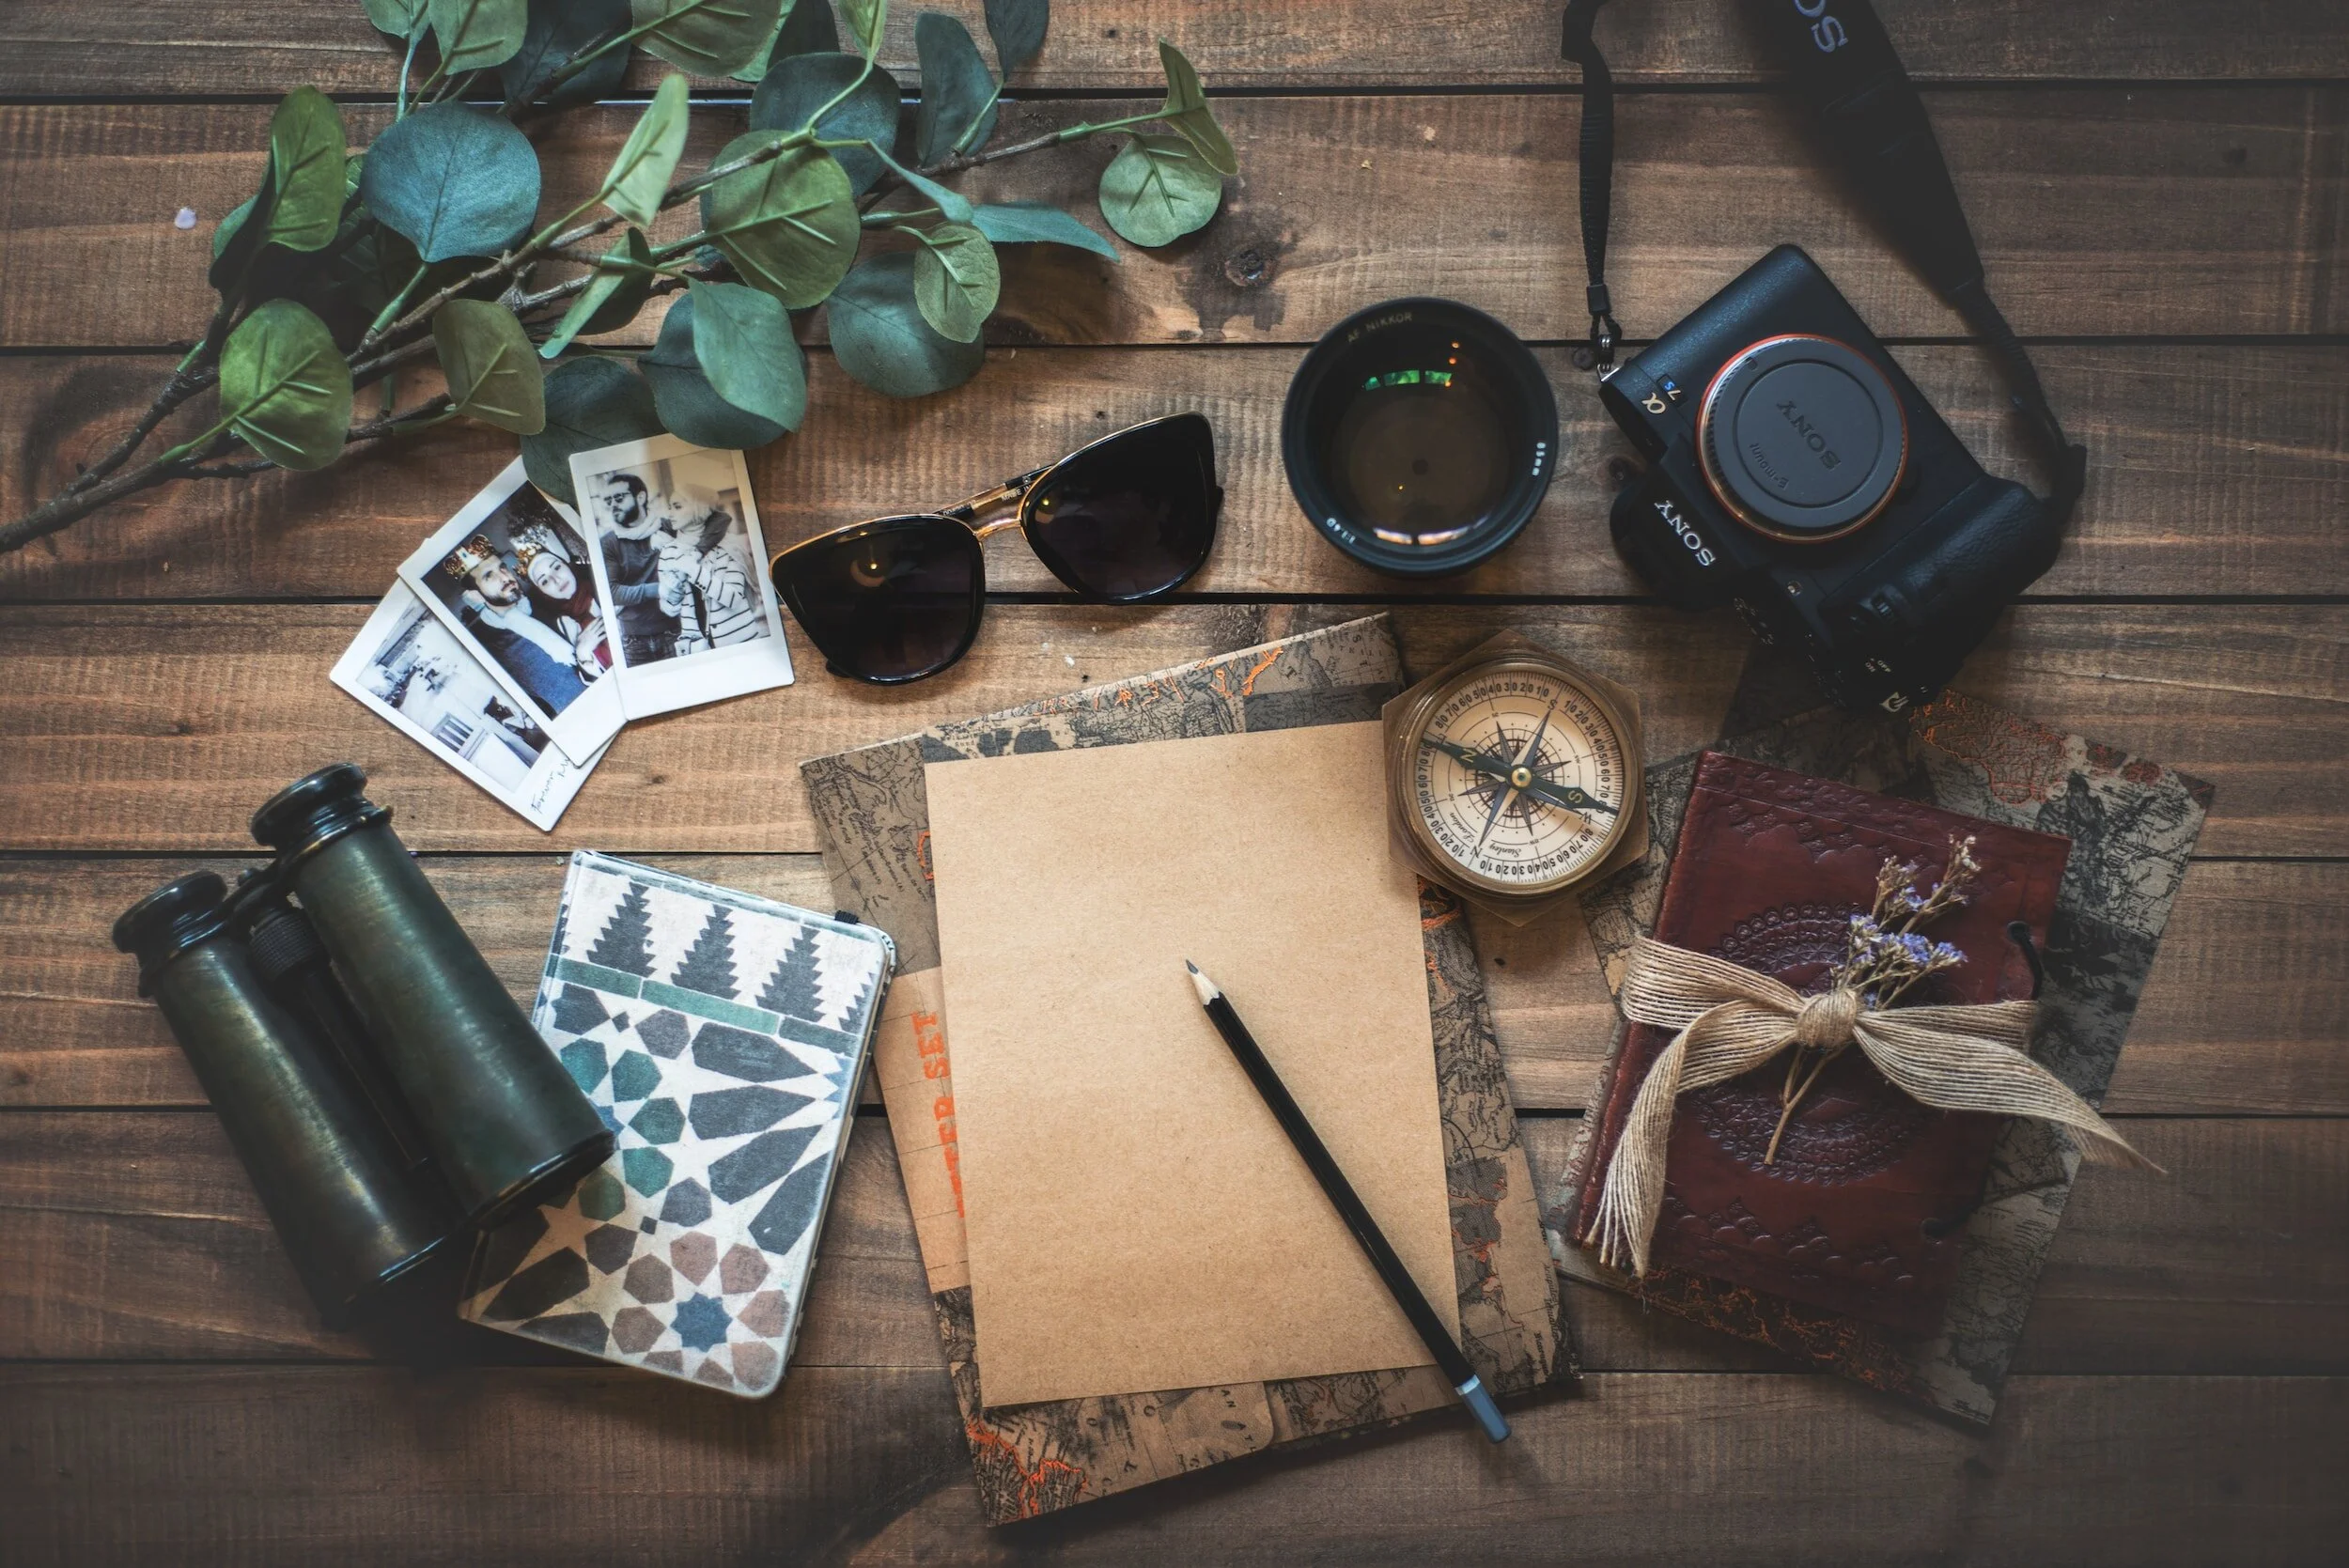
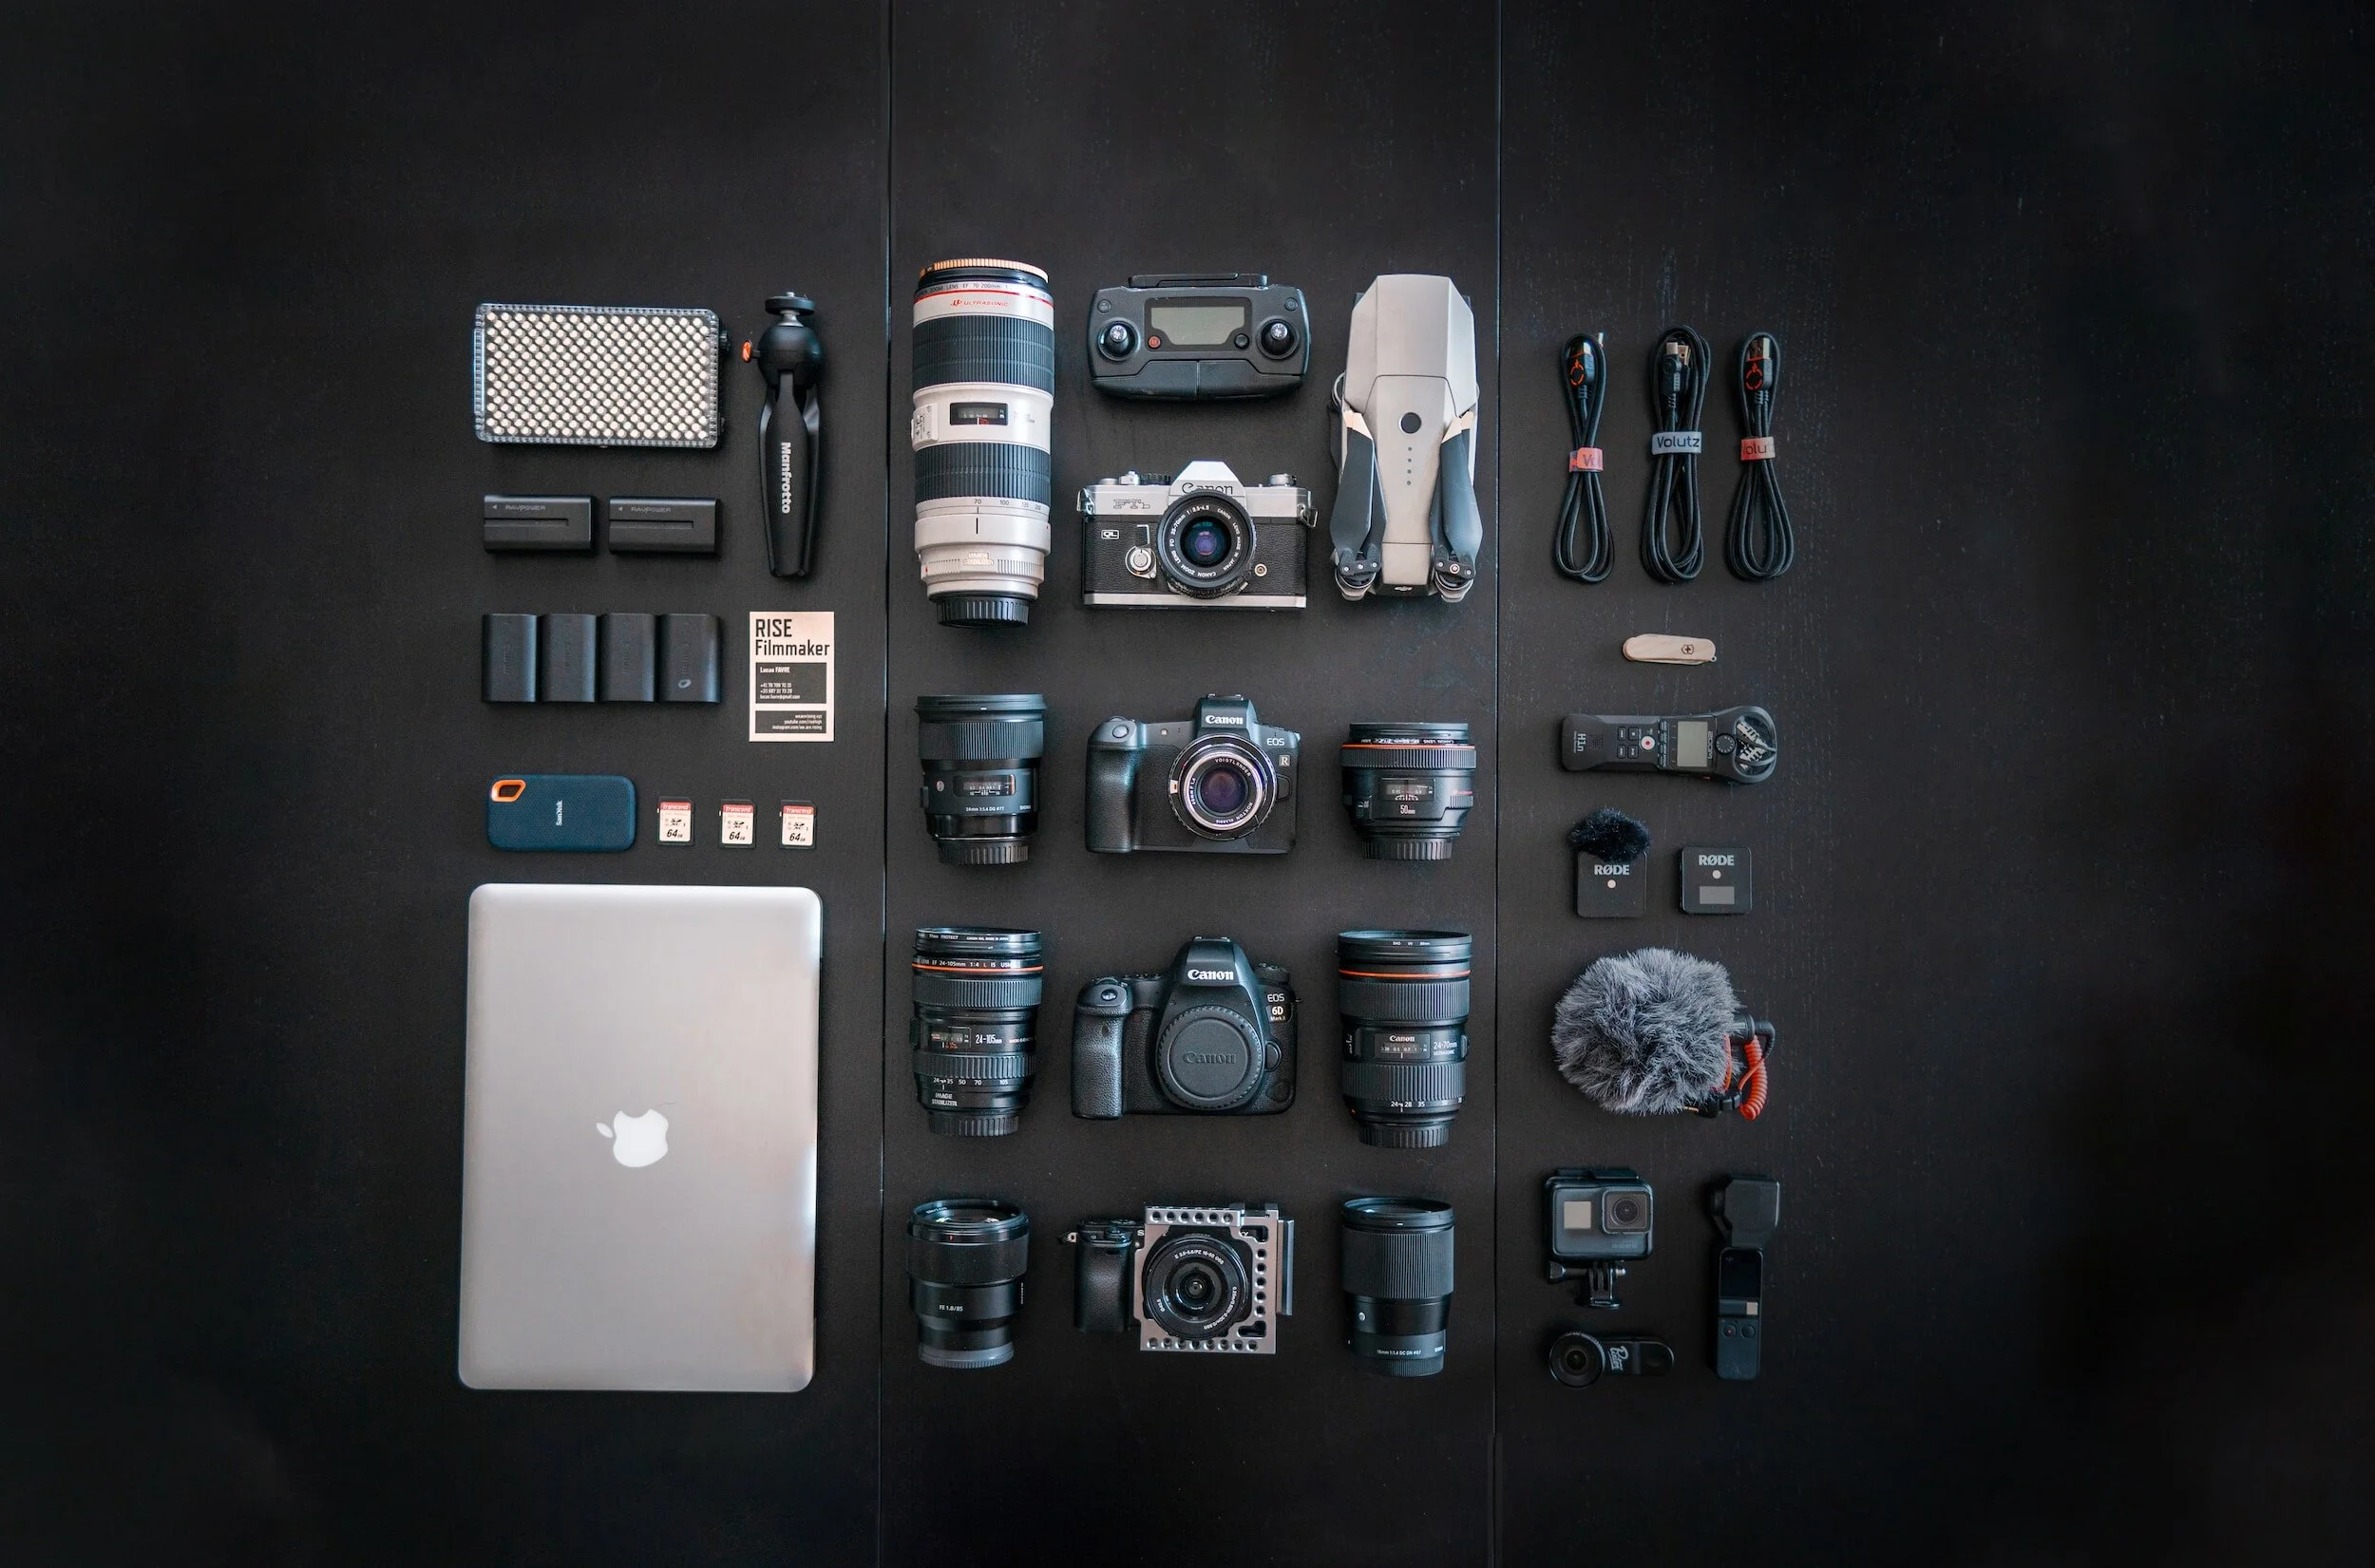
You need to know what gear to bring with you and carry it around with you
And, then you got 3 options:
Use a remote trigger
Use a self timer and run back and forth between your camera and your spot
Put your camera on interval mode to trigger the shutter.
What most people who are not photographers do not see when looking at a photo is that there is a lot of preparation that comes behind one photo.
Option 3: Mobile photography
From my experience traveling, I like to keep the process as simple and quick as possible.
Hence, the reason I love mobile photography so much when I am on the go nowadays.
✅ It is minimalist.
🙅🏽♂️No heavy gear to carry around
👌🏽and can perform as well as my mirrorless camera.
I just need my phone, and sometimes a phone mount and a mini tripod. You can have a look at my minimalist travel photography gear if you’d like to learn more.
Since 2020, I have been using the combo Huawei P40 Pro with the Huawei Watch GT 2 which has a wireless remote you can trigger from the watch.
You just need to set the frame and press the shutter button on your watch to trigger the camera and voila!
What used to take me 5 minutes to set up can now be done in less than a minute!
That’s what I call leveraging technology to make your life easier!
Nowadays I shoot 80% of the time with my phone and the remaining with my mirrorless cameras.
You can see a few examples below.
These are the 3 main ways I have used to take better travel advanced selfies and nowadays I am leaning towards mobile photography more and more for a few reasons:
The photo is to create a memory. Just like a polaroid, the quality does not necessarily matter. The moment is what really matters.
The photo will be posted on social media and does not always require a big resolution
Smartphone cameras are not only compact and very convenient to carry around. But also very powerful nowadays. Some like the Huawei P40 Pro can shoot 50MP photos compared to the 12MP resolution on most smartphone cameras on the market.
All you need to take advantage of your phone camera is to learn how to use their hardware and software to your advantage to get the best results.


This is what I teach in my free mobile photography online web class where I share with you my 3 steps approach to photography.

So far, more than 1,000 students have enrolled!
What about you? What is your favourite method to take photos of yourself when travelling? Let me know in the comments below.
If you liked reading this article, make sure to like it, it actually makes a difference. If you know anyone who’d find it helpful, do not hesitate to share this article with them.