How To Take Better Photos in Low Light
/When I started photography I had no idea of how to take photos in low light conditions . For me taking photos at night meant using a flash…yes, I know… rookie mistake. But I had to go through these learning steps in order to improve my skills. Today, shooting photos at night is one of my favourite things to do. I am far from being a professional and having incredible results, but if I compare side by side two photos of the same location one year apart, I can see a lot of improvement. Check out these photos of Temple Bar here in Dublin taken one year apart.
Which one do you like the most? Can you see the difference in quality? How did I do it? By using these tips I am about to share with you.
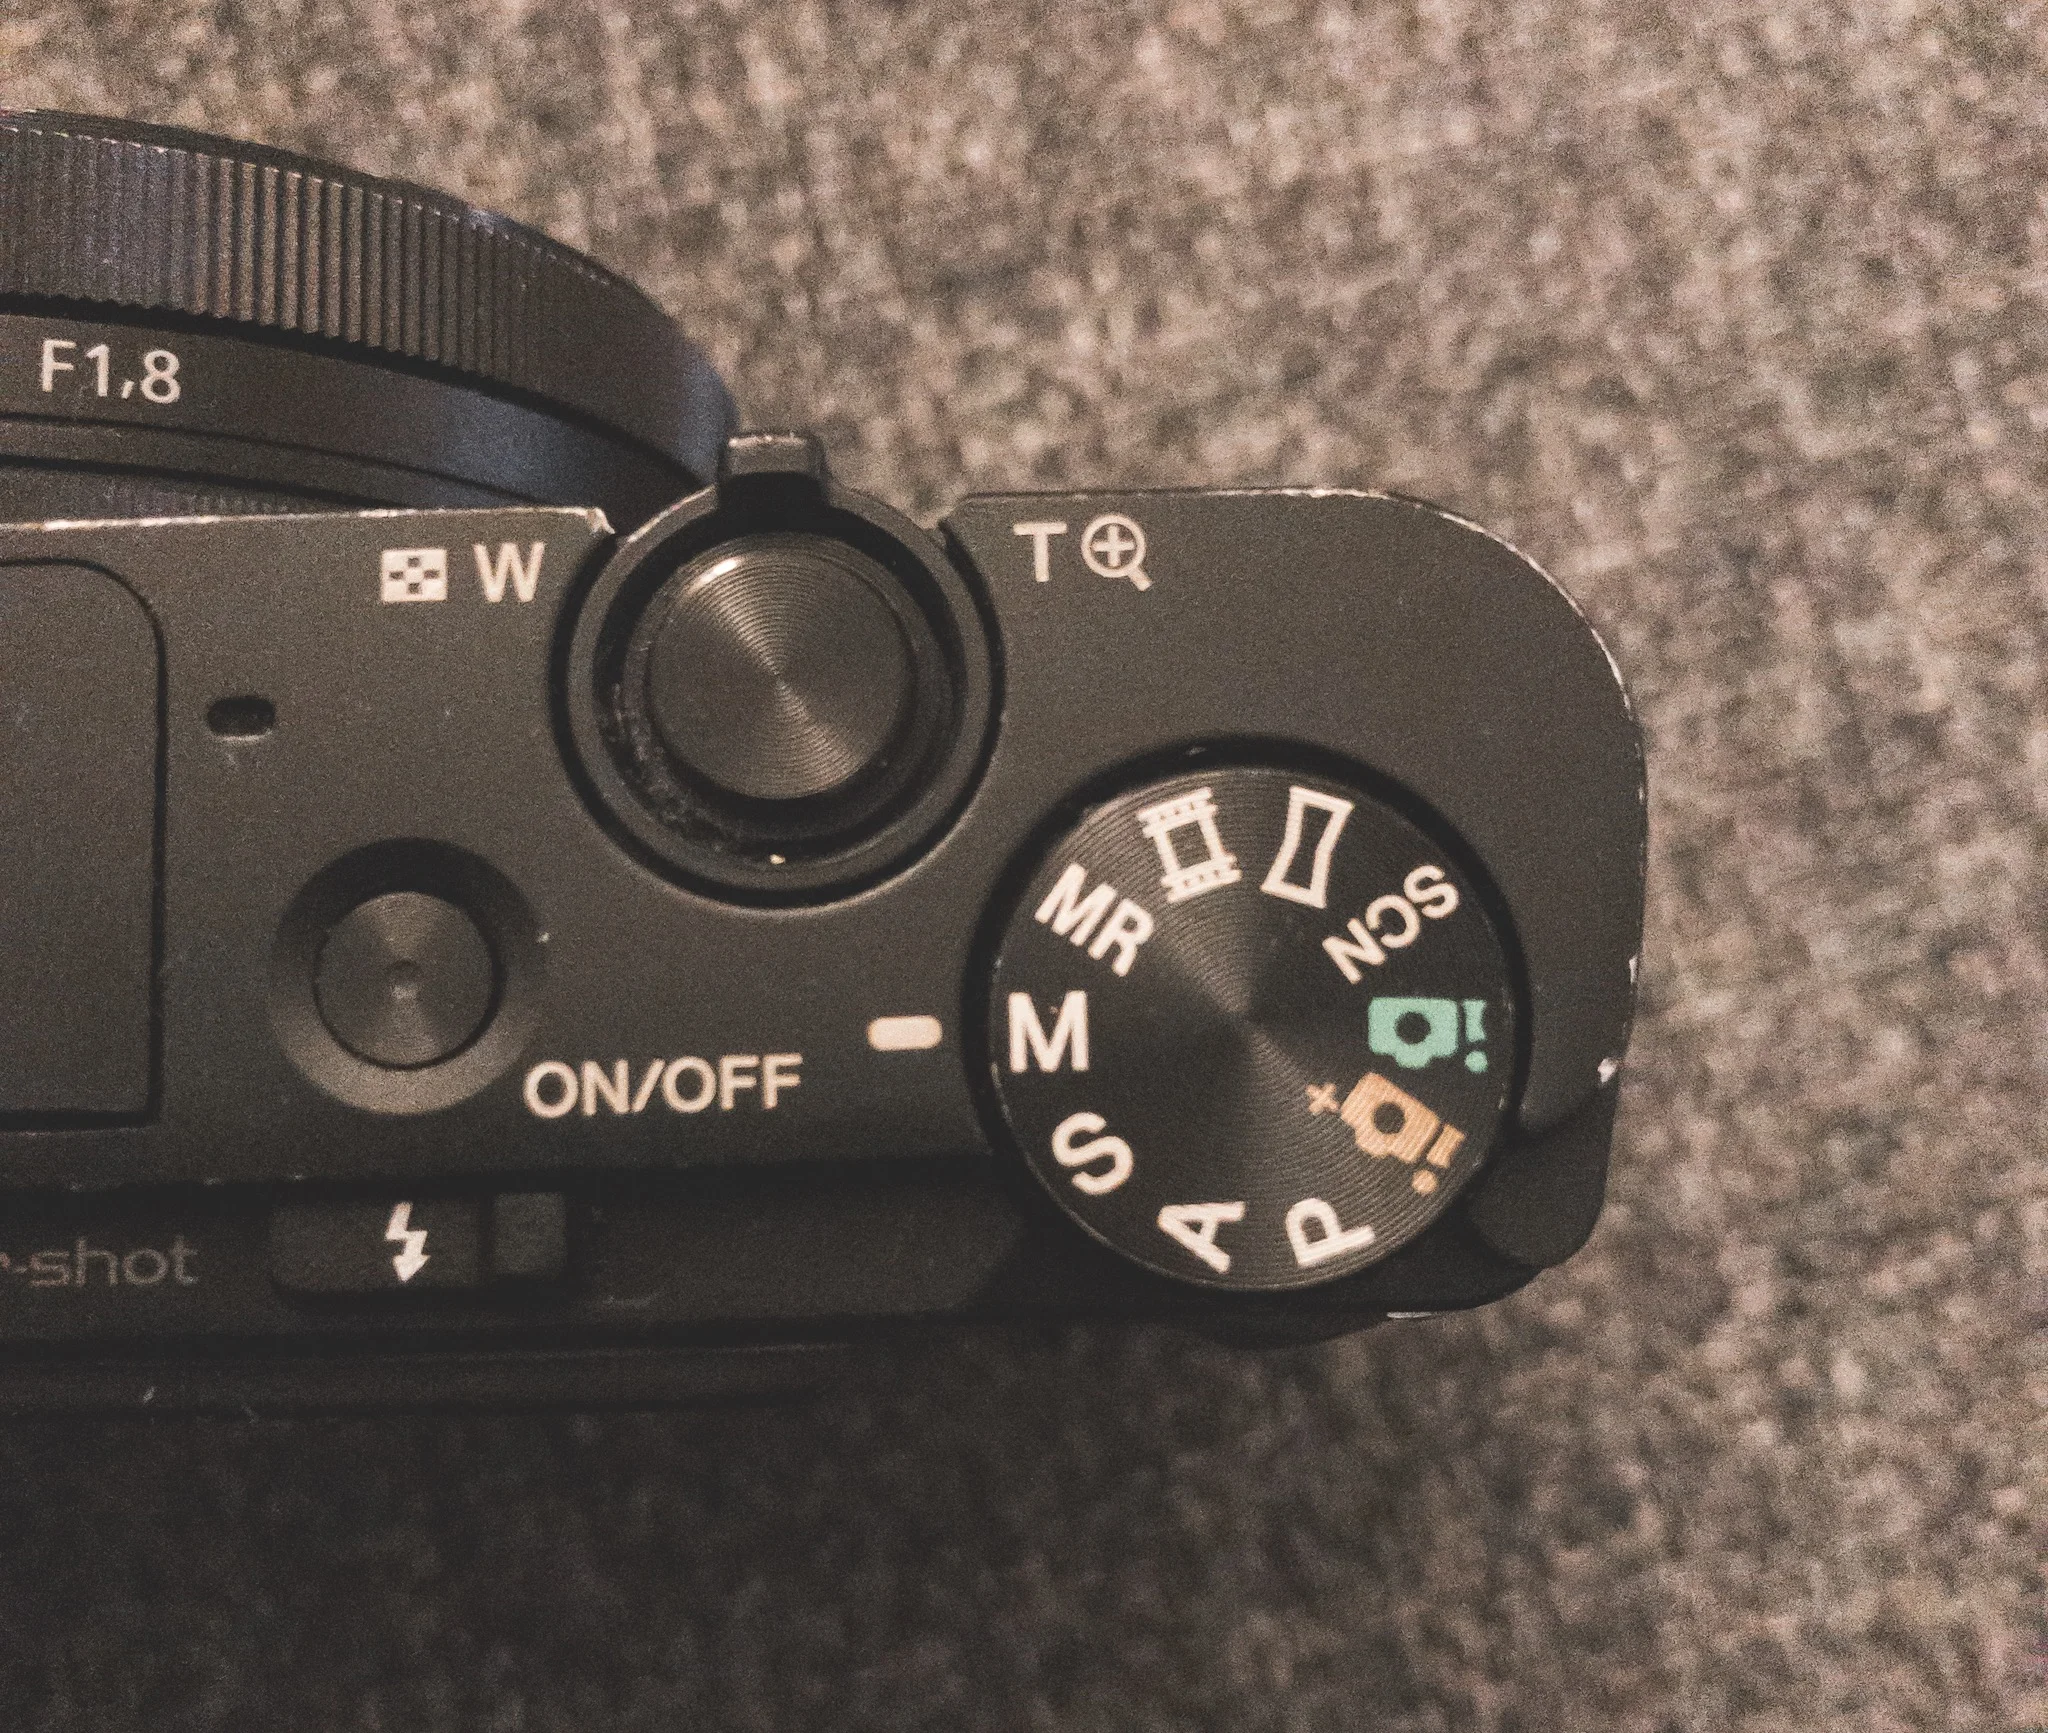
Shoot manual and understand the exposure triangle
Shooting manual was something I dreaded for a longtime. Why should I complicate my life if the auto mode on my camera can do the job for me, right?
Even though some cameras do a great job nowadays, it is still important to understand how to shoot in manual mode and understand the exposure triangle in order to be in full control and capture the photo as you see it in your mind. If you want to learn the exposure triangle and the benefits of using it, you can download this FREE guide I created to help you take better photos using the manual mode of your camera.
Find the light
Ideally, if you are shooting handheld, you will need to seek for ambient light that will lit the subject of your photo. The main benefit is that you won’t have to use artificial light by increasing the sensitivity of your camera sensor by increasing the ISO and end up with a grainy photo. Those grains on the photo are called noise in photography lingo.
Also make sure to use the correct white balance or you might end up with a very warm colour tone night photo.
Slow your shutter
Slowing the shutter speed will allow your camera to capture more light. By increasing the amount of time the shutter opens and closes, the sensor of your camera will be exposed to more light on the scene you want to capture. Makes sense.
Now, there are two ways to shoot photos, the first one being handheld, and the second one using a tripod.
If you decide to shoot handheld, your shutter speed should be equal or higher than your focal lens. For instance, if you are shooting with a 85mm lens, your shutter speed should be at least 1/85th second so that you don’t bring any motion blur that will decrease the quality of your photo and make it less sharp.
If you decide to shoot with a tripod on the other hand, you can decrease the shutter speed as much as you want because you know that your camera won’t move after you press the shutter.
Use a remote trigger or a timer
This is the first mistake I used to do when shooting in low light condition. Not using a remote trigger or a timer. Why do you need one or the other, is because the longer you leave the shutter opened the more risks there is to bring camera shake in your shot and end up with a blurry photo. A remote trigger is an external device that you connect to your camera that will control the length your shutter stays open and trigger your camera without you having to press the shutter button. You can find cheap ones on amazon like this model that I use or go for more high range depending on your budget. Some modern cameras like Sony have an application on your phone that you can use that does the same job but are limited on the amount of time of exposure.
The workaround if you do not want to use a remote is to use a timer. Most cameras allow you to use a 3, 5 or 10 seconds delay before taking a photo and this can also do the job. It is up to you to find what works best with your workflow.
Use a wide Aperture lens
When shooting manual, the first setting I adjust is the aperture, then the shutter speed and finish with the ISO. A wide aperture lens, meaning a lens with a low number like 1.2, 1.4, 1.8 are great to shoot in low light because they already let a lot of light hits the sensor without affecting any other camera settings, and therefore the quality of your photo. That is the reason why professional photographers only swear by using wide aperture lenses and also the reason why they are so expensive to buy. In order to let more light goes through, those lenses use more glass and sometimes more expensive glass. The perfect wide aperture lens for beginner on a budget would be the so called nifty fifty. The one that I use is the Sony SEL50F18 E Mount - APS-C 50mm F1.8 Prime Lens . You can click here to find it on Amazon.
Nailing your focus
Using the right focus will help you get a better photo quality and make your photo look sharper. If shooting landscape, I would usually use a wide focus. If shooting portrait at night, I would usually use flexible spot or eye A-F mode (eye auto-focus) on my Sony camera to have my model in focus.
The edit
Your job as a photographer when shooting with your camera is to nail the exposure so that you do not have to spend too much time editing your photos in post. Obviously, you have to shoot your photos in RAW format in order to capture as much information as possible on your shot that will help you then play with a few adjustment settings that won’t damage your photo quality. I personally use Lightroom to edit my photos. If you would like to learn more about it, you can have a look at this blog post that I wrote Why You Should Use Adobe Lightroom To Edit Your Photos.
And that’s it. These are my advice to help you take better photos in low light condition. It takes practice and a lot of trial and errors to get some great results. But once you start to understand how the manual mode works on your camera, it will become way much easier. Now, night photography is one of my favourite style of photography. Maybe because I also enjoy the process of taking my time to capture the right shot. It feels like time is slowing down and also boost your creative process as you can also play with light painting effects which is a more advance photography technique but that can make your photos unique. My challenge in 2019 is to learn Astrophotography and take an amazing shot of the milky way! Still work in progress, stay tuned. ;)
What about you? What are your photography tips to take better photos at night?
If you liked this blog post, do not hesitate to like it, it actually makes a difference, subscribe to my weekly newsletter if you would like to receive more photography tips straight in your inbox, and if you know anyone that could benefit from this article, feel free to share it with them.


